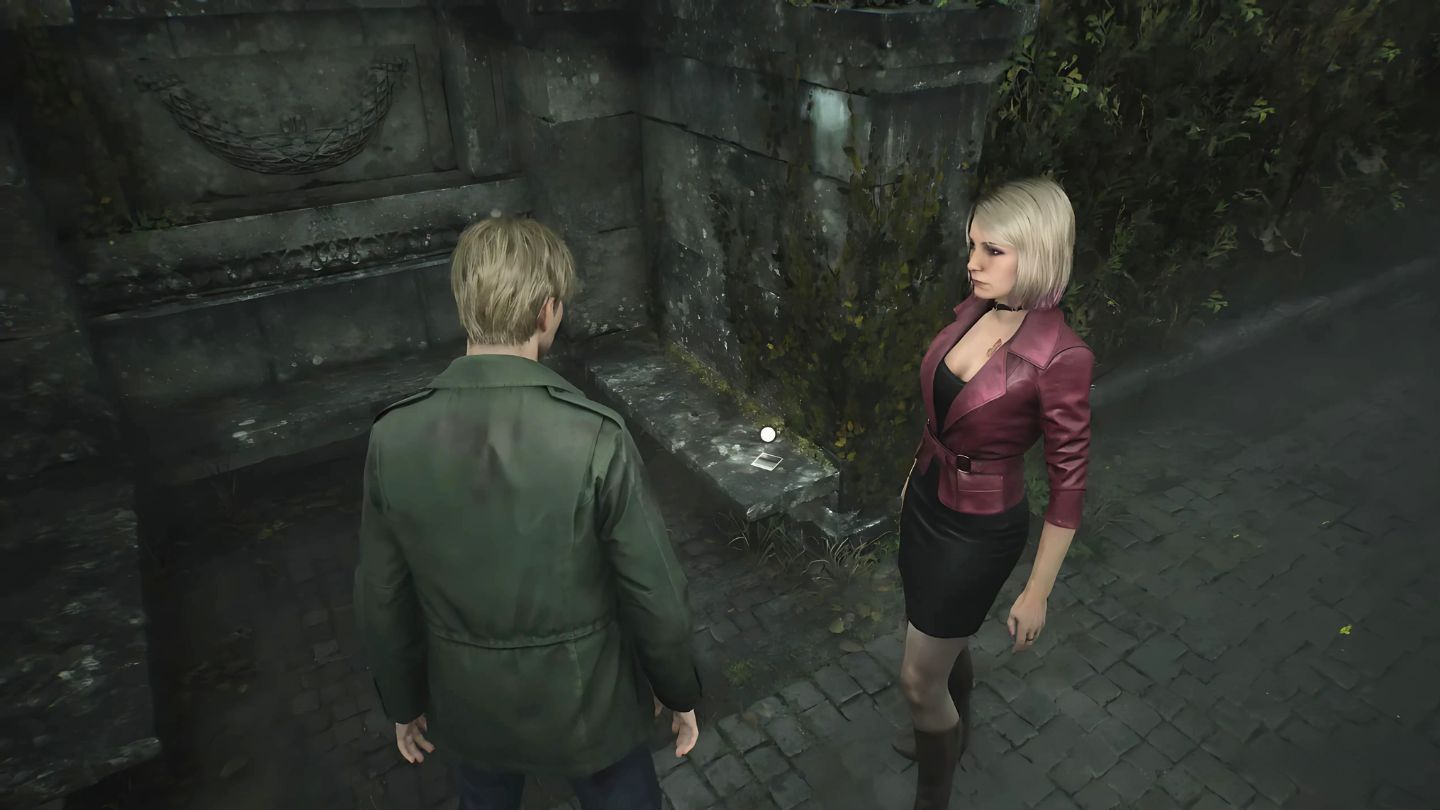
As someone who’s spent countless hours wandering through the haunting landscapes of Silent Hill, I must say these photos found hidden throughout the game are as chilling as they are intriguing. The decaying past of this town seeps out from every corner, and these pictures serve as a testament to that.
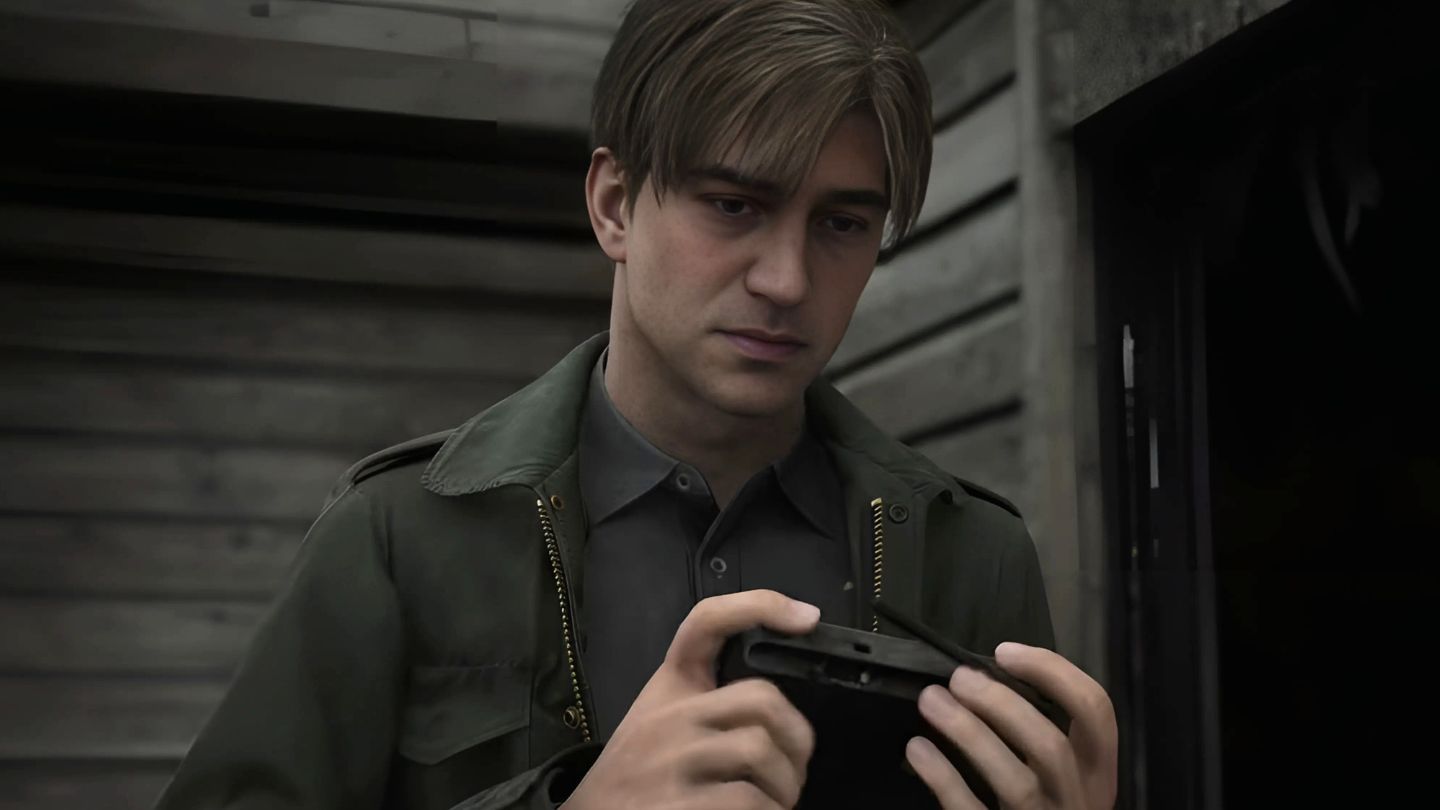
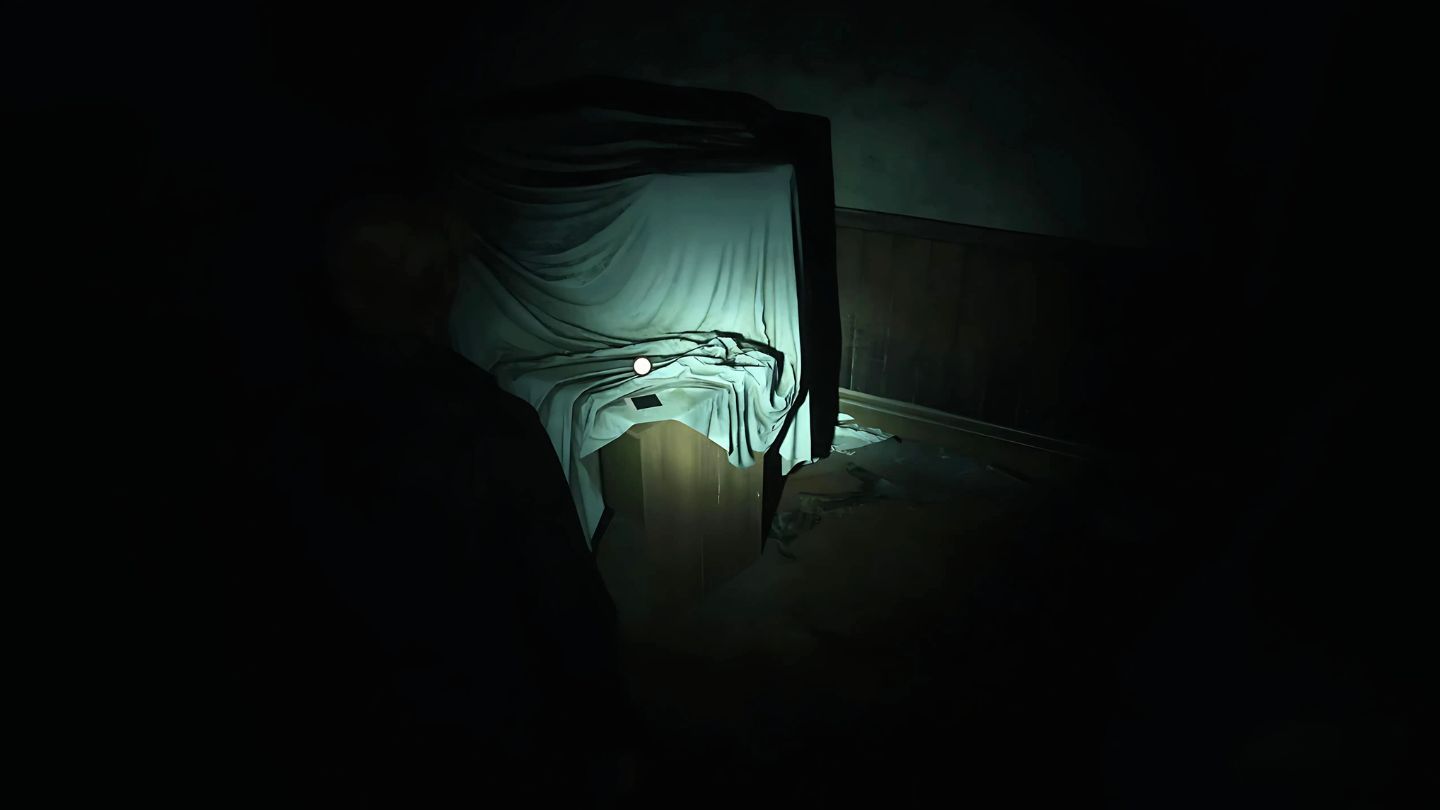
In the remake of Silent Hill 2, there’s an enigmatic photograph among the various items to discover in the game. These snapshots, reminiscent of Polaroids, offer intriguing riddles or spine-tingling scenes that align with the eerie atmosphere of Silent Hill.
Gathering all the Odd Pictures may not affect the primary plot, but it will help you earn the “Puzzles Unsorted” achievement. Here’s a guide on locating every Odd Picture within the game.
Where To Find All Strange Photos in Silent Hill 2 Remake
These photos may not directly relate to significant in-game riddles, but they seem to be fragments of a broader narrative that players must construct on their own.

One intriguing feature of these images is their numbering, which could potentially lead a person to believe they’re pieces of a bigger puzzle.
Instead of representing the sequence of events, these numbers merely help identify the photos for better organization within your collection, meaning that the order you found them may not reflect the chronology.
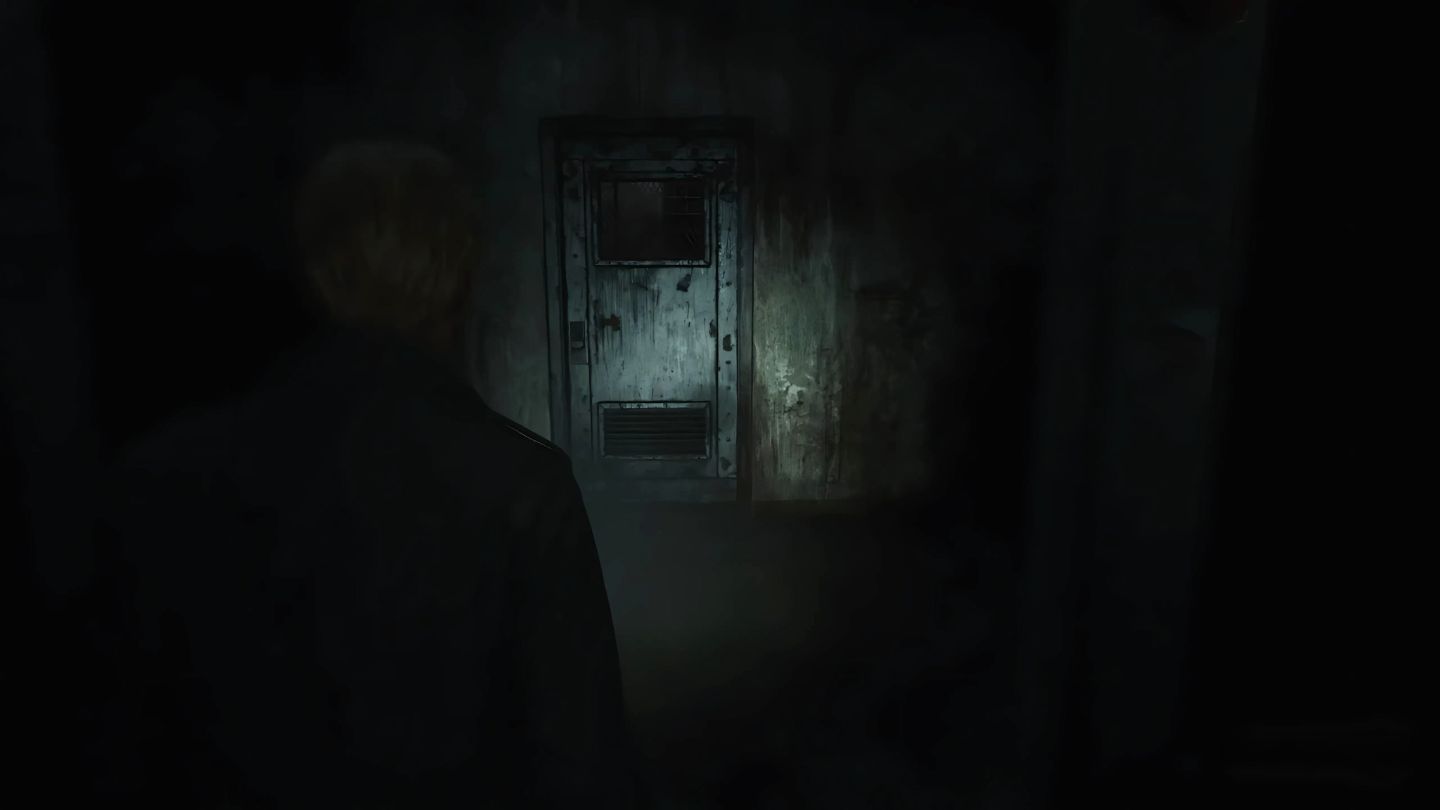
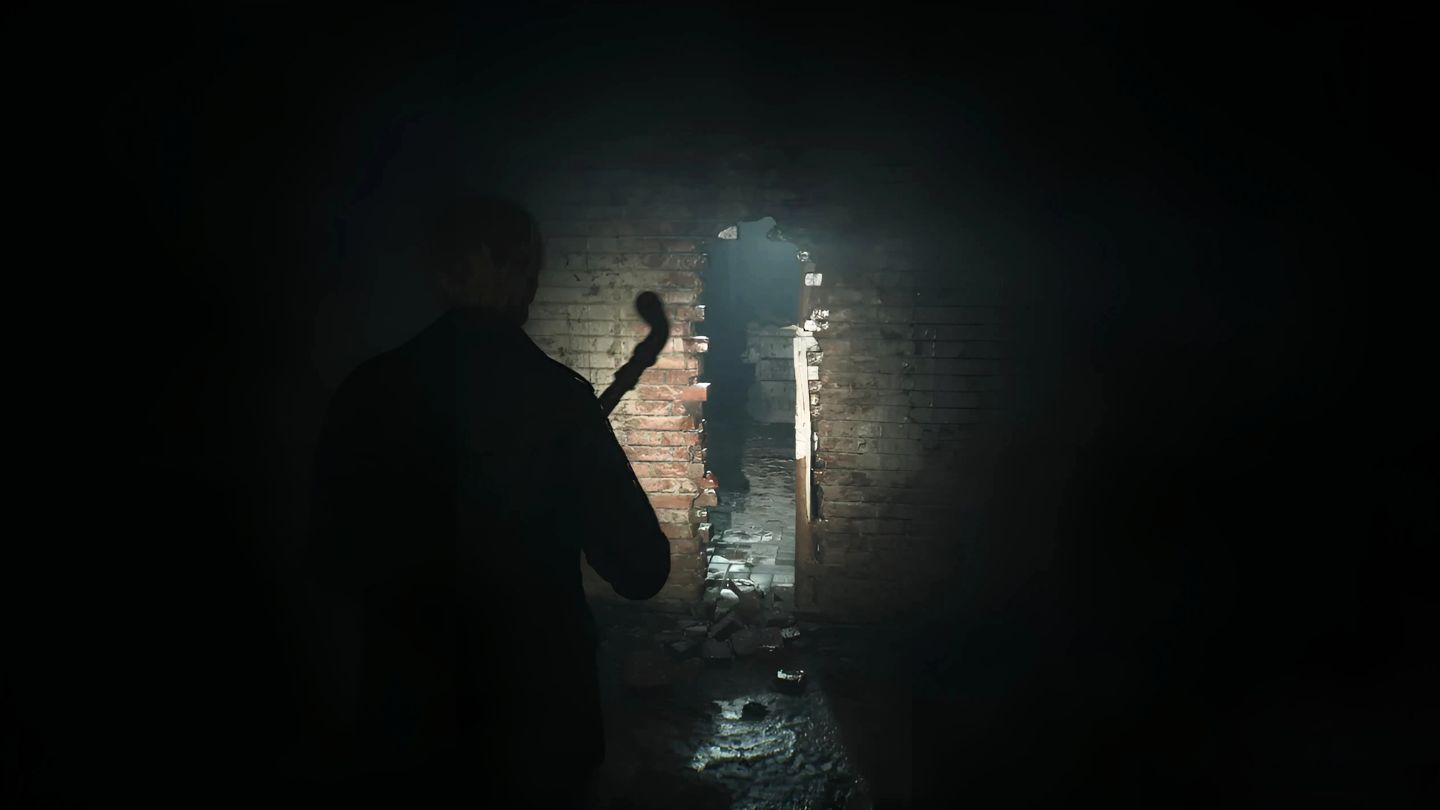
In the Silent Hill 2 Remake, the 26 Mysterious Photos are scattered throughout the game and appear to be placed at random, but their location changes based on your character’s position within the game. To find them all, you will need to thoroughly explore key spots hidden in hard-to-reach or obscured areas of the game.
South Vale (East)
One of the initial areas you delve into when playing Silent Hill is South Vale. Here, you’ll traverse its streets and venture into some of the town’s key landmarks for a while.
- “So Many People Here” – Near the entrance to Wood Side Apartments, in a corner behind a fence and near some trash bags. The photo is hidden among the garbage bags, not far from a blue barrel.
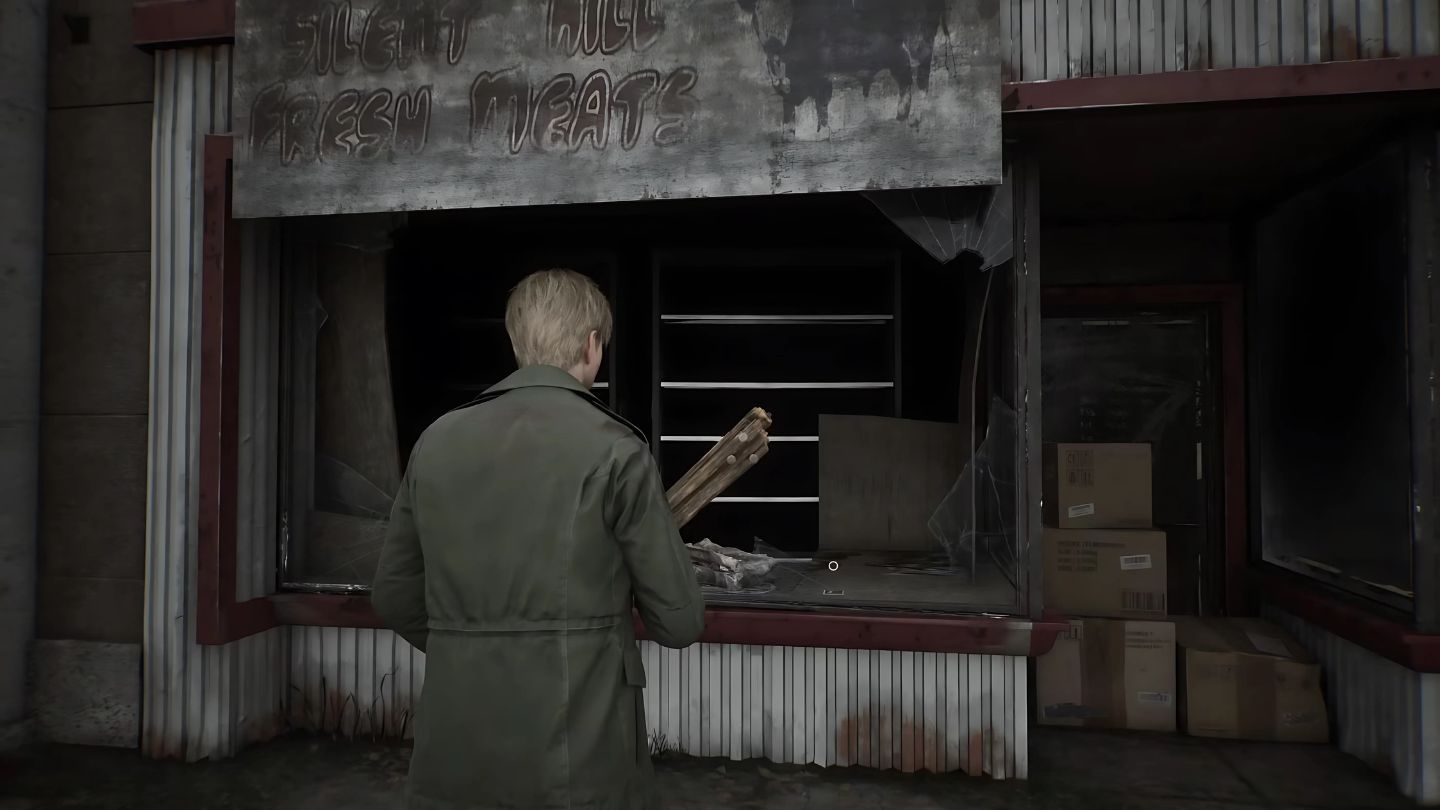
- “I’ve Been Happy” – South of Neely Street, head towards the storefront windows. Smash one of the windows on The Dance Company building to uncover this hidden photo behind the display.
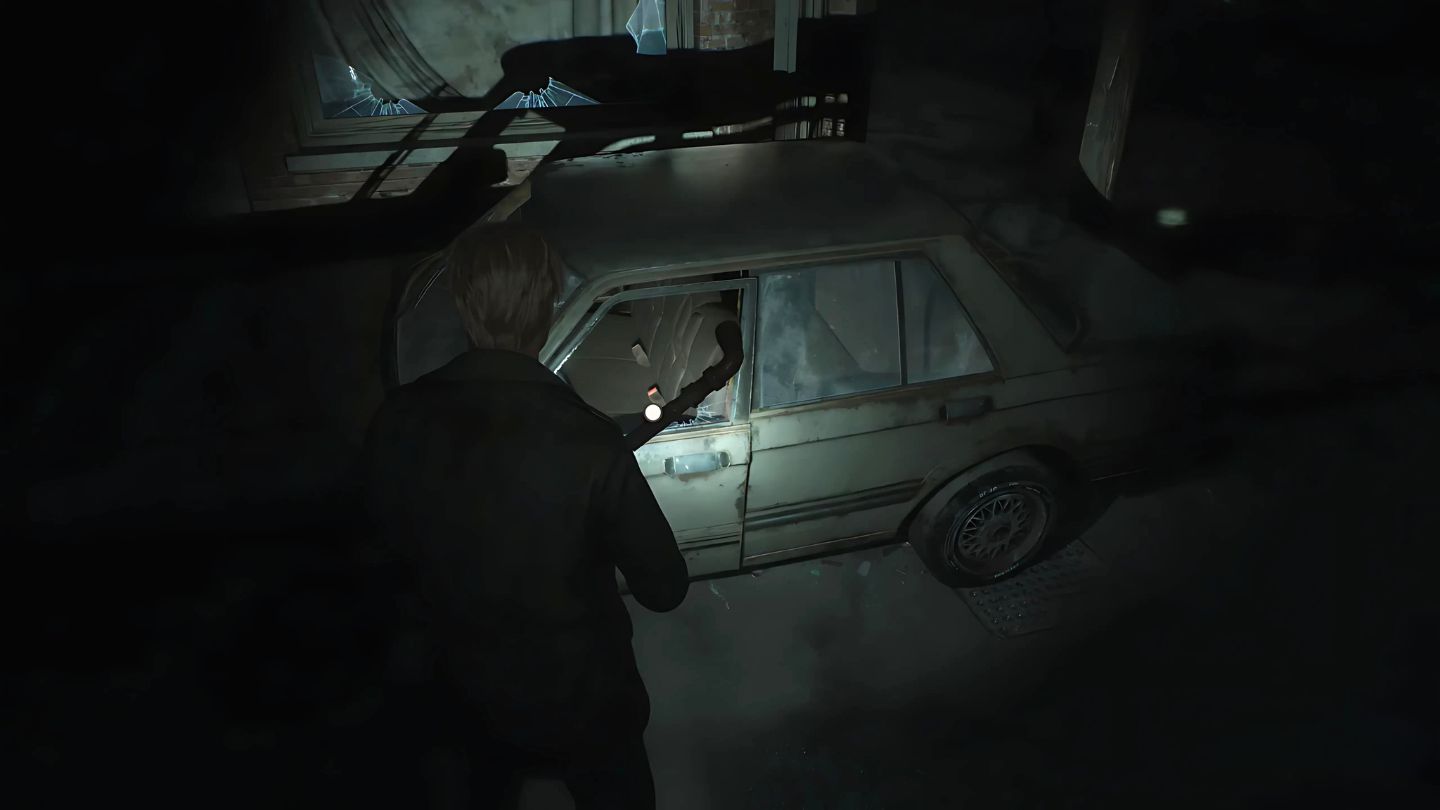
- “They’re Here”– Once you’re back on the streets of South Vale in the Otherworld, head to Katz Street. Break the window of a parked car in front of Lucky Jade Restaurant to retrieve this photo from the driver’s seat.
Wood Side Apartments
This building is one of the first major indoor locations.
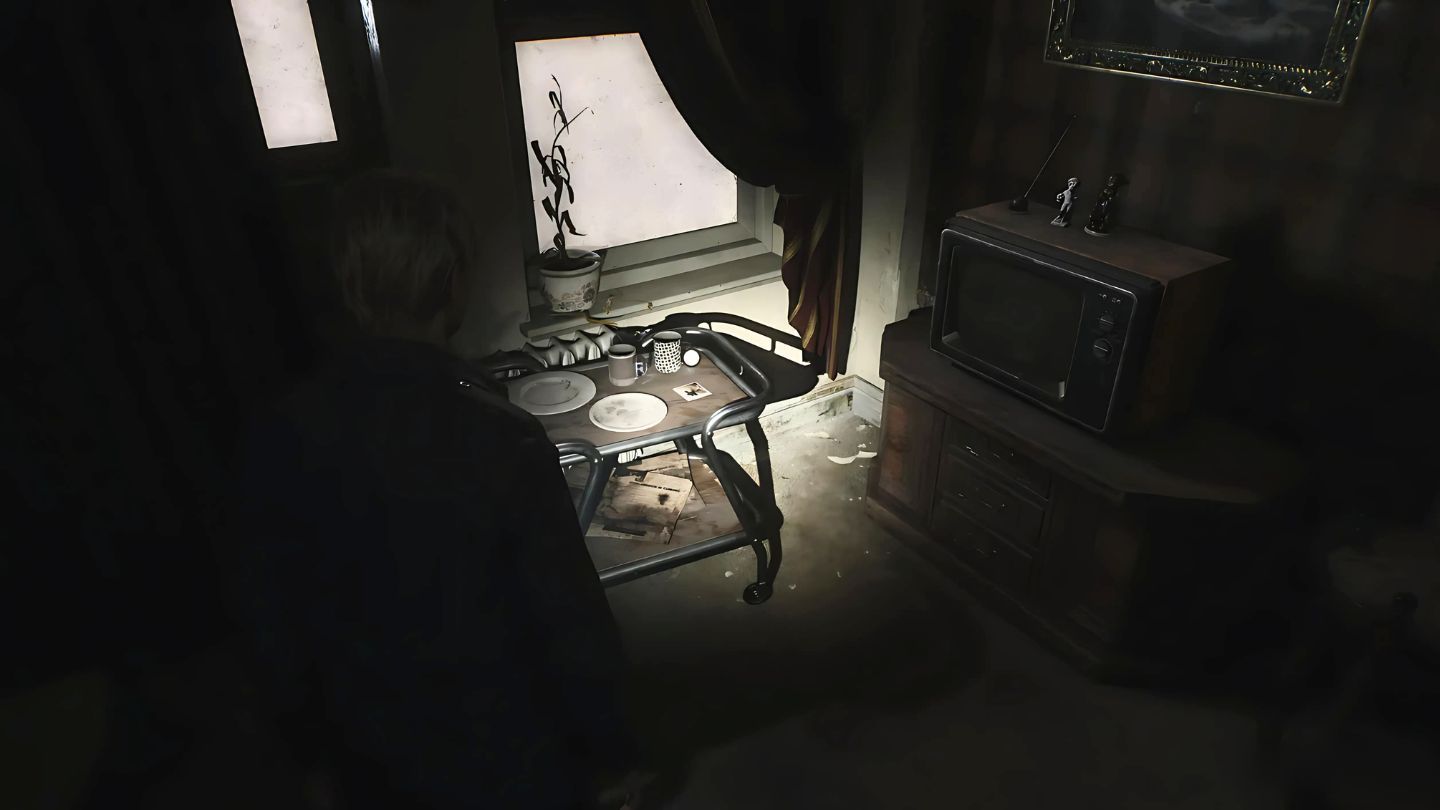
- “Valentine’s Day” – Look near the TV on a small trolley in Room 102 of Wood Side Apartments to locate the photo.
- “Career’s Humble Beginnings” – After moving through Apartment 212, go out to the balcony to access Room 210. Inside, the photo is on a window ledge that has been taped.
Blue Creek Apartments
After crossing from Wood Side, you’ll find yourself in another apartment complex.
- “Forever Together” – After entering Blue Creek Apartments, head to the first floor and find the concrete staircase. The photo is tucked away at the bottom of the stairs, near a barrel.
- “How The Time Flies” – Once you solve the puzzle with the grandfather clock in Room 212, a side room will become accessible. Head in to find the photo lying on the floor next to the bed.
South Vale (West)
In simpler terms, the western district of South Vale includes additional roads and notable locations such as Rosewater Park and Heaven’s Night, expanding the urban landscape.
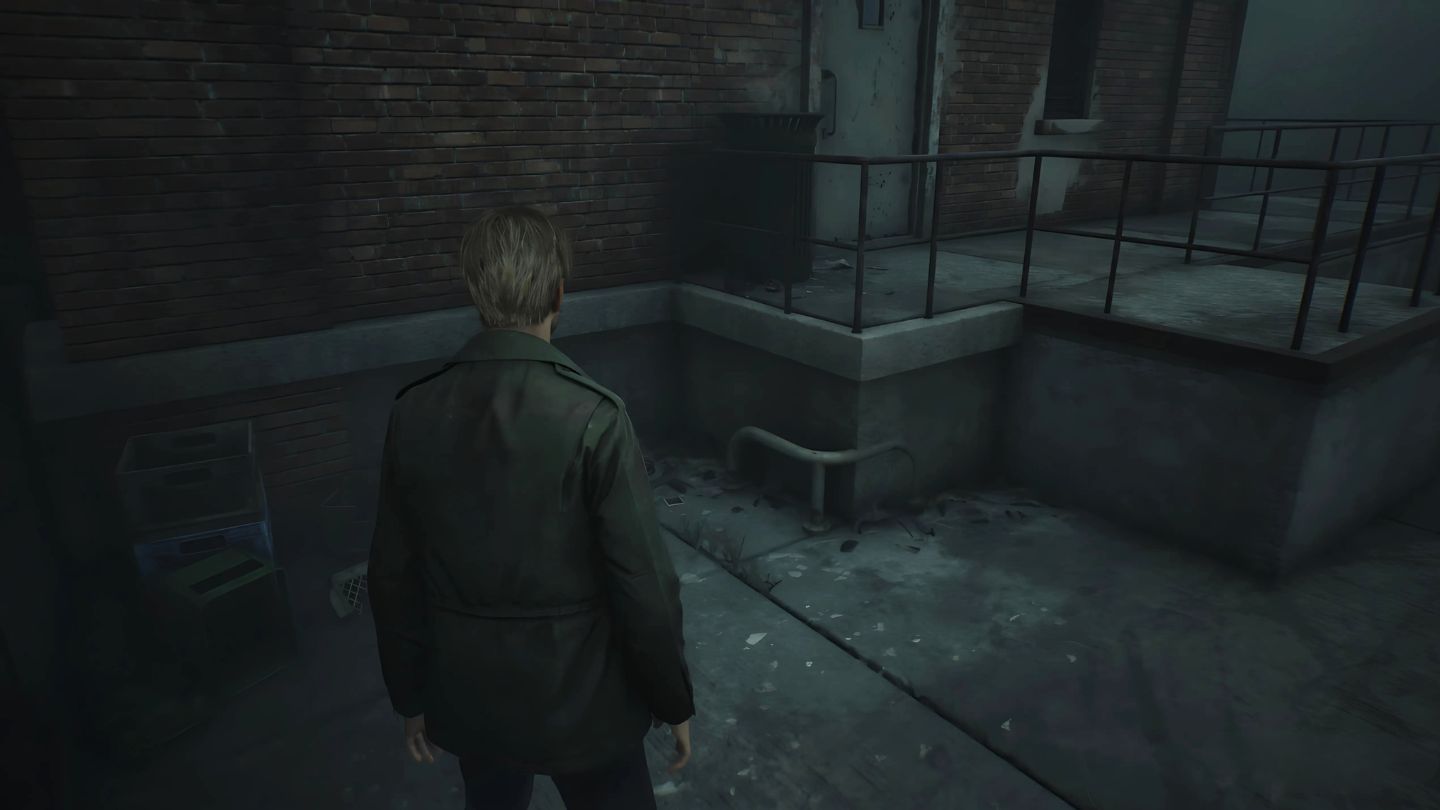
- “So Far From Home” – As you enter Rosewater Park, take a moment to explore the area before heading towards the lake. Look for a stone bench tucked away in an alcove on the west side of the park, where the photo is sitting.
- “Made It!” – After leaving the Blue Creek Apartments, travel down Nathan Avenue. You’ll come across a garage near Jack’s Inn that requires a Garage Jack. Retrieve the jack from a nearby gas station and use it to access the garage, where you’ll find the photo in a toolbox.
- “Ready To Kill It!” – Inside Heaven’s Night, you’ll find this photo hanging on a mirror in the dressing room.
- “Church Entrance” – Following a cutscene with Maria in Moonlight Grove, backtrack towards a fountain in the southern part of the area. You’ll spot this photo sitting near the edge.
Brookhaven Hospital
It’s one of the creepier places in the game, and the strange photos reflect that.
- “Best Flavour!” – After your conversation with Eddie in the Reverie Theater, check the rows of seats behind him. The photo can be found on one of the armrests, just a few rows behind.
- “Her Drawings” – On the second floor of Brookhaven Hospital, enter the Observation Room by crawling through a vent from Room L3. You’ll find the photo sitting on a white desk near a radio-emitting static.
- “At Least She Was There” – After collecting the 1F corridor key, head to Examination Room 1 on the first floor. Inside a drawer at the back of the room is where you’ll find the photo.
- “No One Knows” – In the Otherworld version of Brookhaven Hospital, this photo can be found inside Room C5 on the second floor (2F). Look in the bedside drawer to uncover it.
- “They Mustn’t Know” – After reuniting with Maria in the Otherworld Hospital, head to the first floor’s Pool area. The photo is sitting on a bench at the back of the room.
Silent Hill Historical Society
The Significant Site of the Silent Hill Historical Society offers intriguing insights into the town’s peculiar past. Within its walls, artifacts and fragments of history, including this valuable item, can be found.
- “The New Clock” – As you explore the ground floor of the Historical Society, you’ll pass by several glass cases. Smash through one of them to find this photo.
Toluca Prison
This dilapidated jail serves as a hauntingly oppressive and secluded environment. As you delve into its cells, unravel peculiar riddles, and bear witness to the crumbling history of Silent Hill, you’ll find yourself immersed in its decaying past.
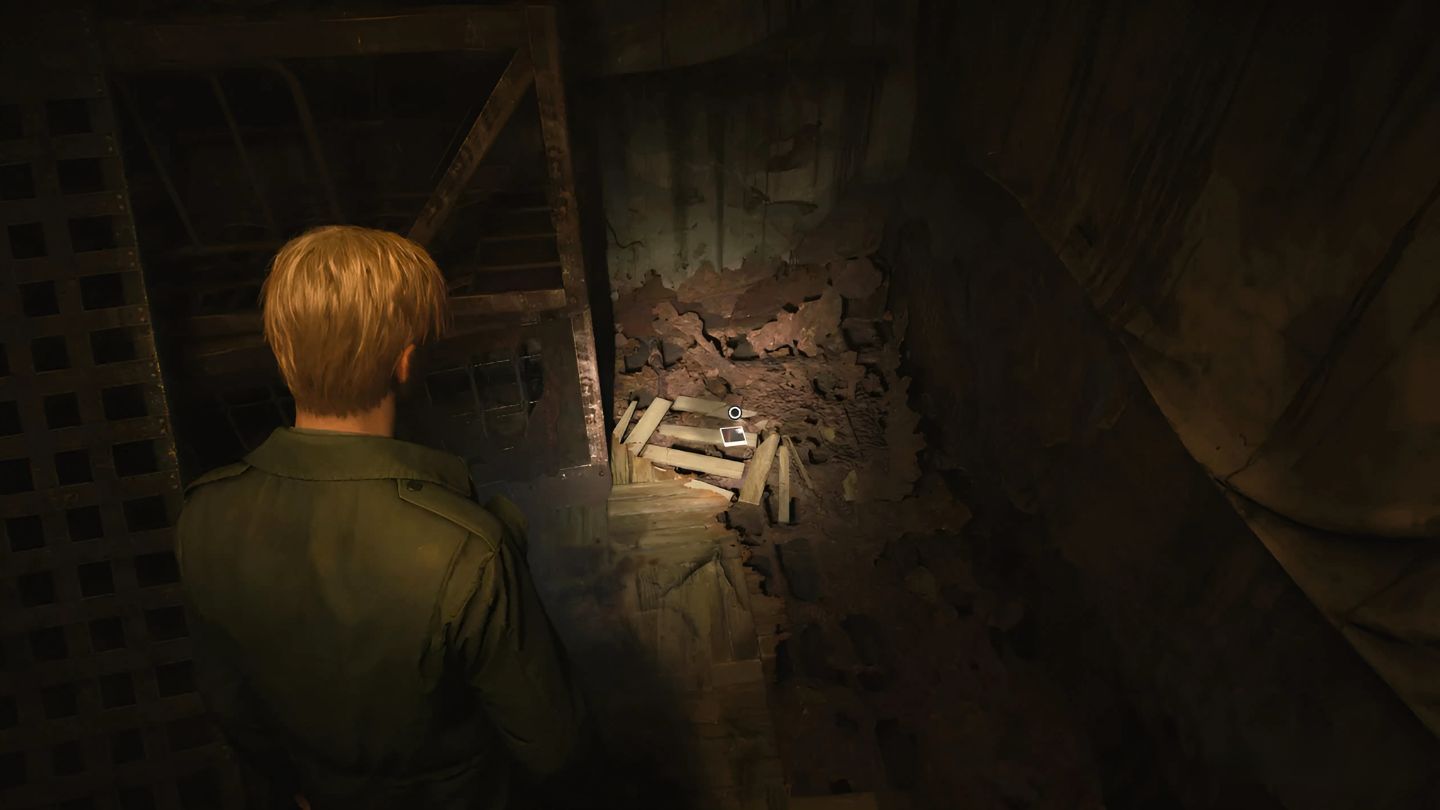
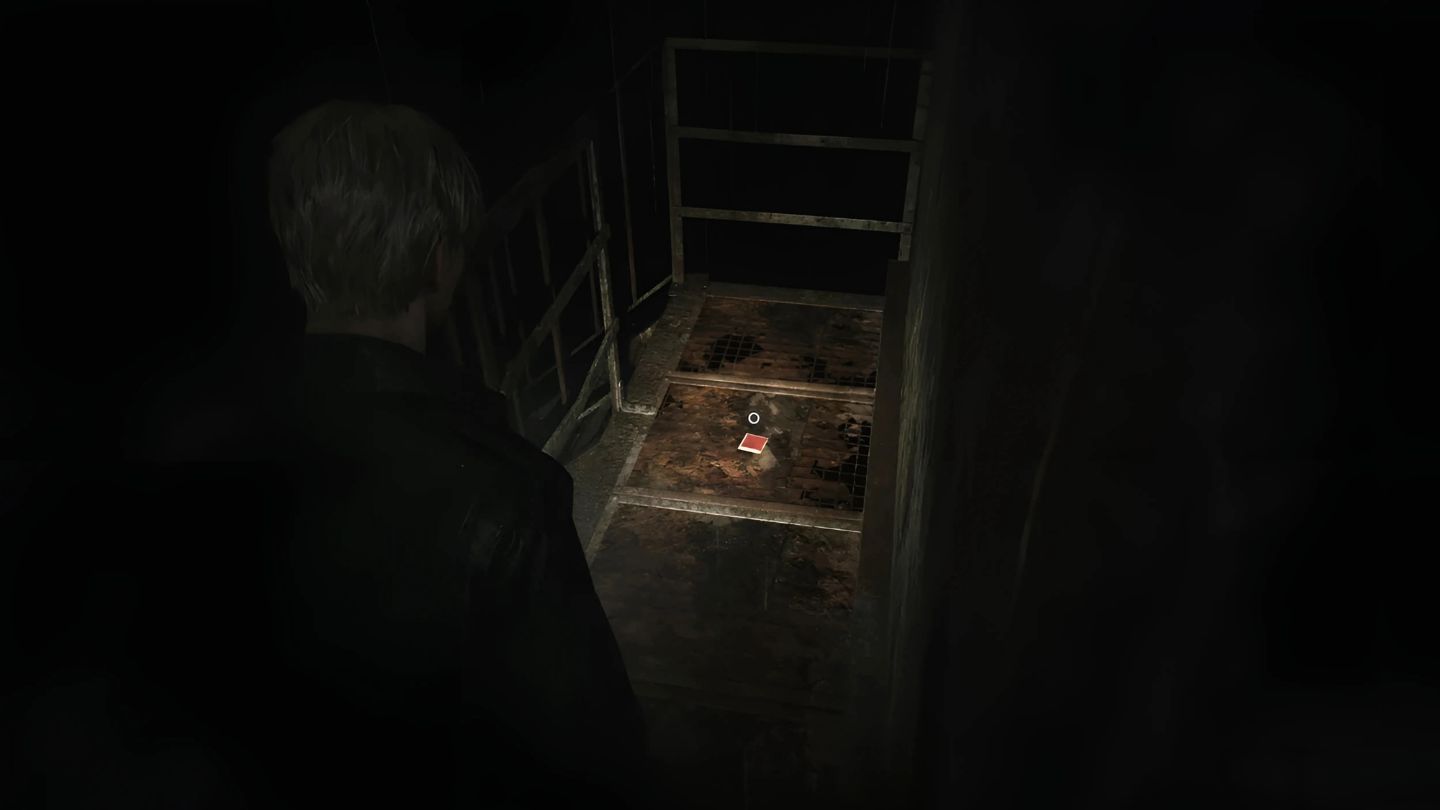
- “Four Months To Go” – After solving the weight puzzle in Toluca Prison’s Serpent Section, you’ll be able to open several cells. Enter Cell E13 to find this photo on a shelf.
- “Old Man’s Always Prepared” – After completing the scales puzzle, unlock the Eyeless Boar door and head into the Warehouse. You’ll find this photo on a desk inside the Administrative Section.
Labyrinth
The Labyrinth presents as a dream-like, disorienting network of interconnected spaces, featuring spinning chambers and winding corridors.
- “Whole World Ahead Of Us” – After reaching the Flooded Level in the Labyrinth, where you’re being chased by Pyramid Head, look for a ladder in a hexagonal room. This room is labeled VI on the map and entering it will reveal this photo.
- “Your Best Buddy” – When solving the rotating cube puzzle, align the cube to reveal a face with scratched-out symbols. Head down the stairs from this section to discover the photo lying on the floor.
Toluca Lake
Toluca Lake, which lies on the outskirts of the town, holds numerous mysteries beneath its tranquil surface. Prior to your stay at the Lakeview Hotel, you’ll want to explore this area a bit first.
- “Road Trip” – Before boarding the rowboat to Lakeview Hotel, check the area behind a set of steps at the pier to find this photo.
Lakeview Hotel
One of the game’s most iconic locations, Lakeview Hotel represents a place of memories and guilt.
- “Aftermath…” – Search the bedside drawer in Room 104 of Lakeview Hotel to locate this photo.
- “Better Leave” – Search behind the bar at the Venus Tears Bar in the basement, where you’ll find this photo on a shelf packed with bottles.
- “Still Can’t Get It Right” – Once you enter Room 302 in the Otherworld version of Lakeview Hotel, move the trolley out of the way to access the bathroom. The photo is in the sink.
- “Shape Forces The Mind” – After collecting the Scarlet Egg and Rust-Colored Egg, find this photo on a steel scaffold just before the stairs leading to the final boss.
As you peruse them, it becomes apparent that numerous photographs contain handwritten messages, which stir memories or hint at a somber side related to James and Mary.
Keep in mind that there might be places you can’t access once you proceed, so make sure to gather all necessary items before continuing your journey in the narrative.
Which Strange Photo do you find most intriguing or unsettling? Comment down below!
Read More
- Nadaaniyan song Galatfehmi OUT: Ibrahim Ali Khan, Khushi Kapoor’s heartbreaking separation in love will leave you emotional
- Pop-Tarts and Krispy Kreme Kick Off 2025 With Collaborative Menu
- Cookie Run Kingdom Town Square Vault password
- Alec Baldwin’s TLC Reality Show Got A Release Date And There’s At Least One Reason I’ll Definitely Be Checking This One Out
- The First Trailer for The Weeknd’s ‘Hurry Up Tomorrow’ Film Is Here
- Rick Owens Gives RIMOWA’s Cabin Roller a Bronze Patina
- JJJJound’s Made in Germany adidas Superstars Drop This Week
- Lars Eidinger on Berlin Opener ‘The Light’: “We, the Privileged Wealthy, Are the Problem”
- Ryan Gosling’s Star Wars Movie Here’s Everything We Know
- ‘The Last of Us’ Gets Season 2 Premiere Date
2024-10-14 16:14