As a seasoned adventurer with countless hours spent traversing the realm of Eorzea, I must say that the guides for M1 and M2 raids in FFXIV Arcadion’s Light-Heavyweight division have left me quite impressed. The strategic intricacies, the coordinated teamwork, and the sheer power these encounters exude are truly a testament to Square Enix’s dedication to crafting immersive experiences for us Warriors of Light.
Players who’ve finished the main scenario quest ‘Dawntrail‘ in Final Fantasy XIV’s newest expansion (7.0) can now embark on the much-anticipated Arcadian Raid series. The Arcadion offers some of our best-loved boss battles yet, along with valuable gear and cosmetic items for future use.
How to Unlock Arcadion in FFXIV?
Once you finish the main storyline quest titled ‘Dawntrail’, locate the NPC named ‘Stylish Stranger’ at coordinates X:19.1, Y:18.8 and pick up the level 100 mission called ‘A New Challenger Emerges’. This action will eventually grant access to your first raid, specifically ‘AAC Light-heavyweight M1’, with a minimum item level requirement of 685.
FFXIV Raid Guide for AAC Light-Heavyweight M1 (Normal)
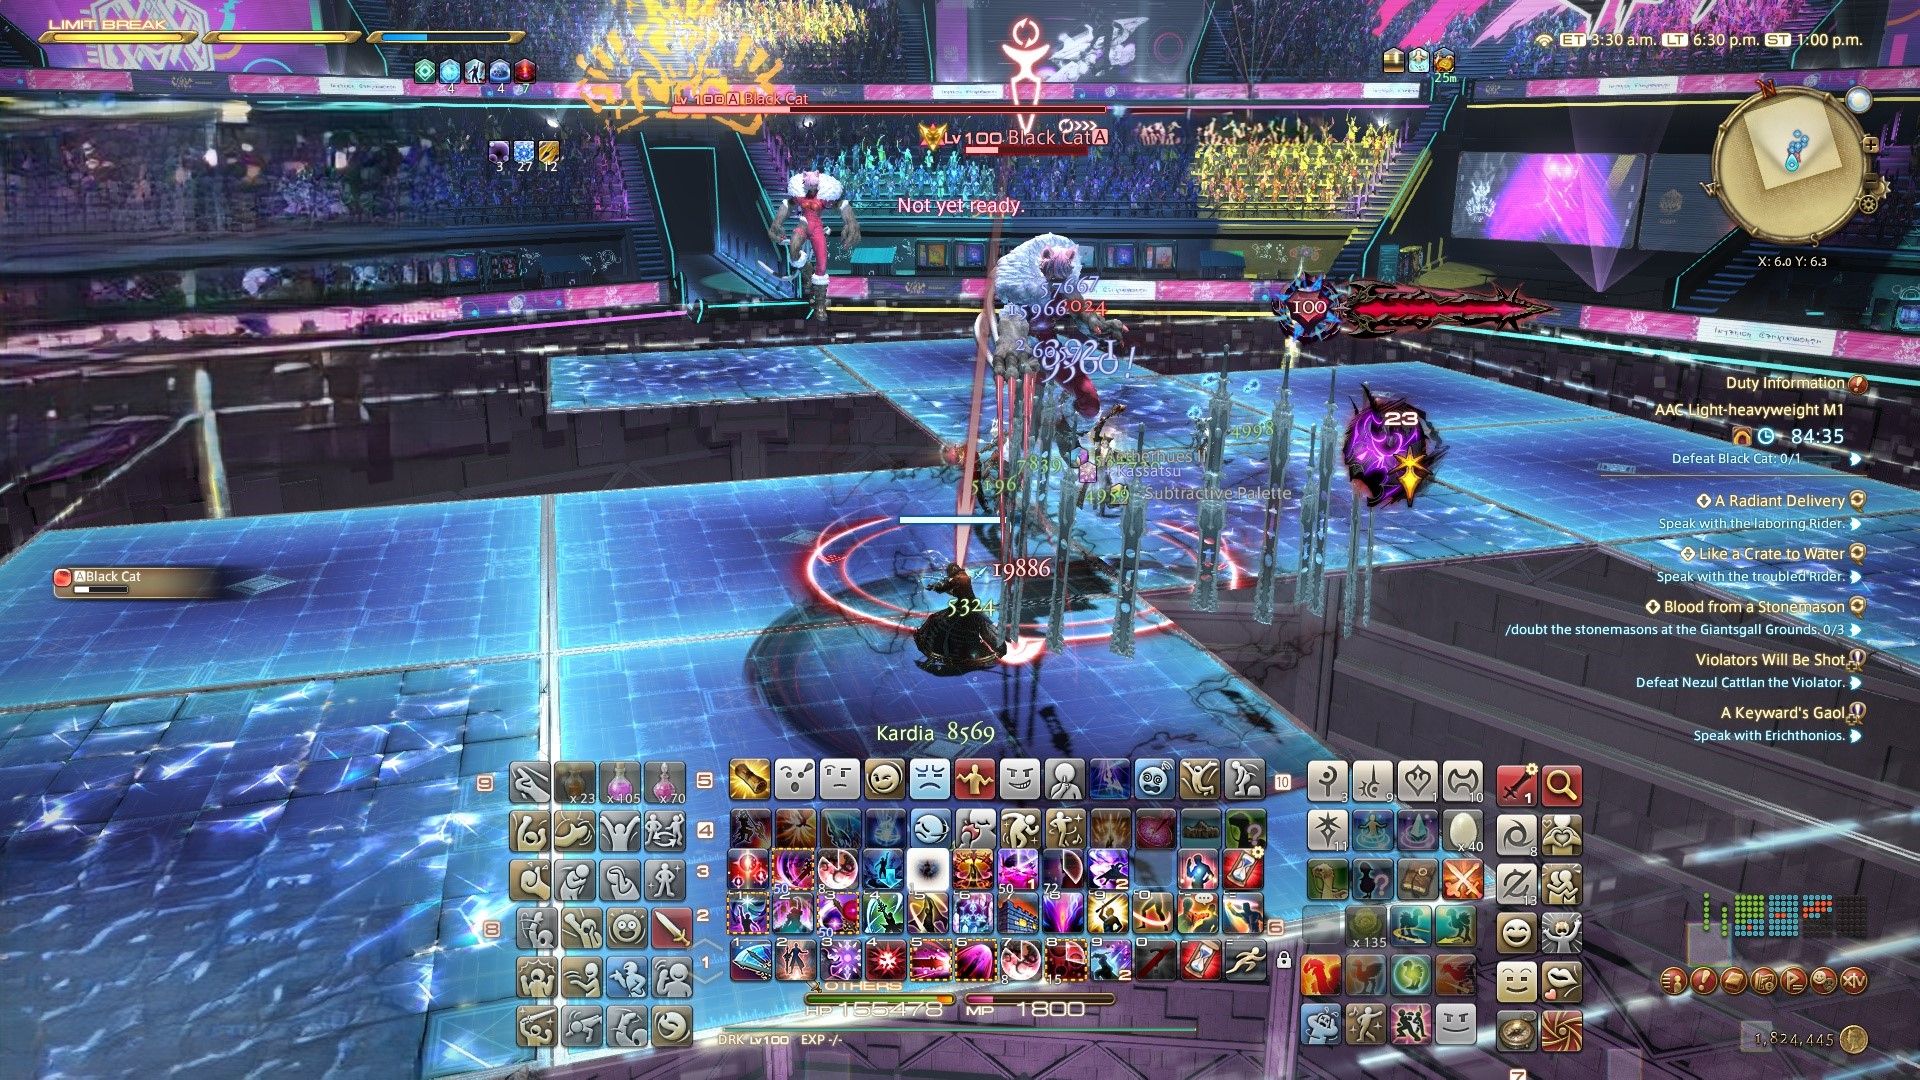
In the Light-Heavyweight division, your initial combatant is none other than Black Cat. As the first challenge in the raid sequence, the complexity of this battle is notably less than subsequent ones, serving as a gentle introduction to the rhythm and timing of attacks typical for bosses in this raid series on Normal mode.
Black Cat uses a series of well-telegraphed attacks. Here is a list of how to avoid them:
Bloody Scratch
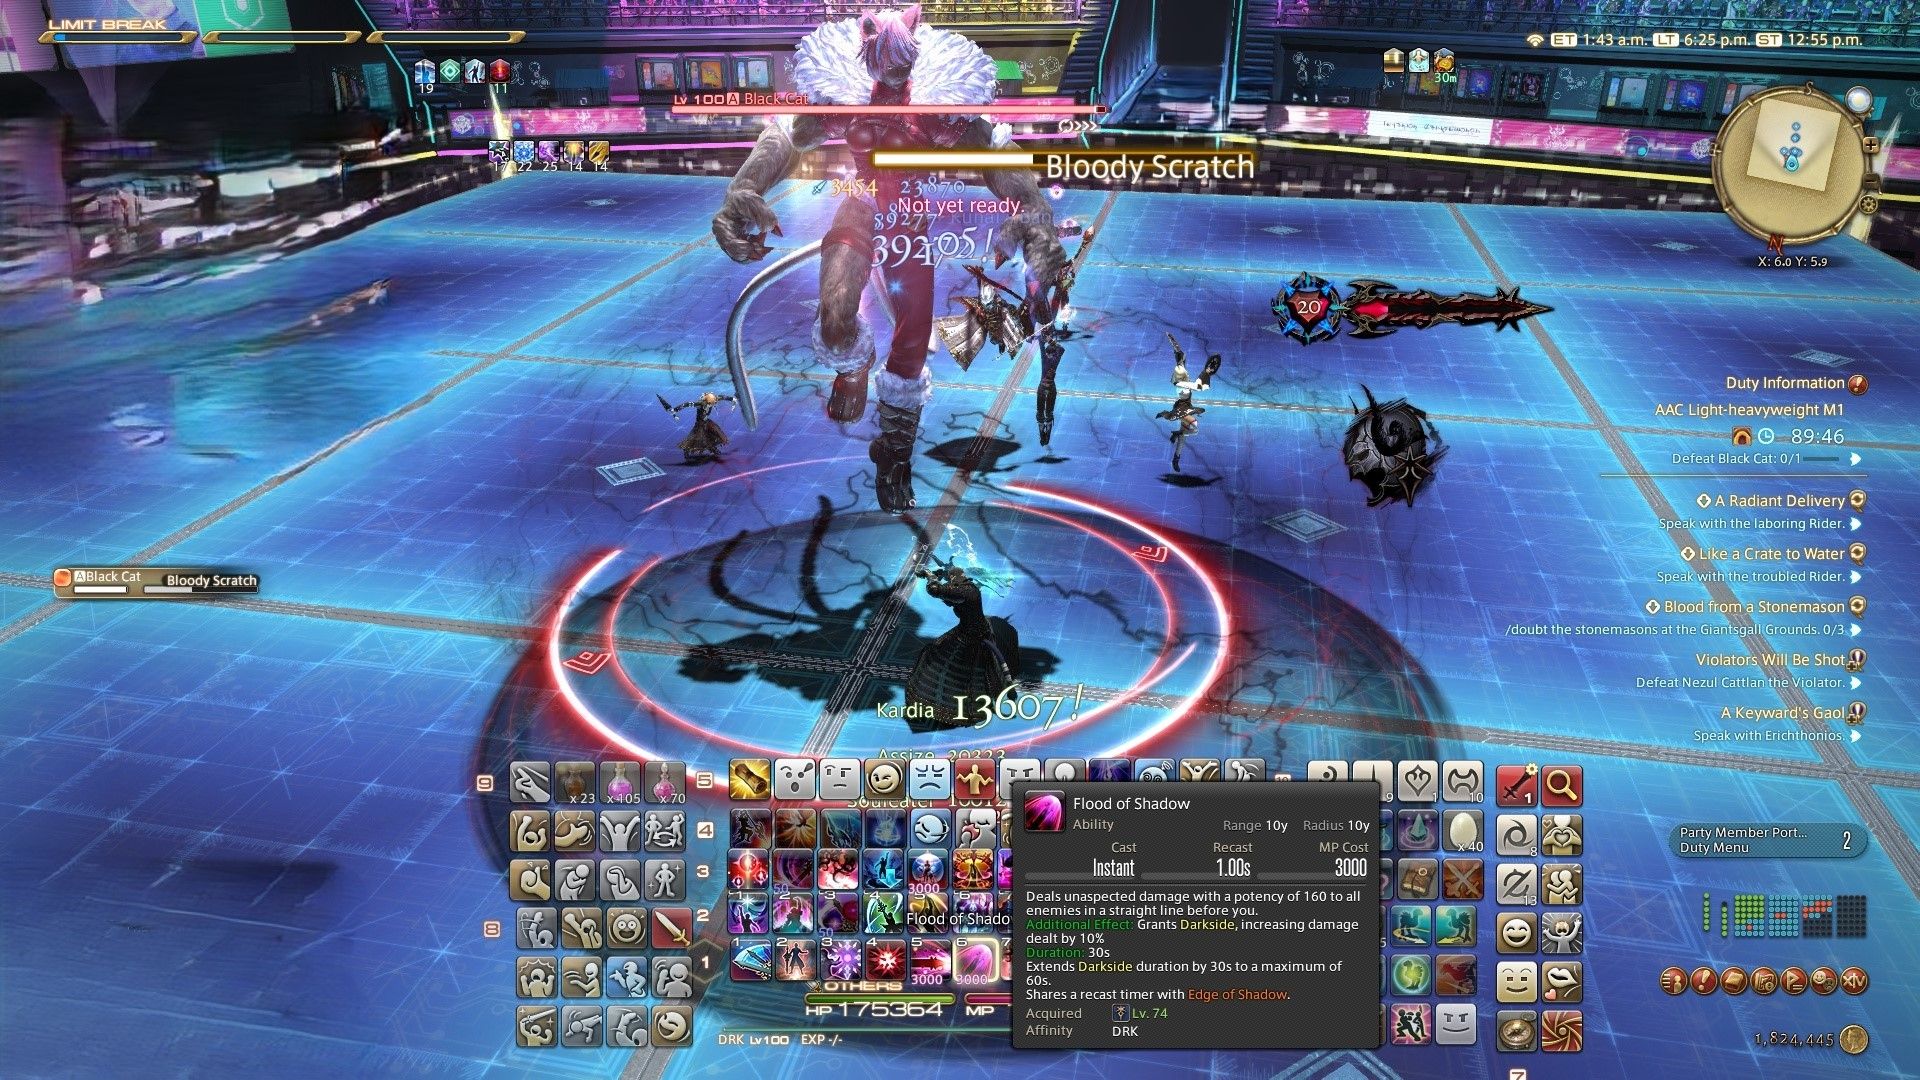
Across all battlefields, use area-of-effect abilities such as Feint, Addle, or Reprise to help alleviate the pressure on healers by inflicting damage debuffs.
Biscuit Maker
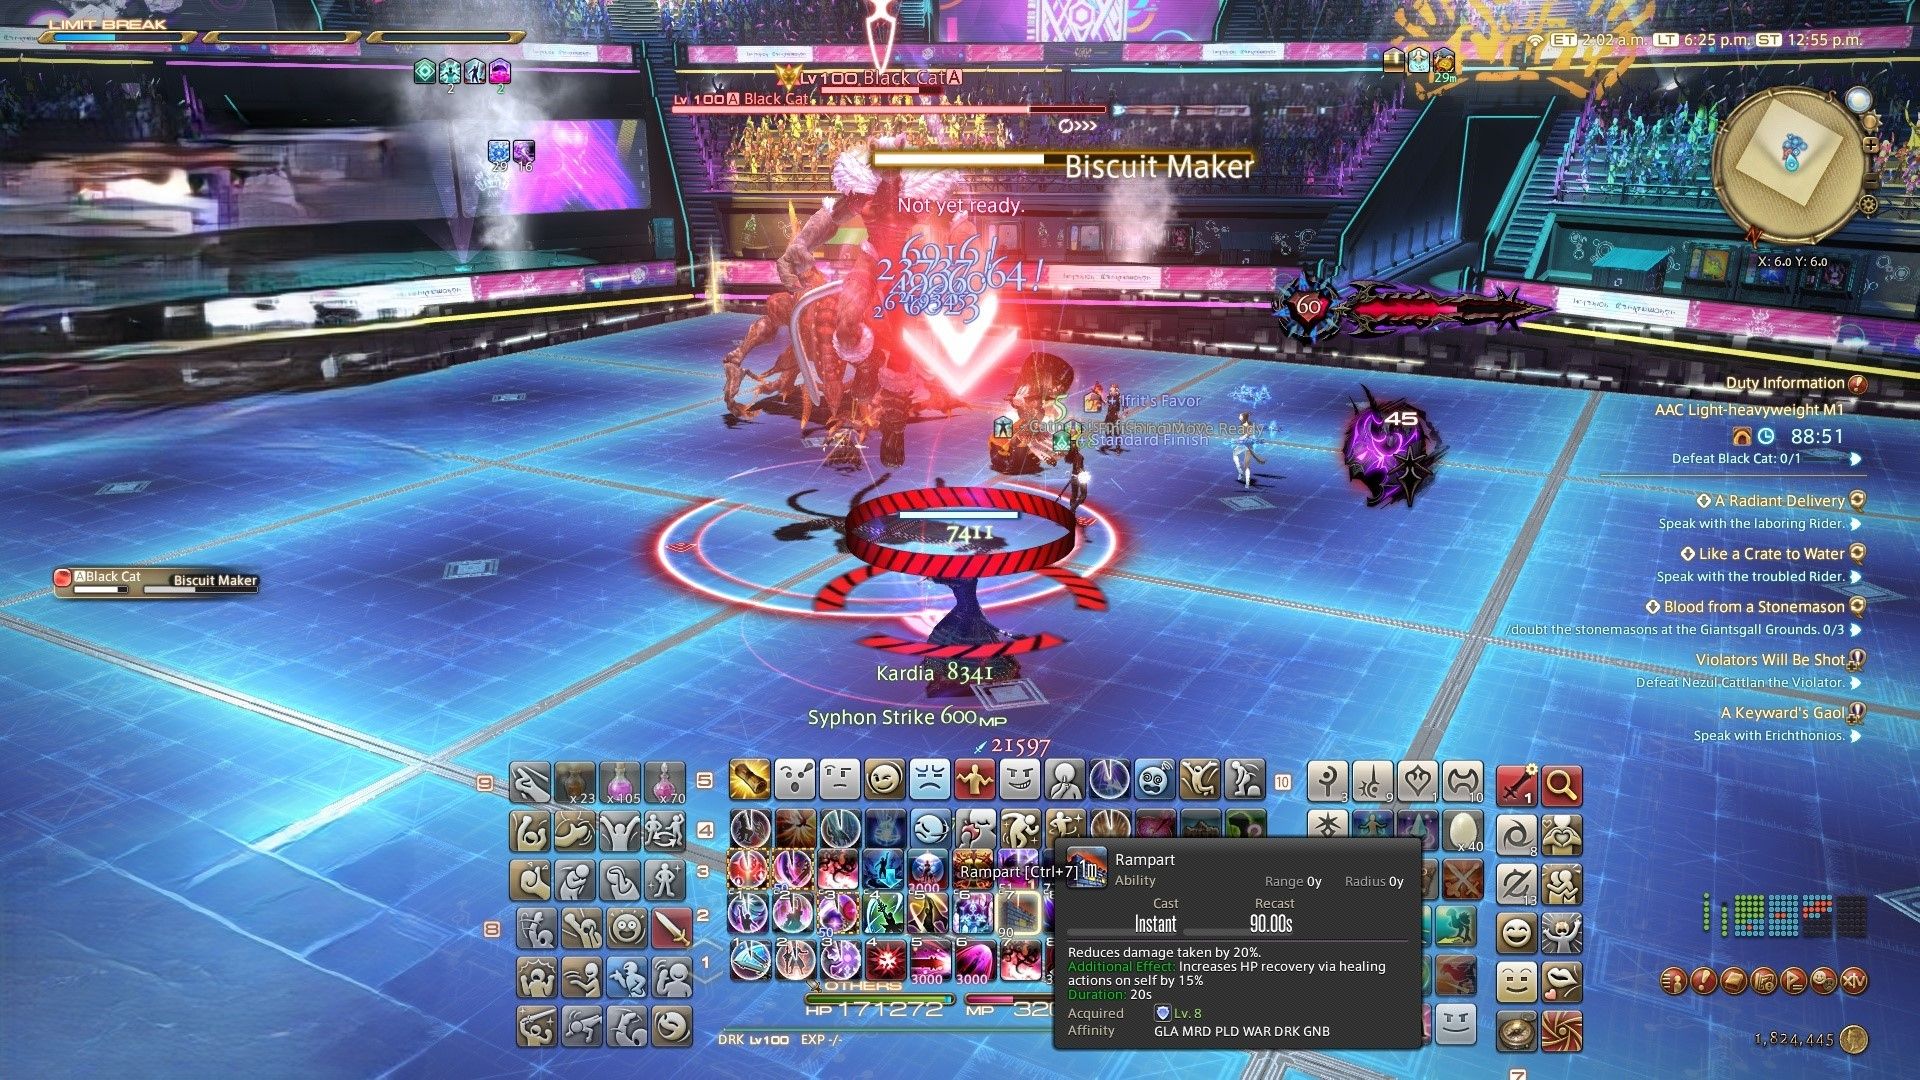
Standard single-target tank-buster (red marker). Having two mitigation skills handy is optimal.
One-Two Paw
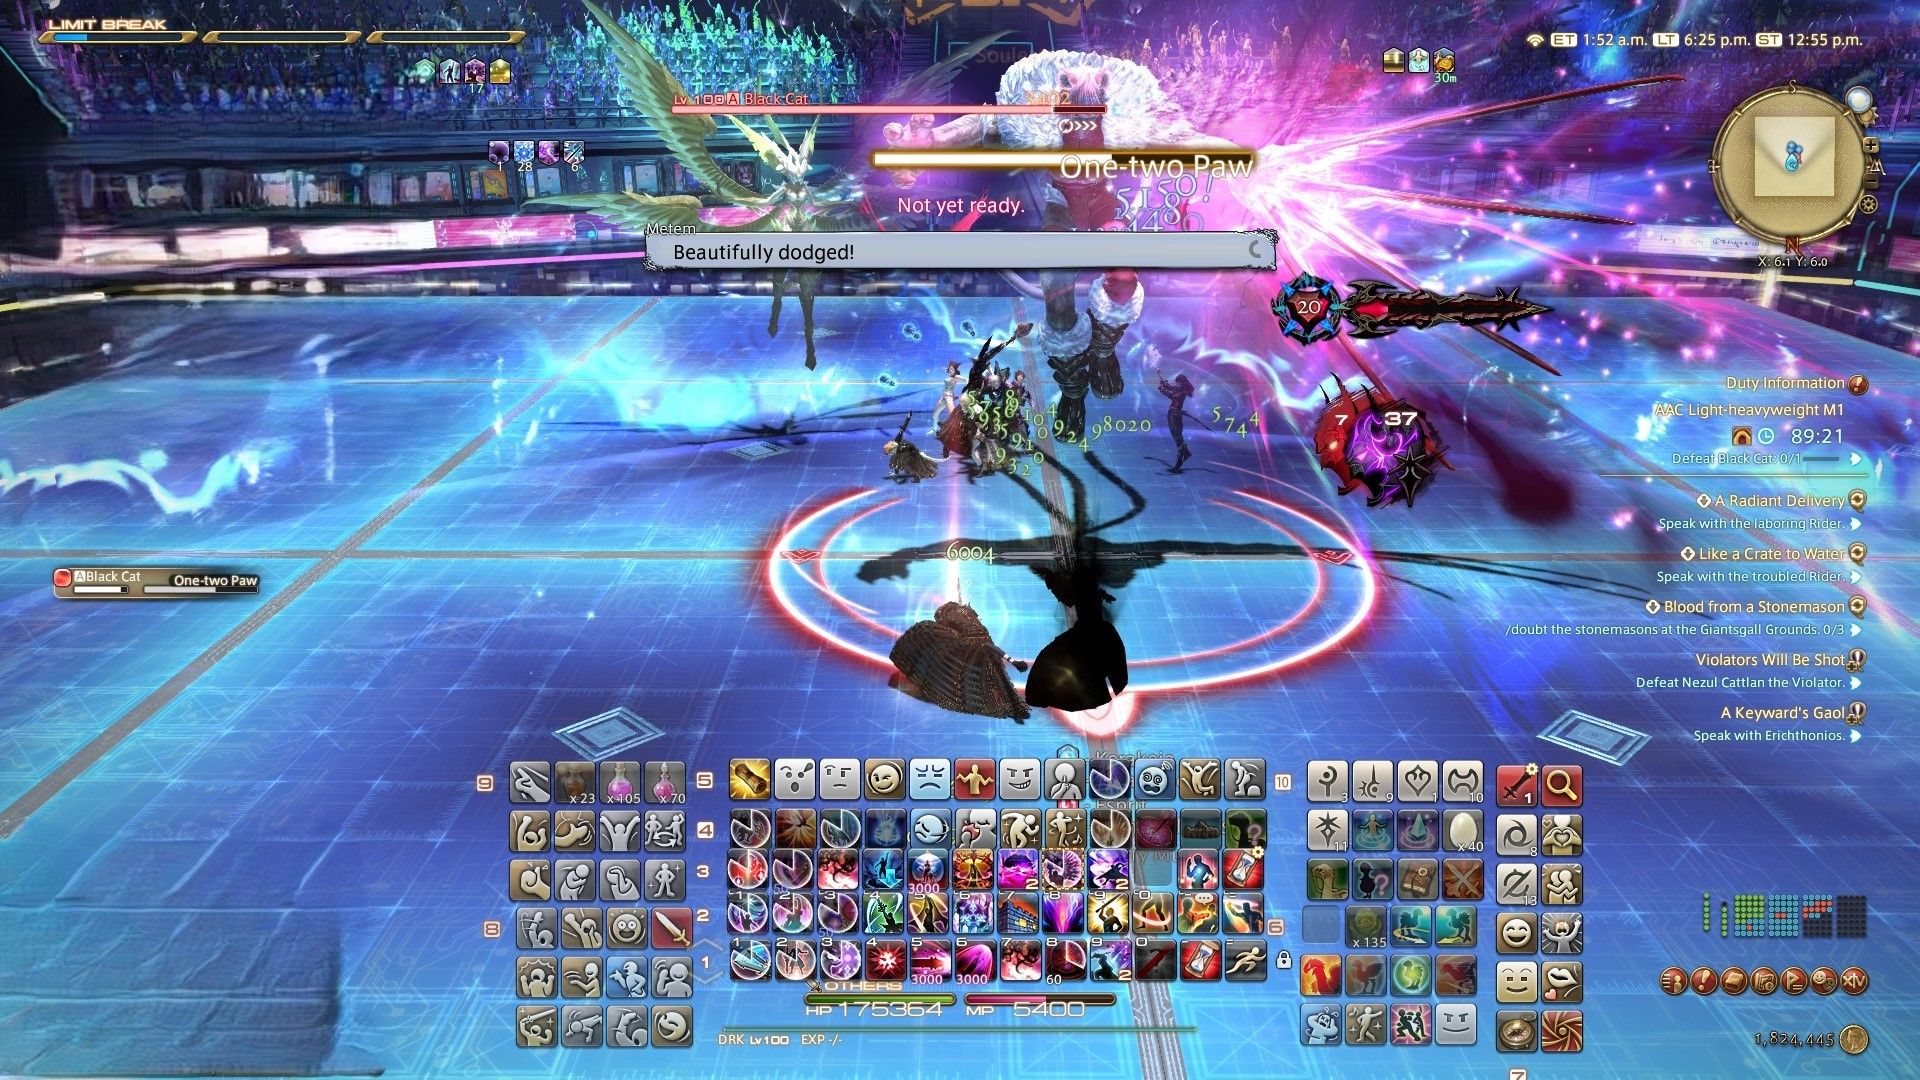
As a seasoned adventurer with countless battles under my belt, I can confidently recommend positioning yourself near the center of the platform when facing a set of two alternating half-room Area of Effect (AoE) cleaves. This strategic placement will provide you ample time to react and adjust between each powerful strike. My years of experience have taught me that being too close to the edge can leave you vulnerable, while standing too far away may result in missing crucial opportunities for counterattacks. So, heed this advice from a battle-hardened warrior, and position yourself wisely to survive those relentless AoE cleaves.
Black Cat Crossing
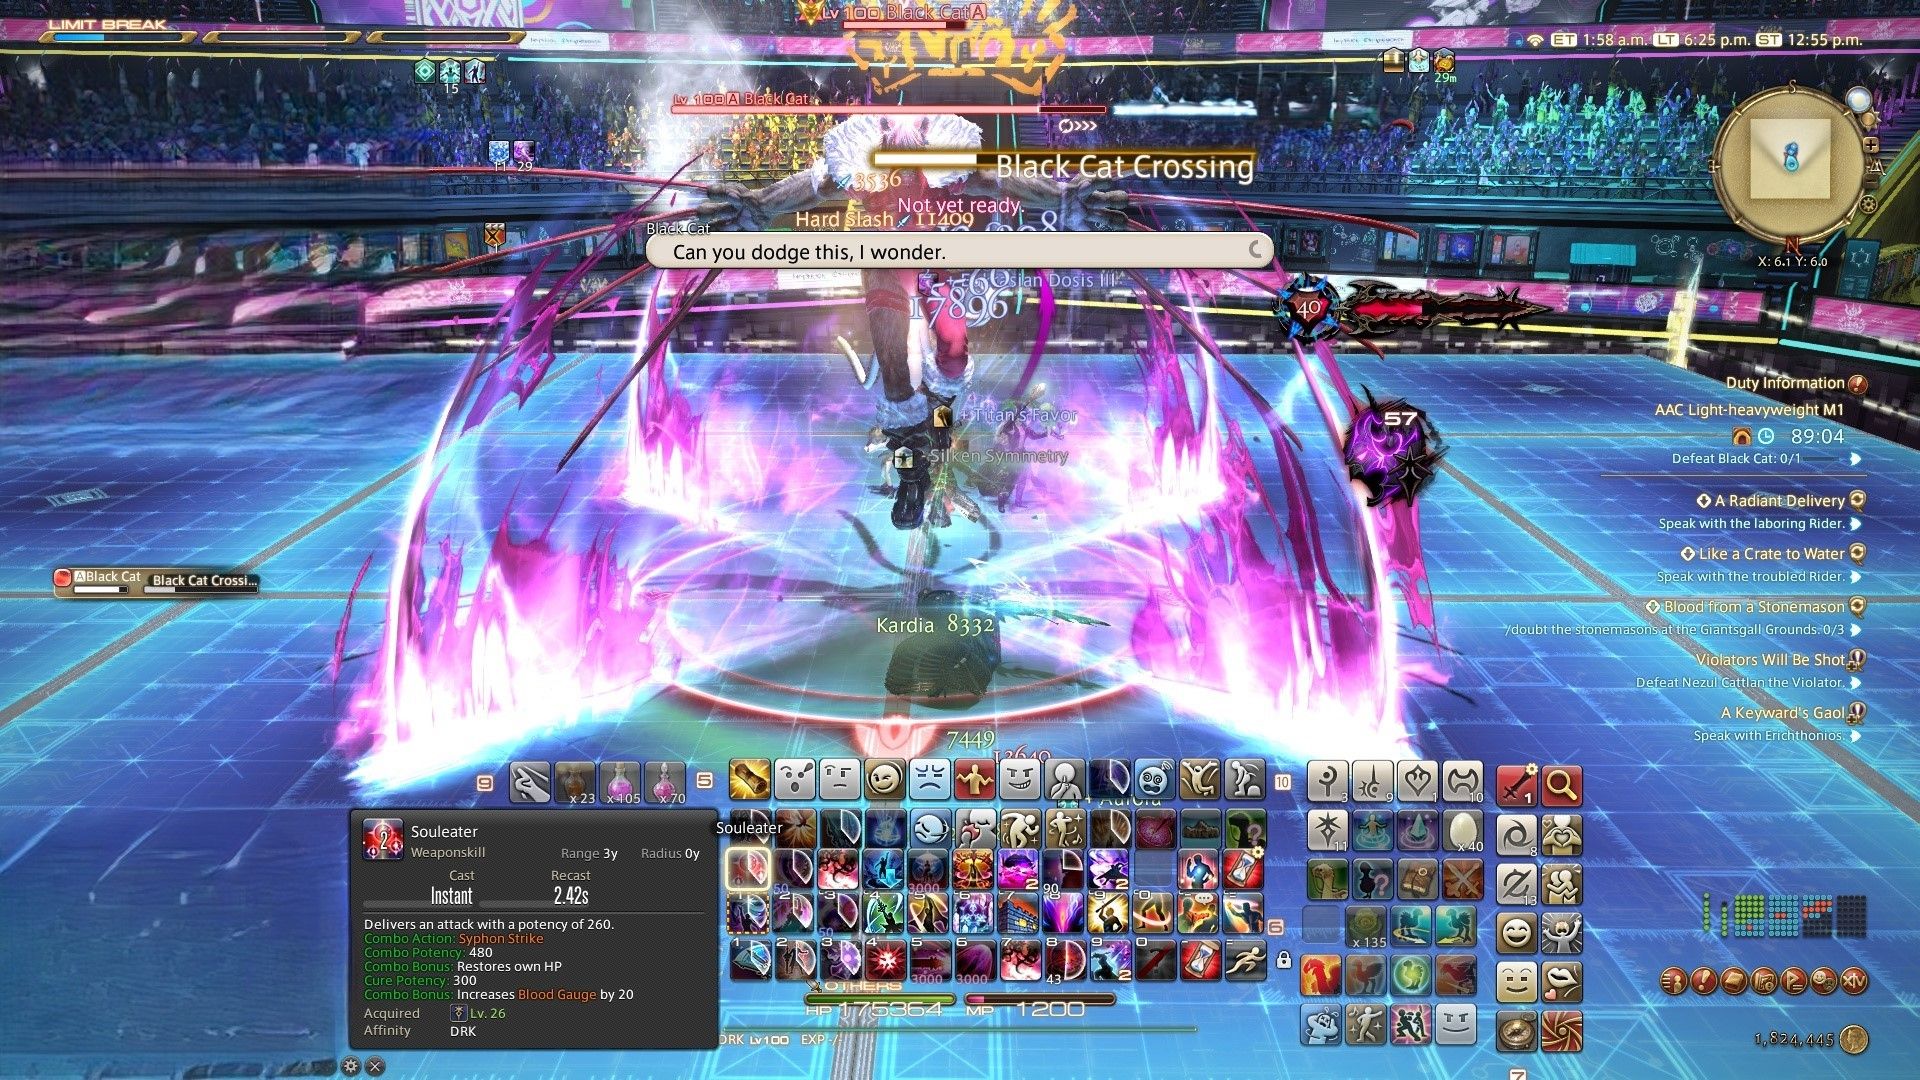
In a sequential Age of Empires scenario, there will be two phases, each consisting of four consecutive, cone-shaped assaults. The key is to pay close attention to the sequence of the indicators. There’s ample time between the two attack sequences for you to make any necessary adjustments.
Clawful
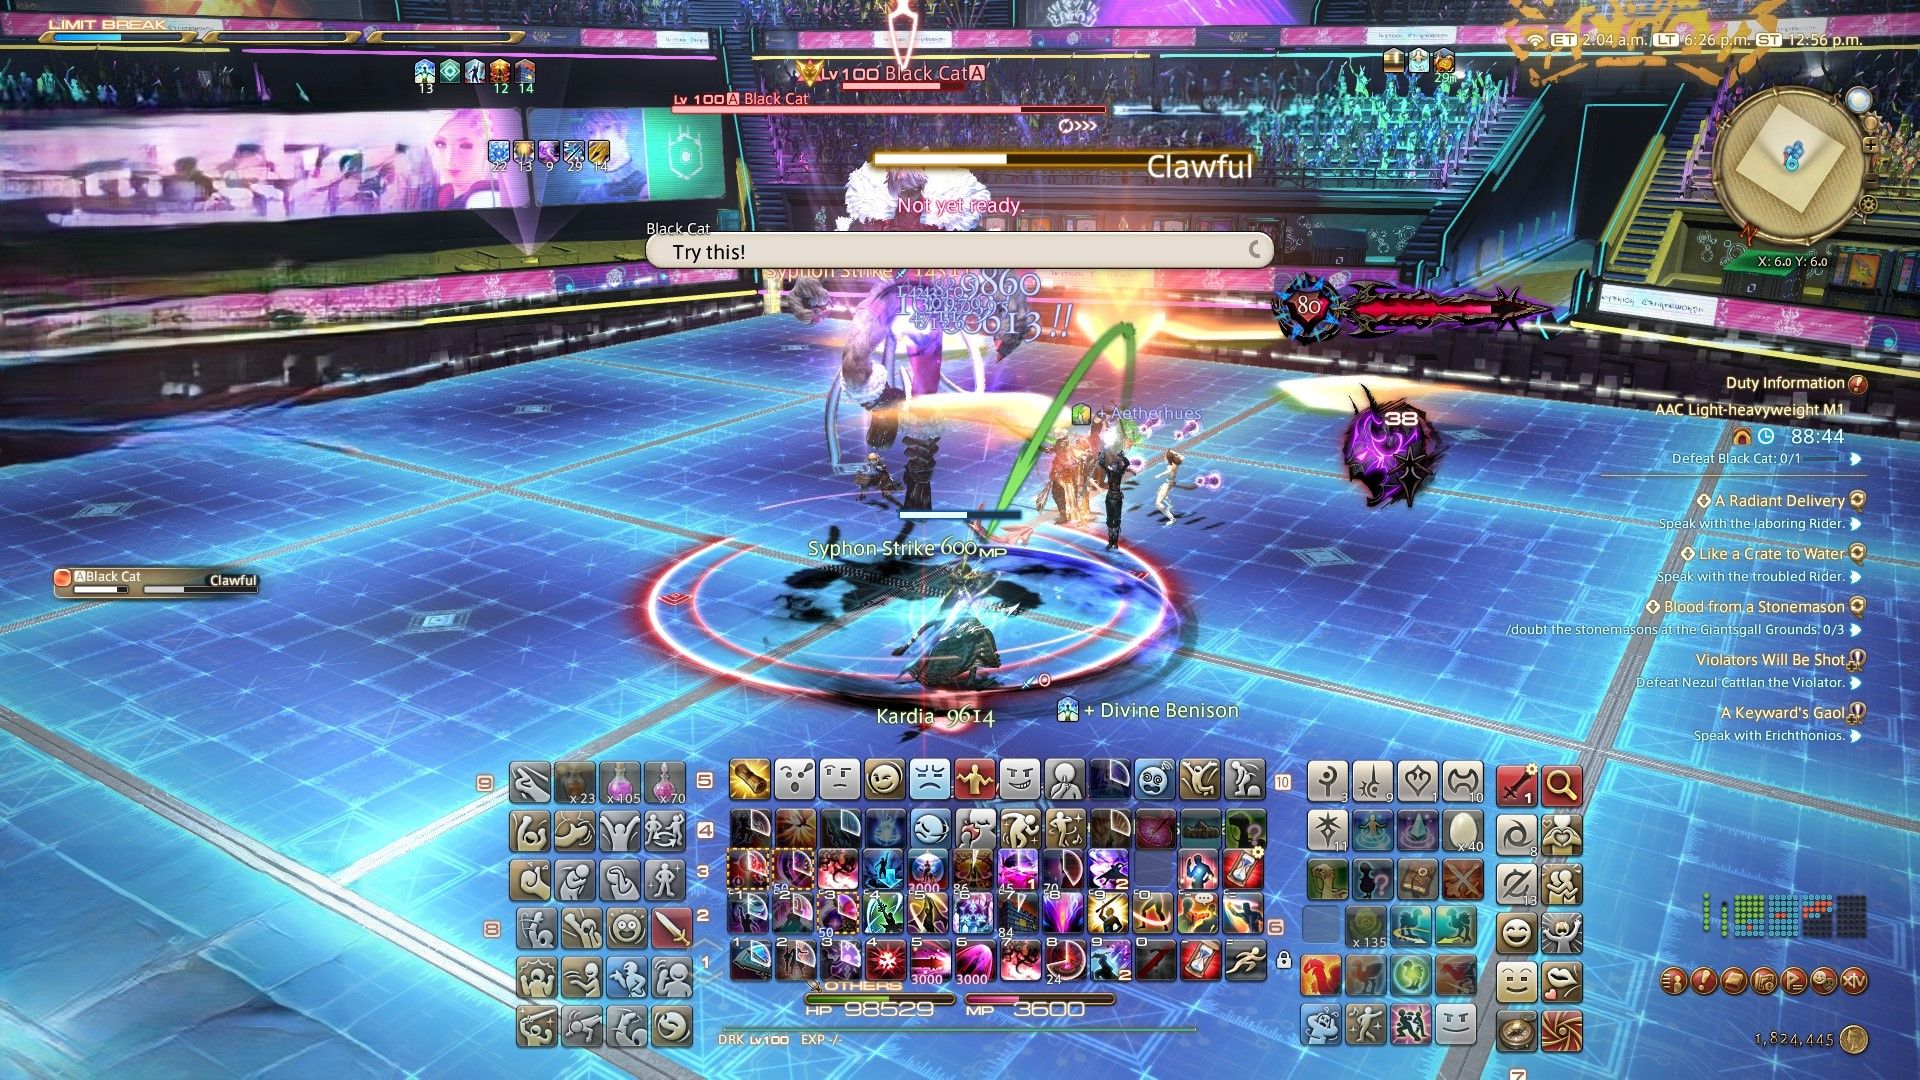
Standard single-target stack attack (yellow marker) – gather up in one spot.
Mouser
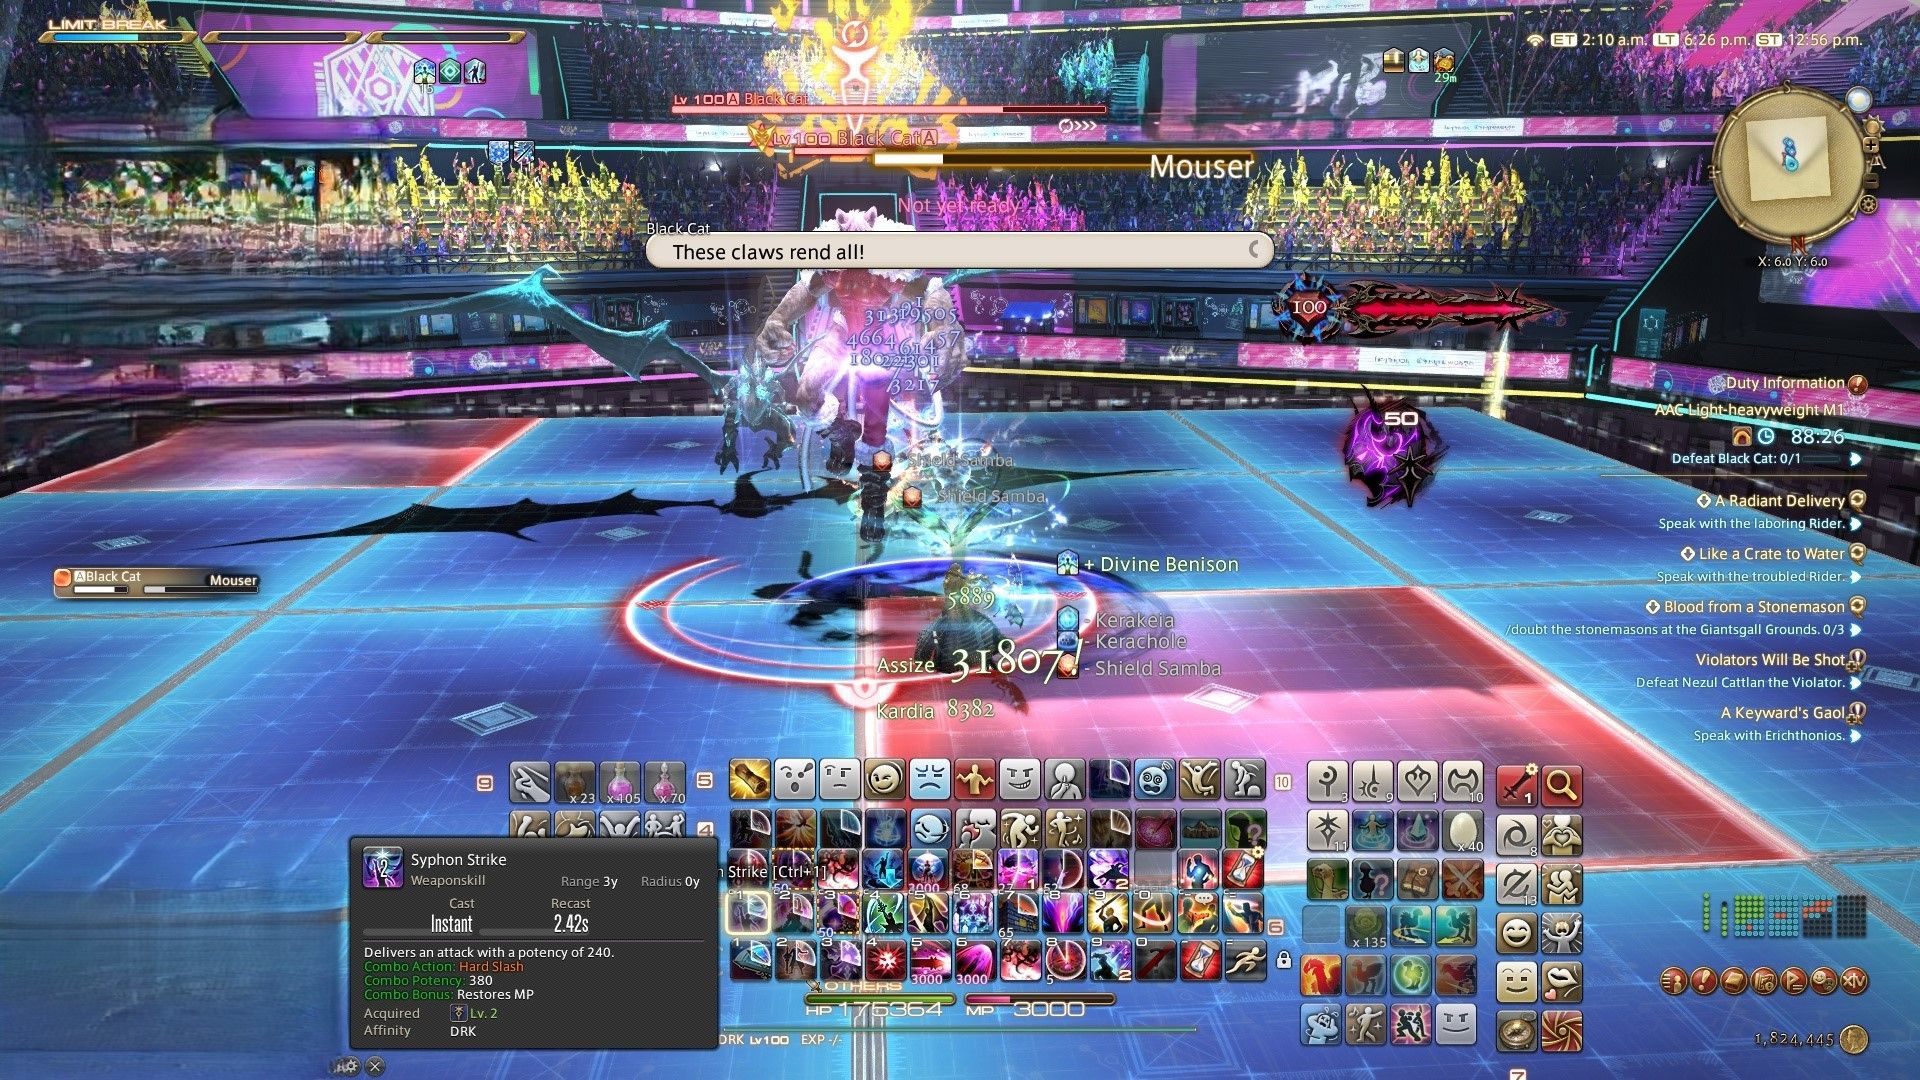
The structure consists of a 4×4 grid with sixteen individual pieces, or tiles. Some of these tiles may light up red. If a tile lights up only once, it will become damaged and crack. If a tile lights up twice, it will be completely destroyed. It’s best to steer clear of the tiles that have lit up twice.
Elevate and Eviscerate
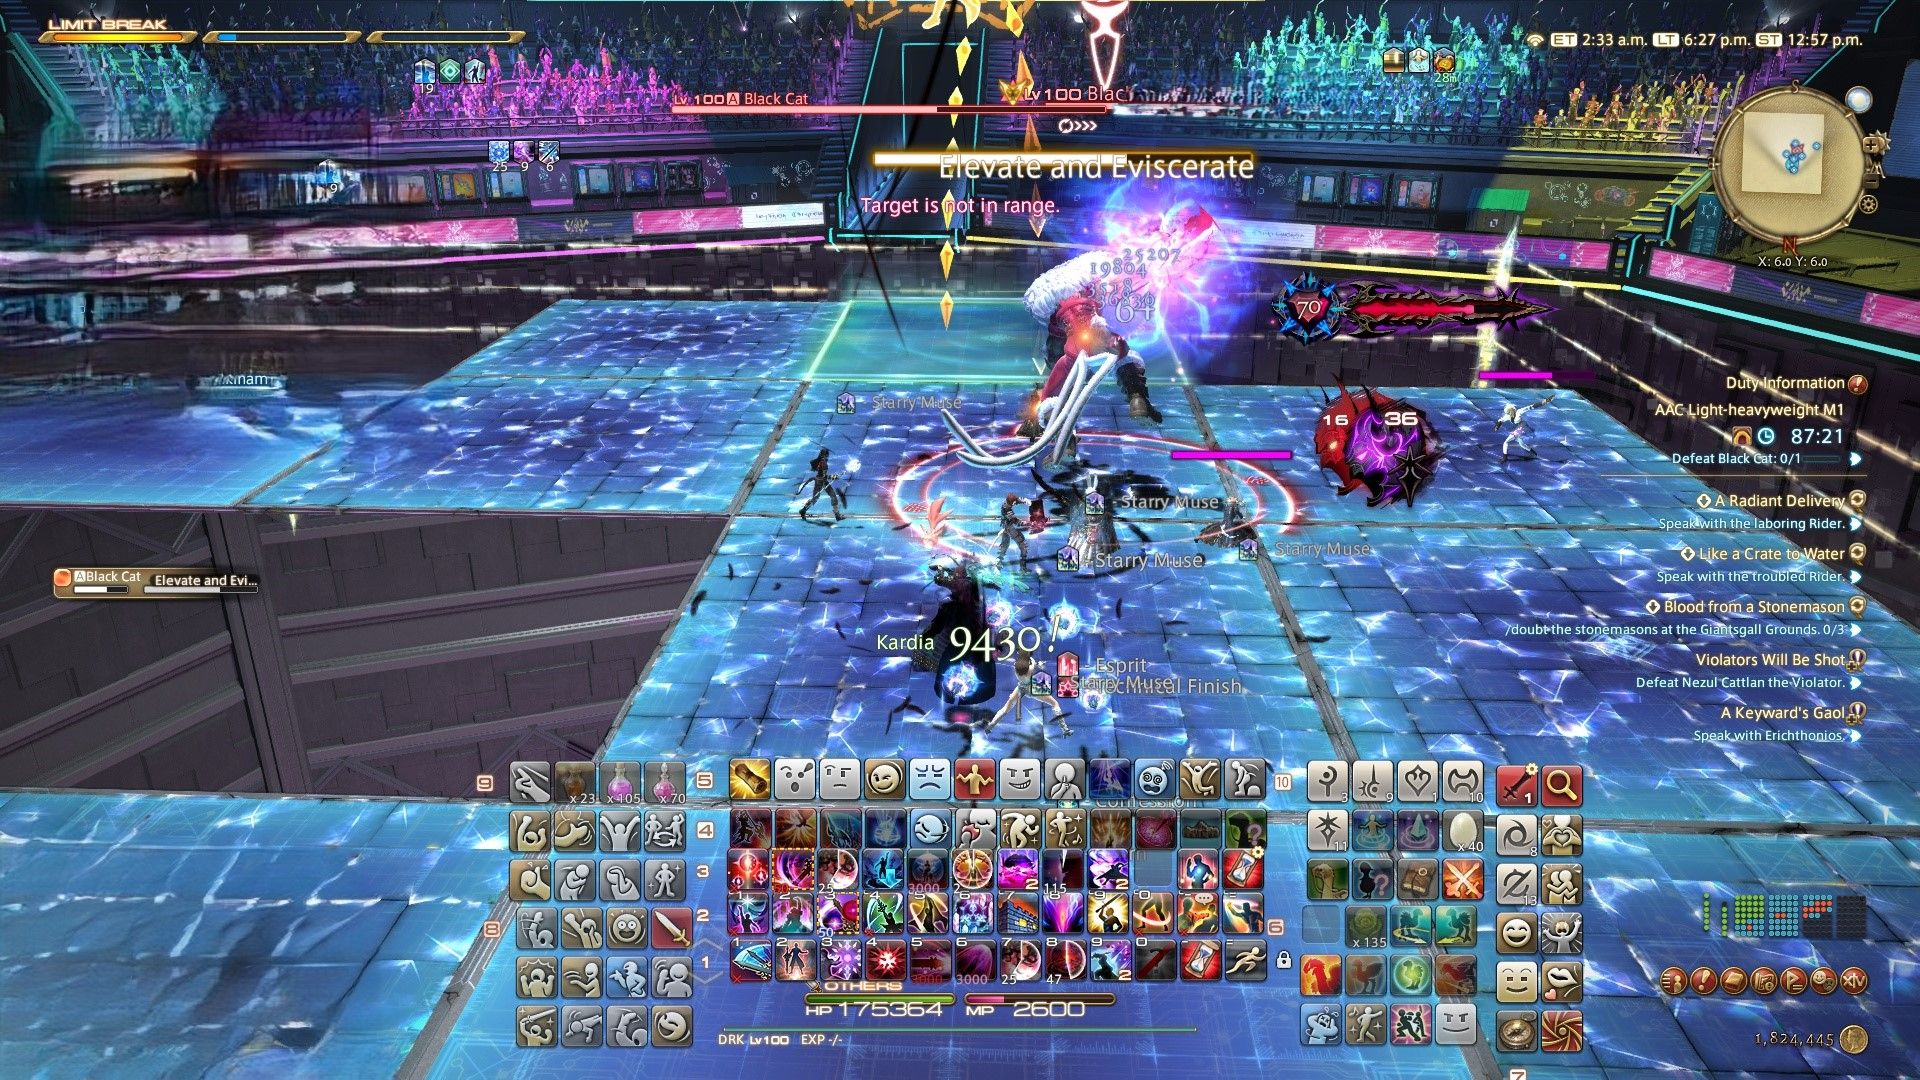
In a given scenario, four unpredictable participants may encounter an assault that propels them onto specific game squares. It is crucial to ensure that the apparent path leads to an undamaged square, which will be signaled by the square turning green when it’s your turn.
Shockwave
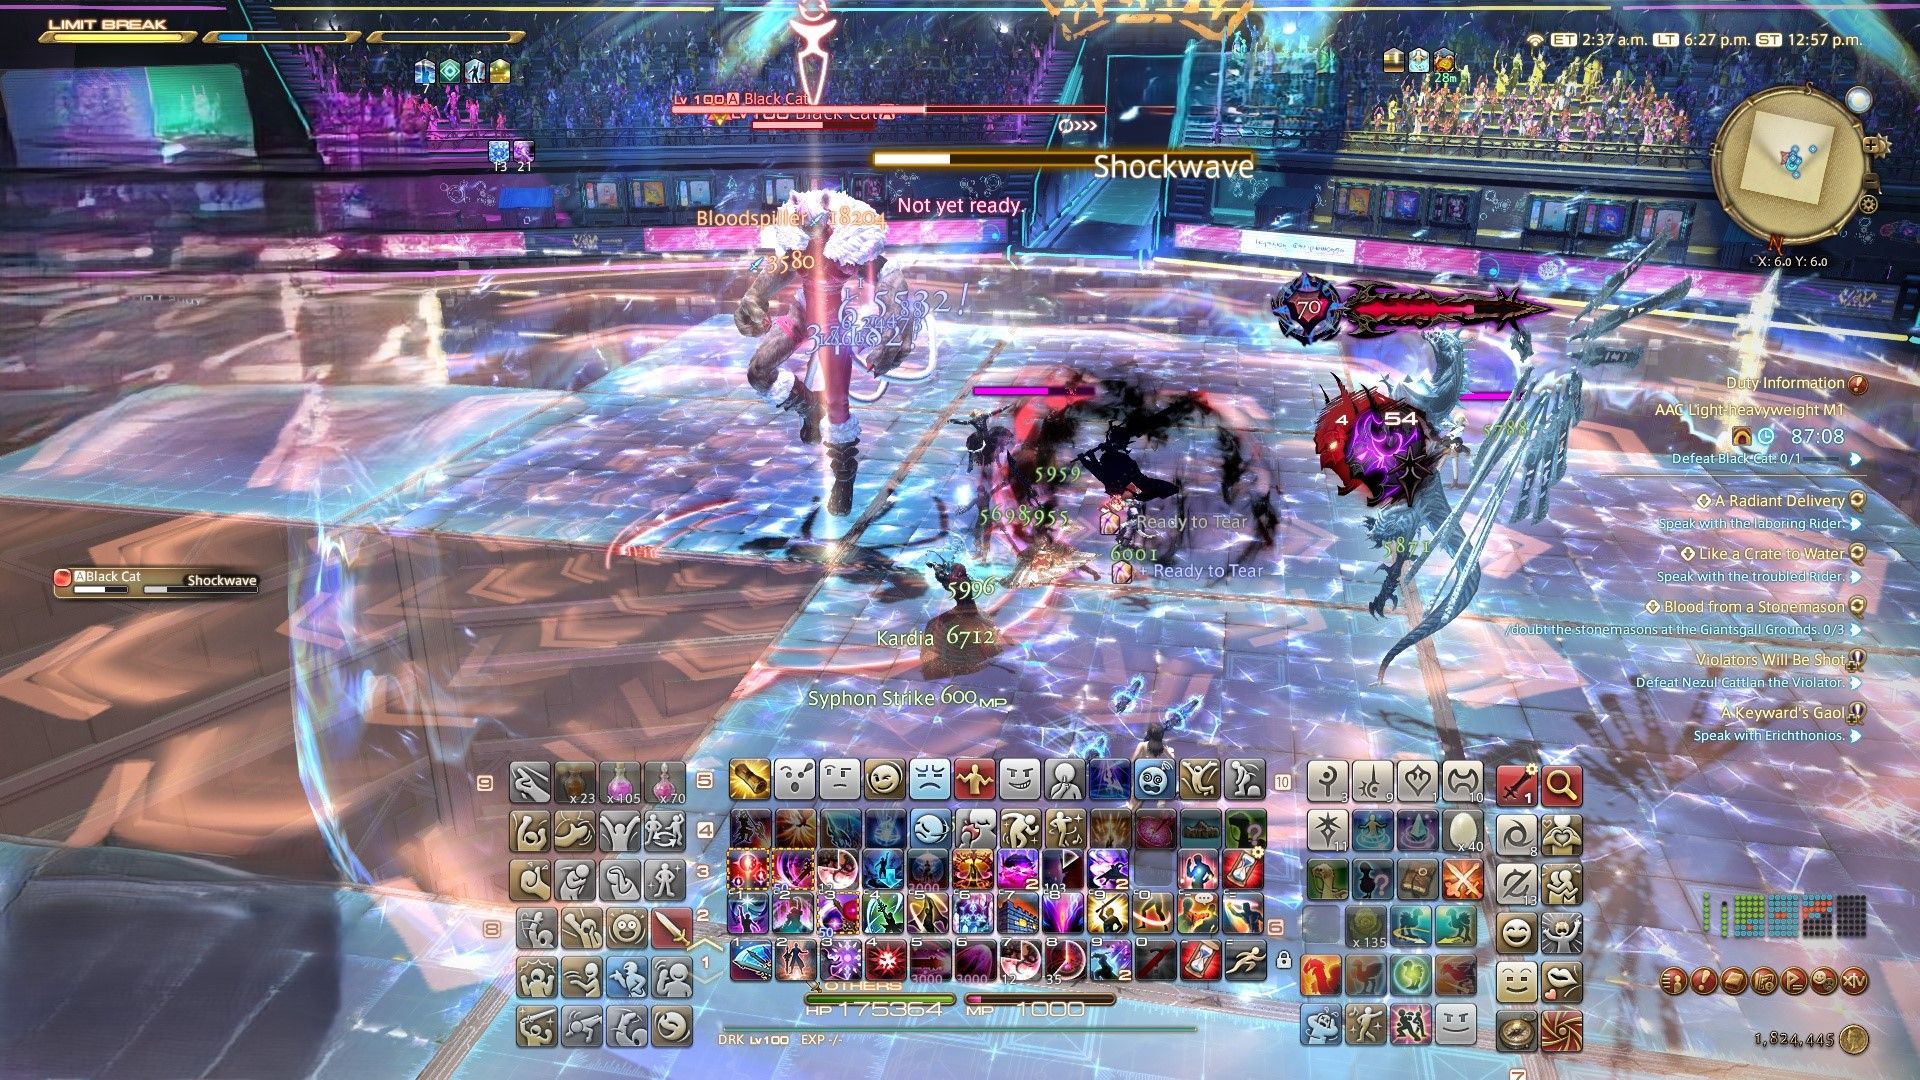
As a gamer, when I unleash the combo of Elevate and Eviscerate, be ready for an area-of-effect knockback! To stay on that partially wrecked platform, position yourself close to her, or use Arm’s Length to dodge the pushback. If needed, a timed dash back towards the boss could also help you dodge the impact.
Predaceous Pounce
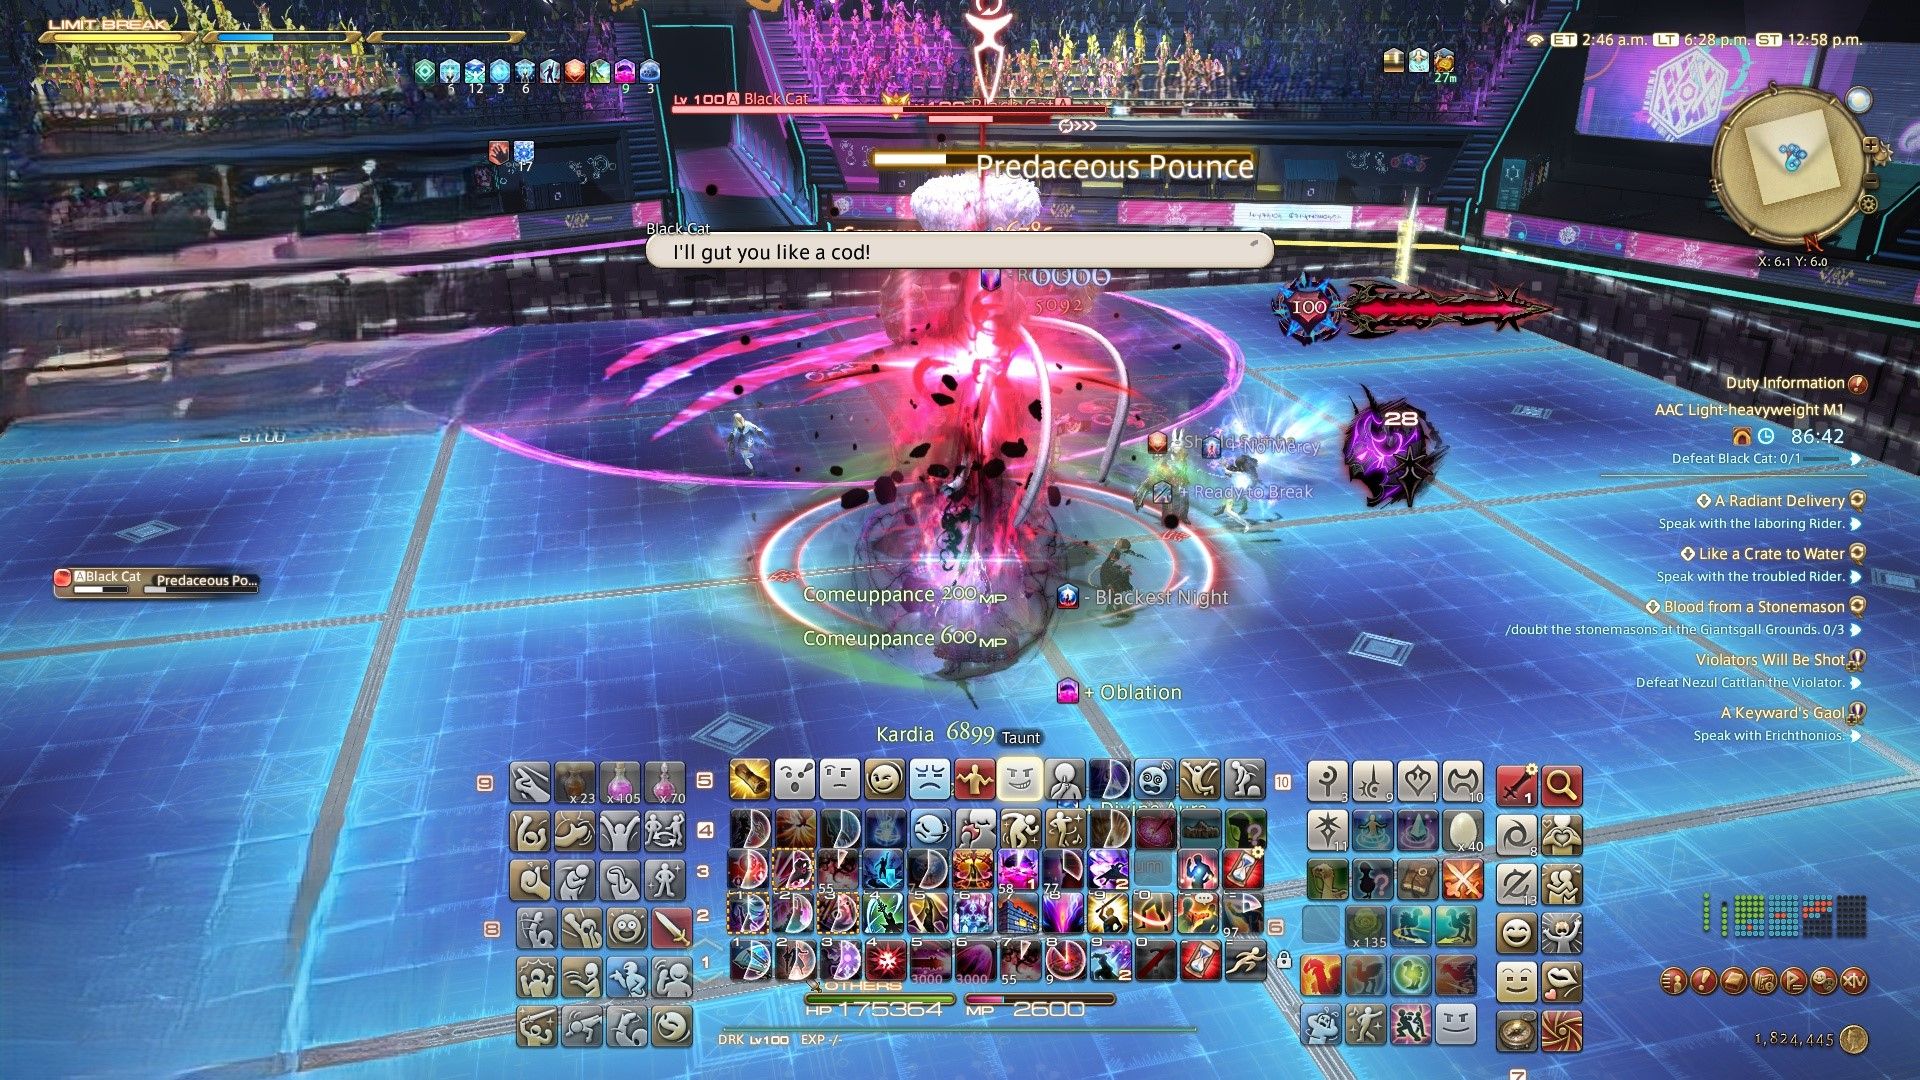
In simpler terms, Black Cat will draw several big, ring-shaped areas of effect (AoEs) on the ground, each marked with a claw symbol, and connect them with line AoEs (trails of paw prints). Your task is to stay close to the first circular attack area and move into it once ready. It’s essential to remain calm throughout this process.
Leaping One-Two Paw
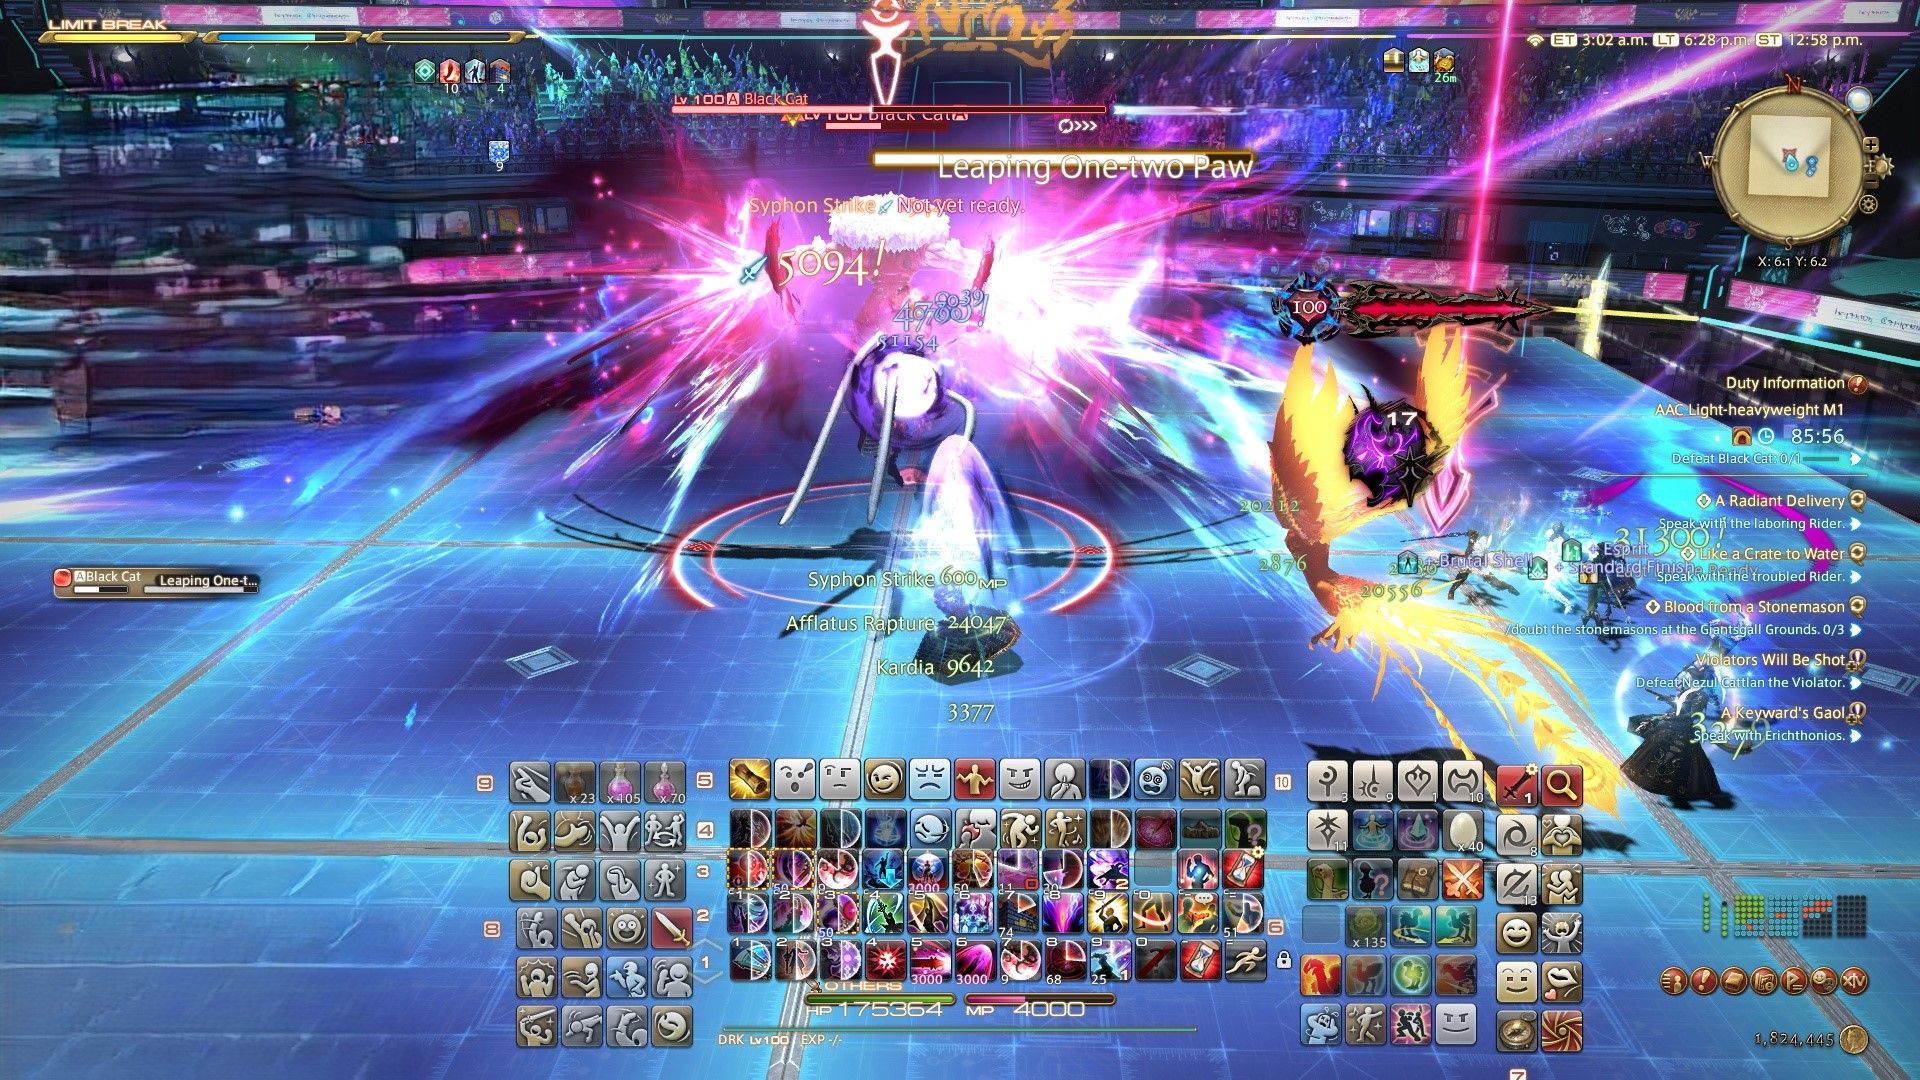
As a devoted admirer, let me share this tactical tip: The strategy is reminiscent of One-Two Paw, but with a twist! Be on the lookout for a ‘leap signpost’ tied to Black Cat. She tends to approach this marker before unleashing her first half-room Area of Effect (AoE), so adjust your positioning accordingly.
Leaping Black Cat Crossing

As a gamer, I find that this game shares the same strategic thinking as Black Cat Crossing, but instead of relying on spatial awareness alone, it incorporates a leap marker. To play optimally, I need to carefully position myself according to where that leap marker is placed.
Copycat
Black Cat conjures up a duplicate of herself that is invulnerable to attacks, enabling her to perform several abilities concurrently.
Copycat Combo
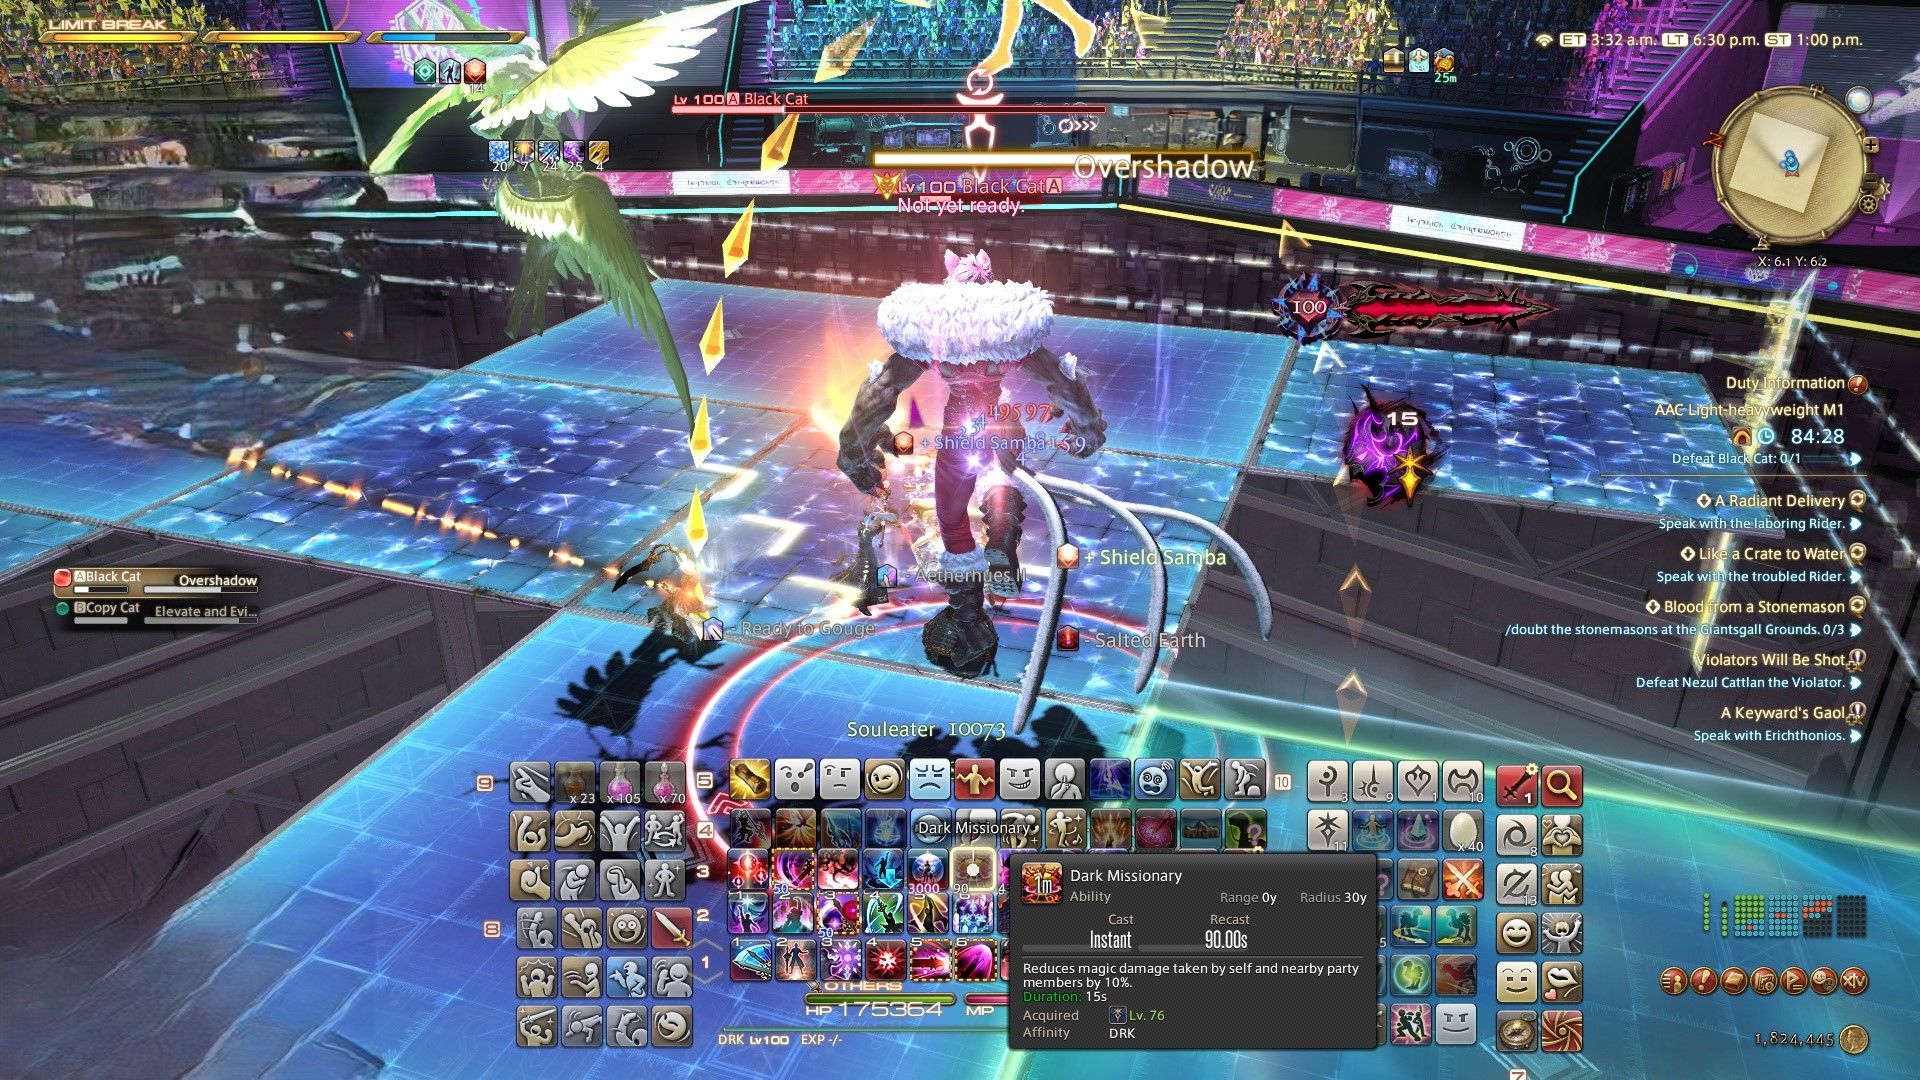
In simpler terms, Black Cat is about to use the ability called Mouser. Meanwhile, it randomly selects players to hit with Elevate and Eviscerate. However, instead of that, Black Cat will cast Overshadow – an Area of Effect skill that affects a line (as marked in yellow). To maximize its impact, you should position yourself next to the chosen target, aligning with the stack marker.
Boss Name | Armour Tokens | Random Rewards (Additional) | Guaranteed Rewards |
|---|---|---|---|
Black Cat | 2* Holohelm 1* Hologauntlets 1* Holoarmor 1* Hologreaves 1* Holochausses 2* Holoearring | 1* Black Cat Triple Triad Card 1* It’s Show Time! Orchestrion Roll | 20* Allagan Tomestones of Aesthetics |
FFXIV Raid Guide for AAC Light-Heavyweight M2 (Normal)

For Fight 2, your next adversary in the Light-Heavyweight category is Honey B. Lovely. However, don’t let her charming grin deceive you; she’ll challenge your evasion techniques to their limits.
Her attacks deal heavy damage, so don’t risk being stationary too long. Here’s the list and tips to avoid these hits:
Call Me Honey
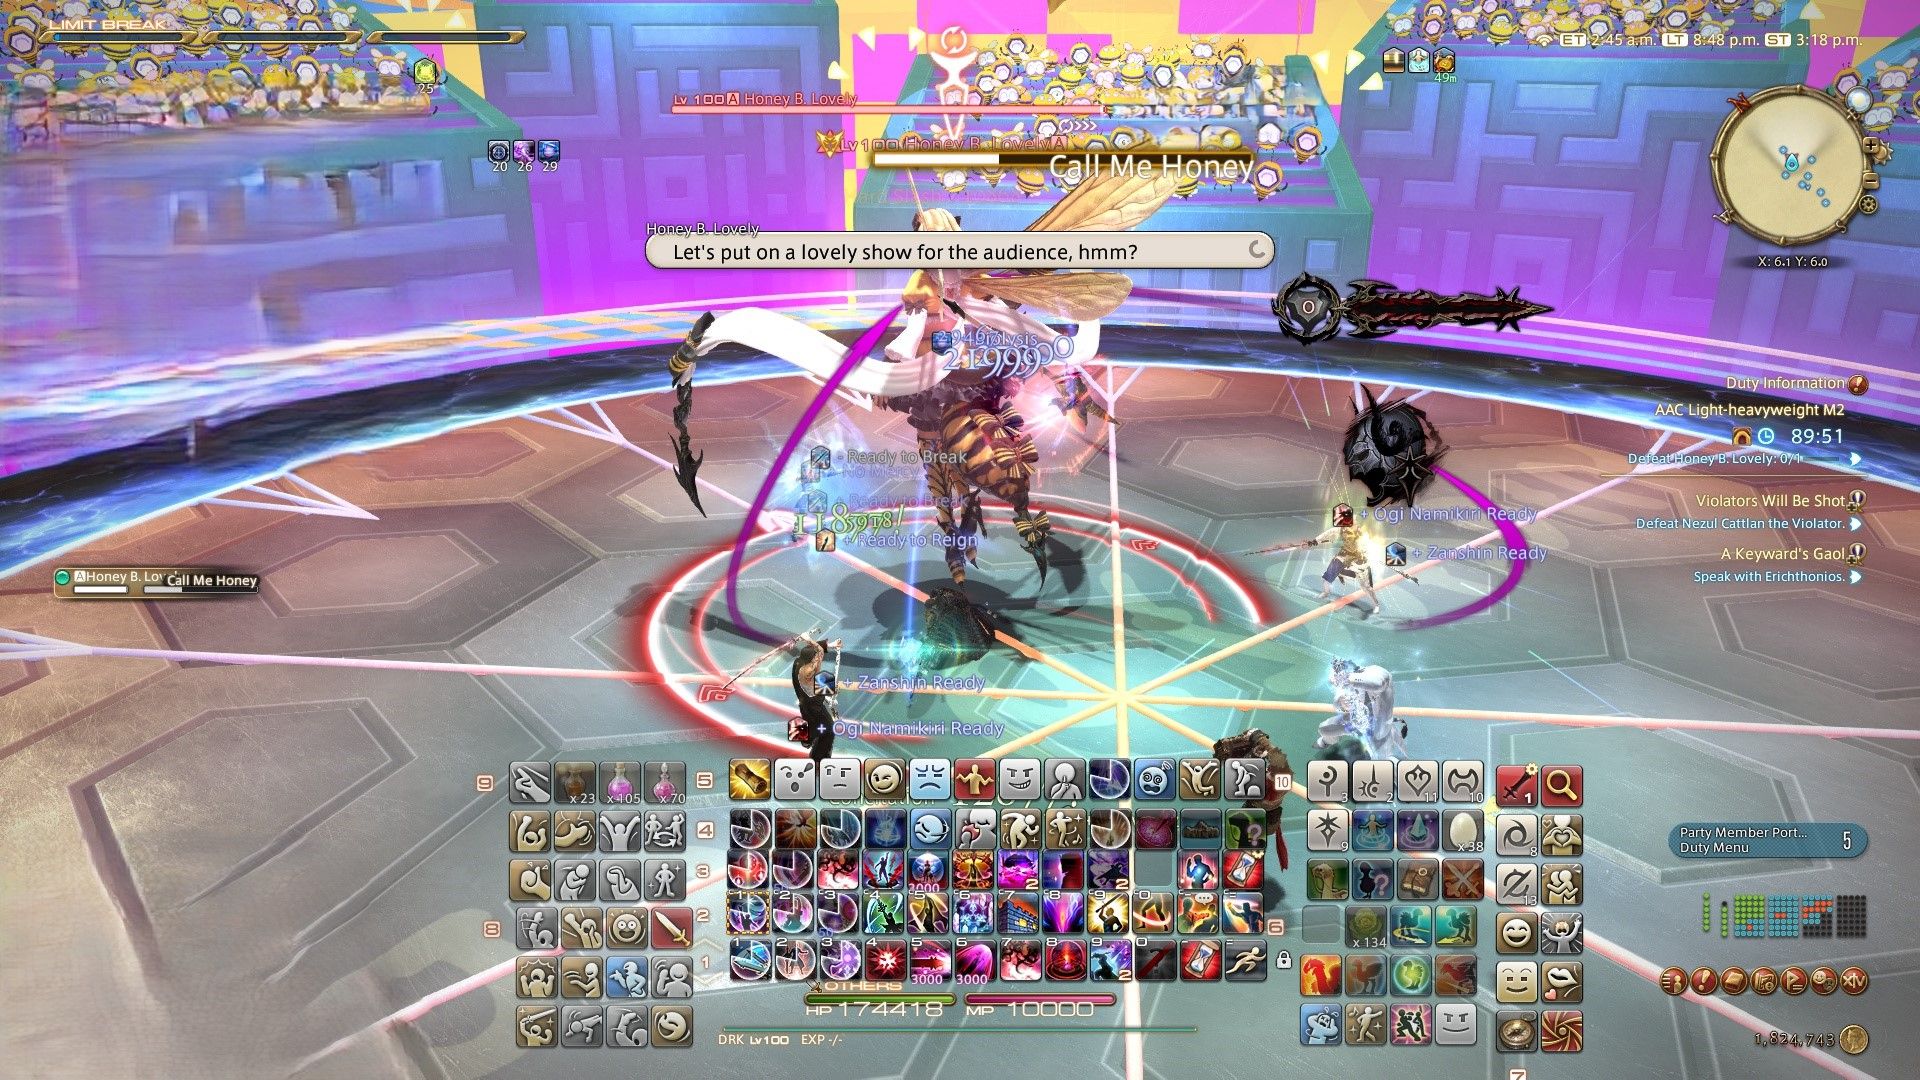
Raid-wide AoE- Keep your mitigations and heals active to avoid excessive damage.
Honeyed Breeze
When playing as a tank, pair the Rampart ability with another shielding skill, then keep some distance from your teammates to focus on absorbing two powerful enemy attacks marked in red (red marker), which are delivered as conal attacks.
Tempting Twist
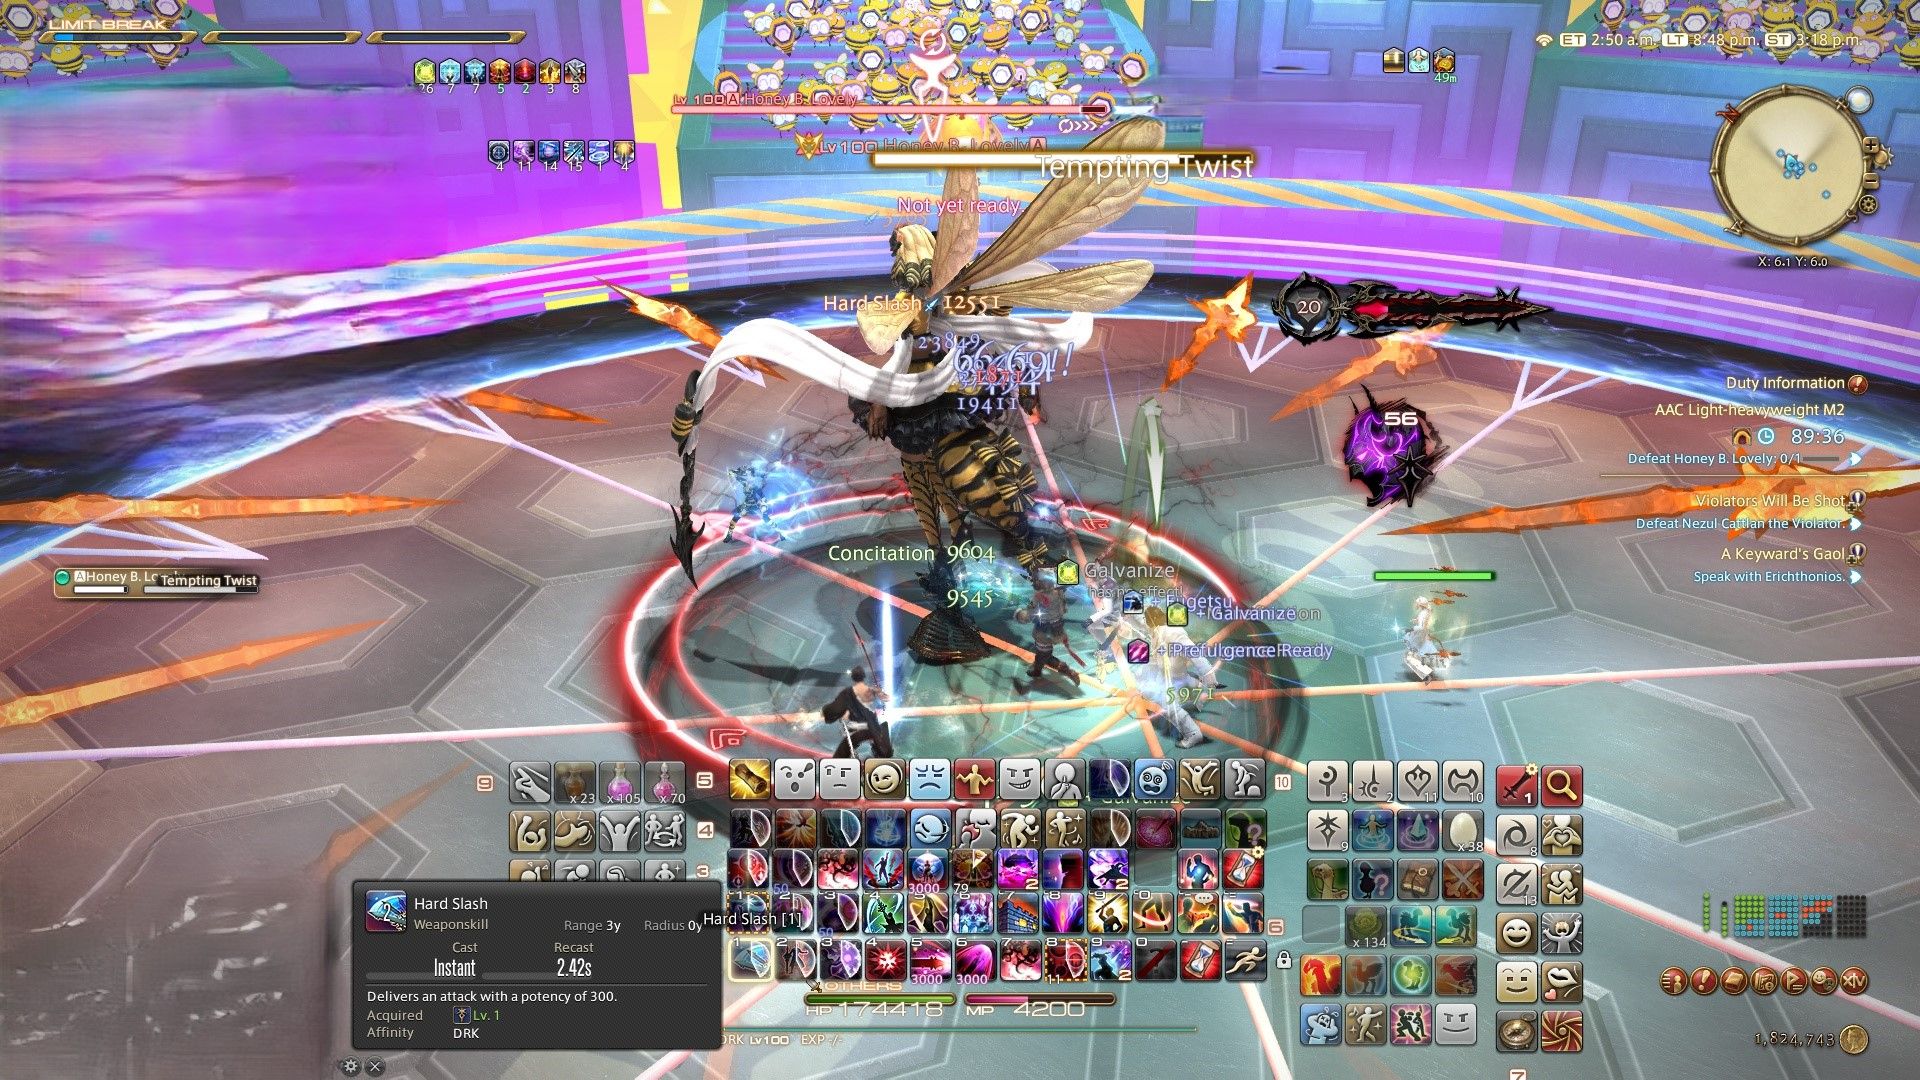
Donut-Shaped AoE- Stand close to Honey B. Lovely as her attack spreads around her.
Have an opinion on this article? We’d love to hear it!
Honey Beeline
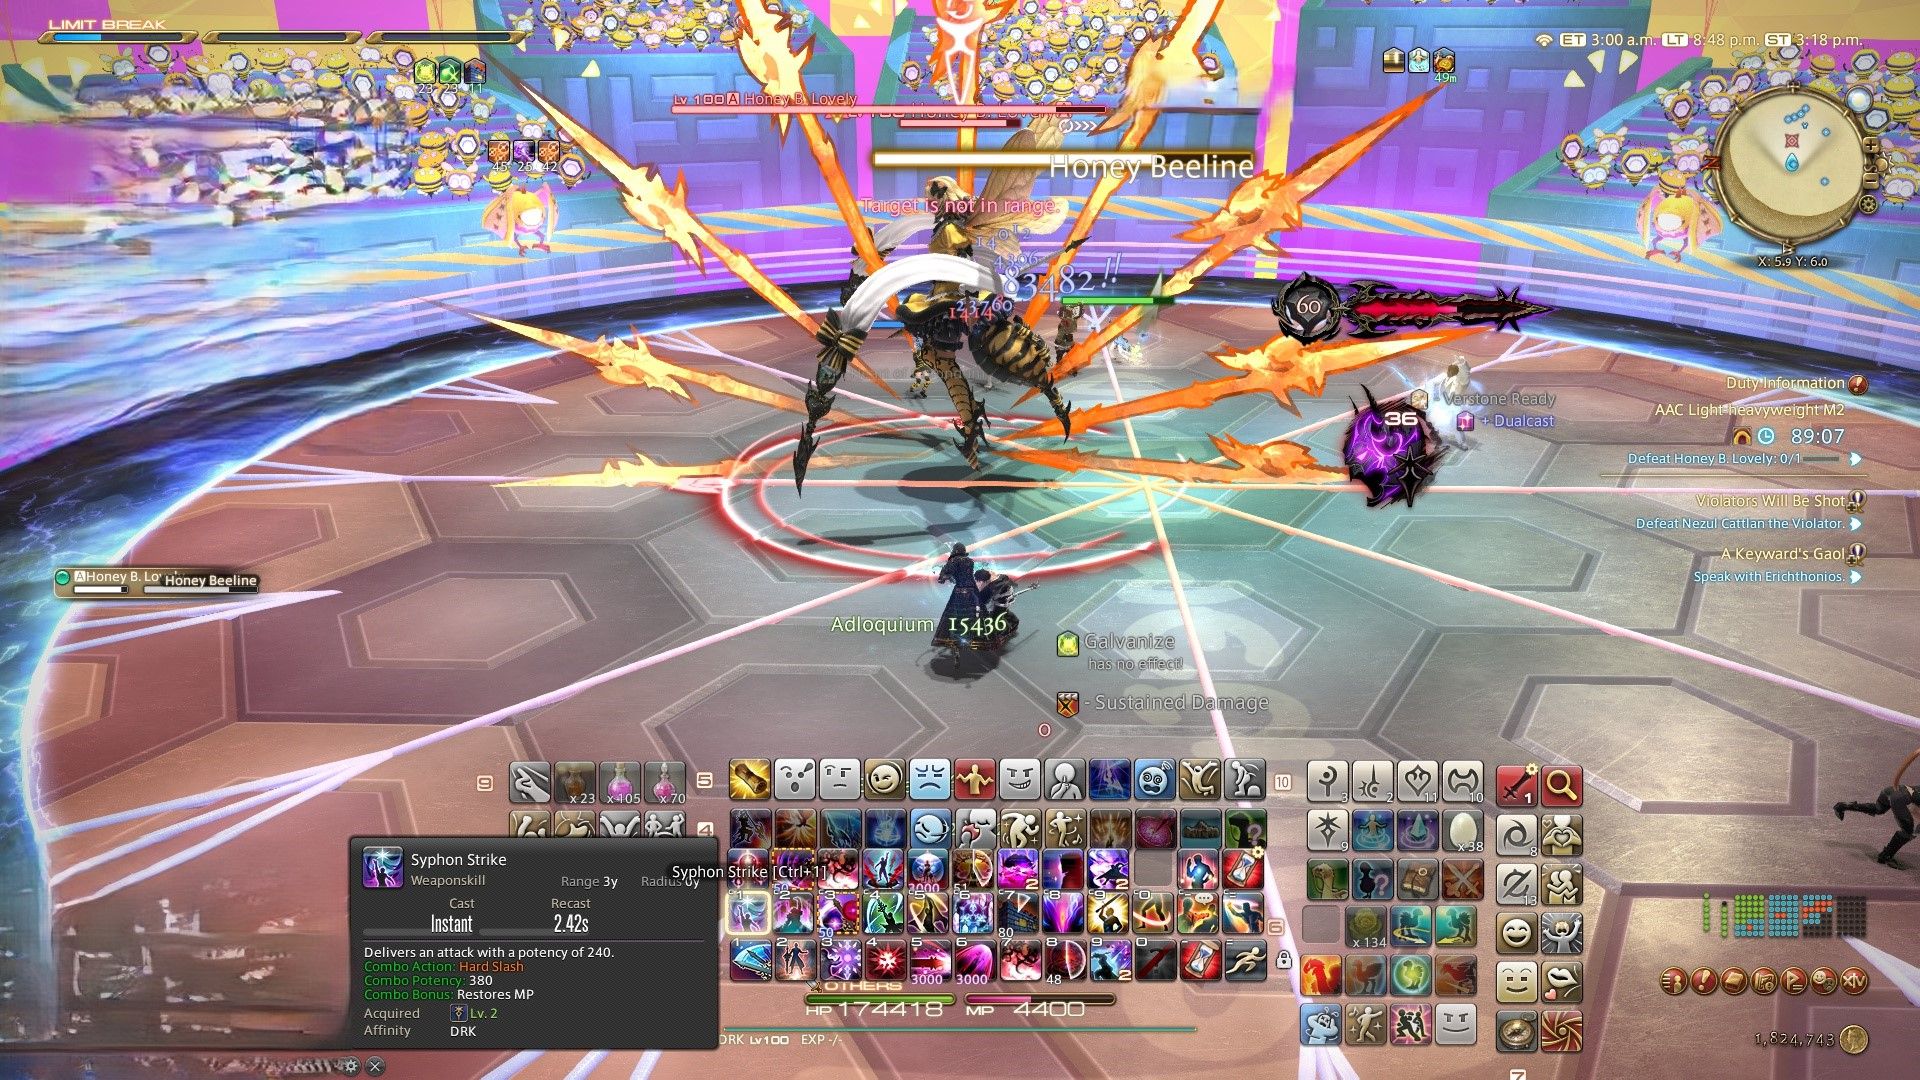
Straight Line AoE- Keep distance from her front and back areas to avoid projectile damage.
Honey B. Live
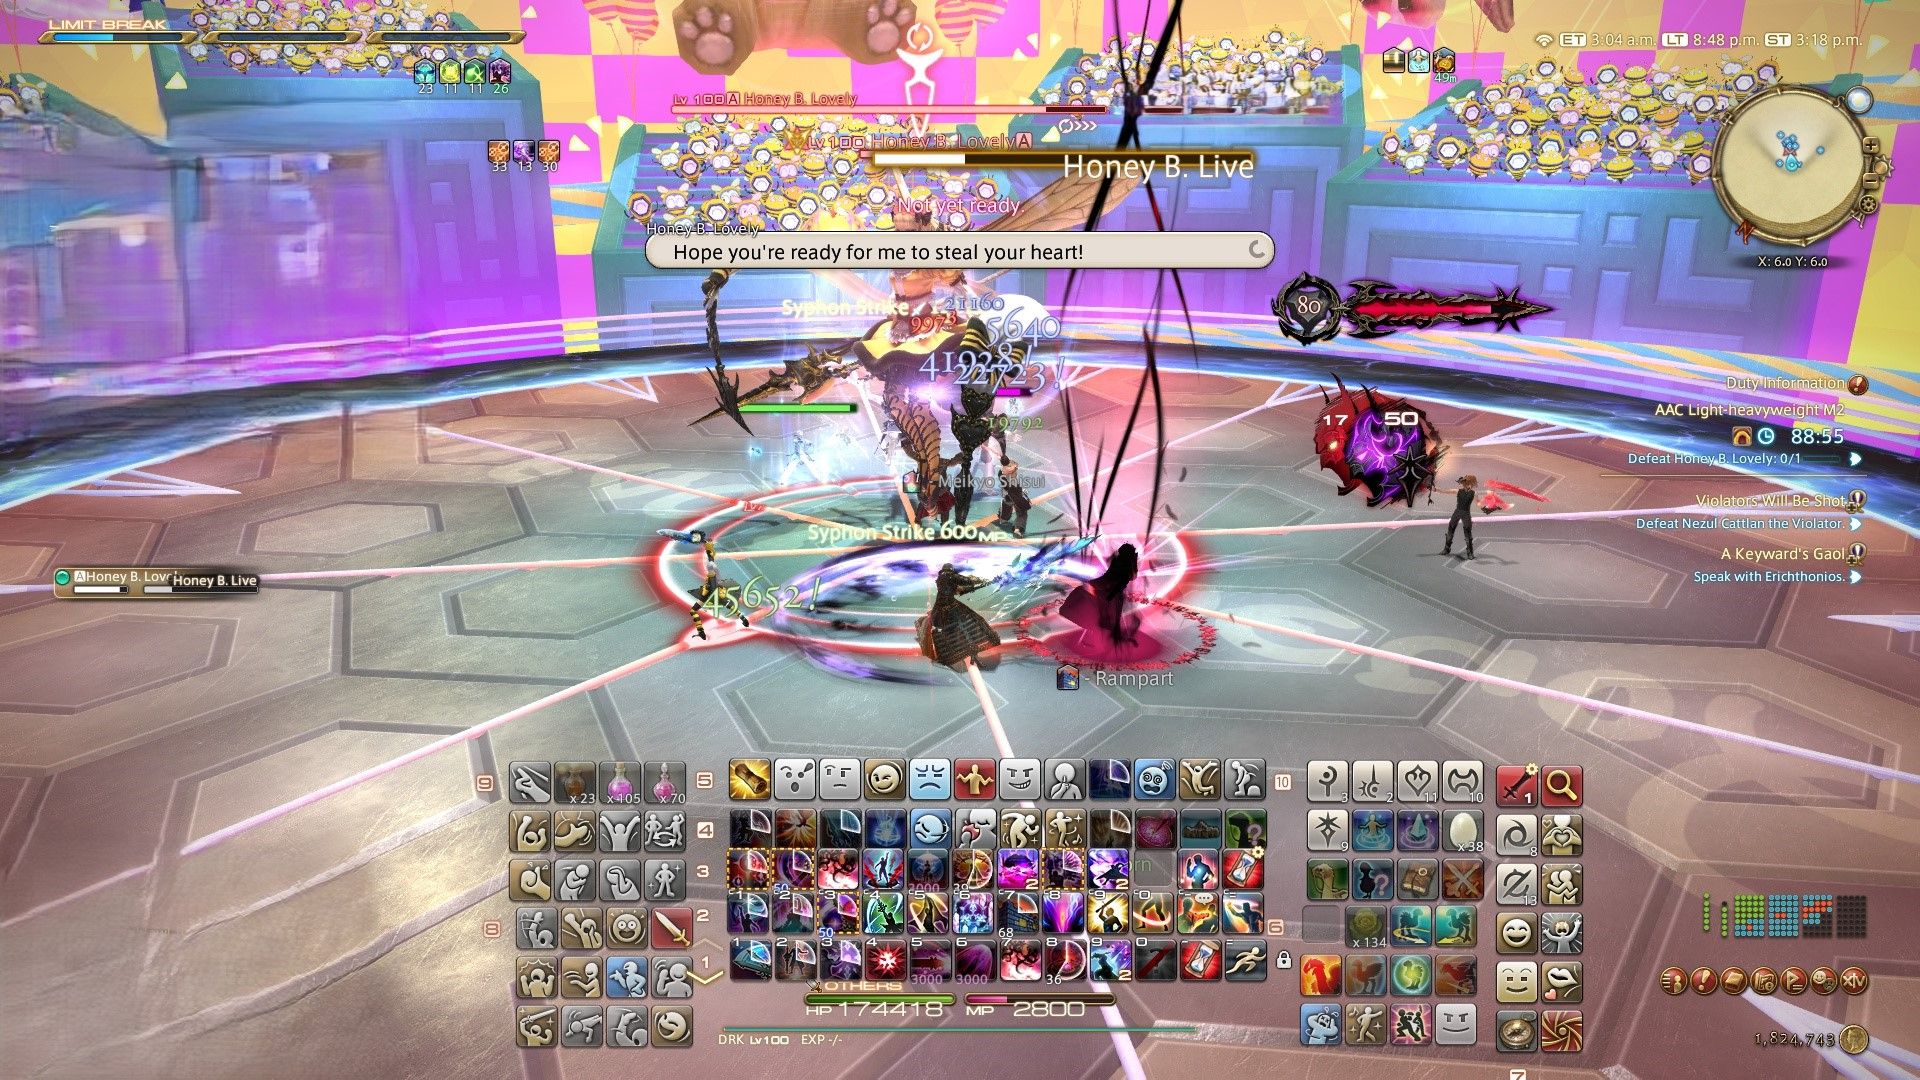
In Arena of Empires (AoE), ensure your raid damage doesn’t fill up more than two Heart Meters, while maintaining your mitigations. Avoid accumulating three hearts on the meter as it triggers a temporary stun called “Fatal Attraction”. The Heart Meter resets to zero once her charm expires.
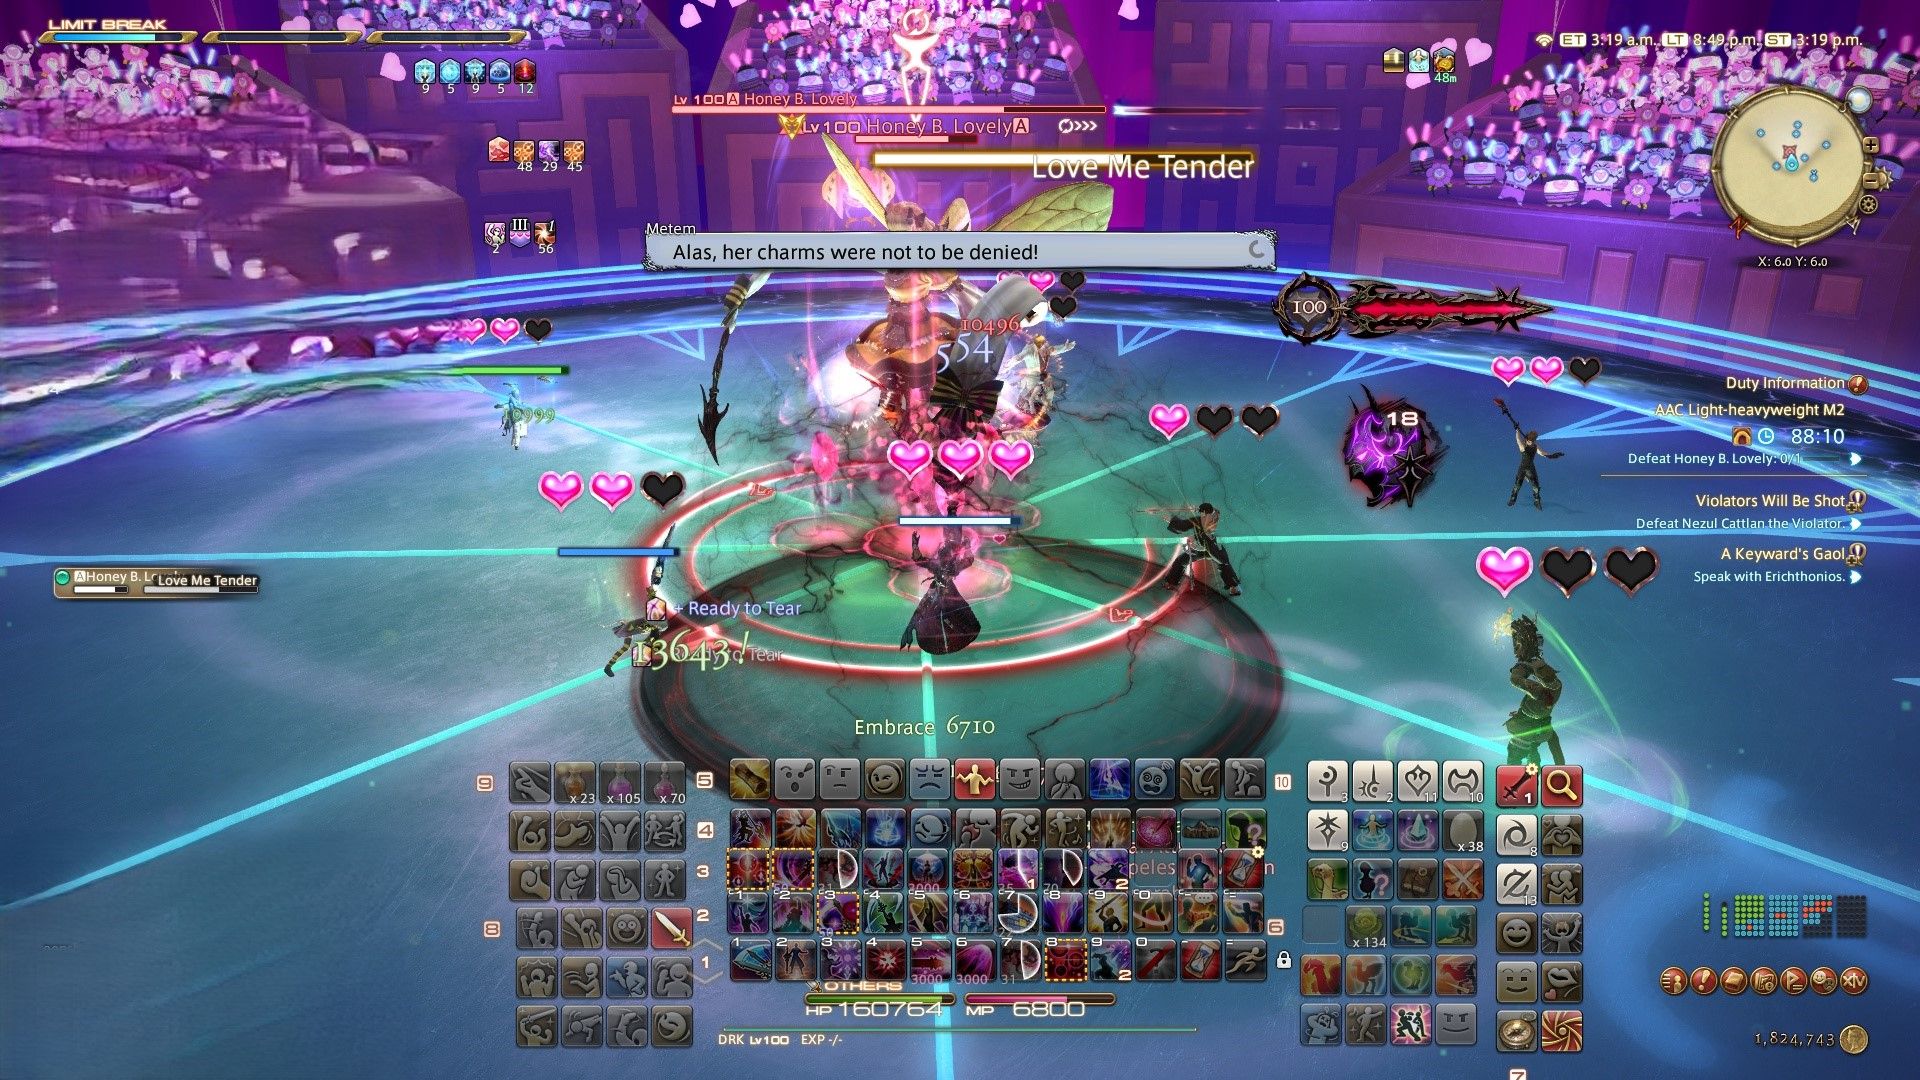
Love Me Tender 1
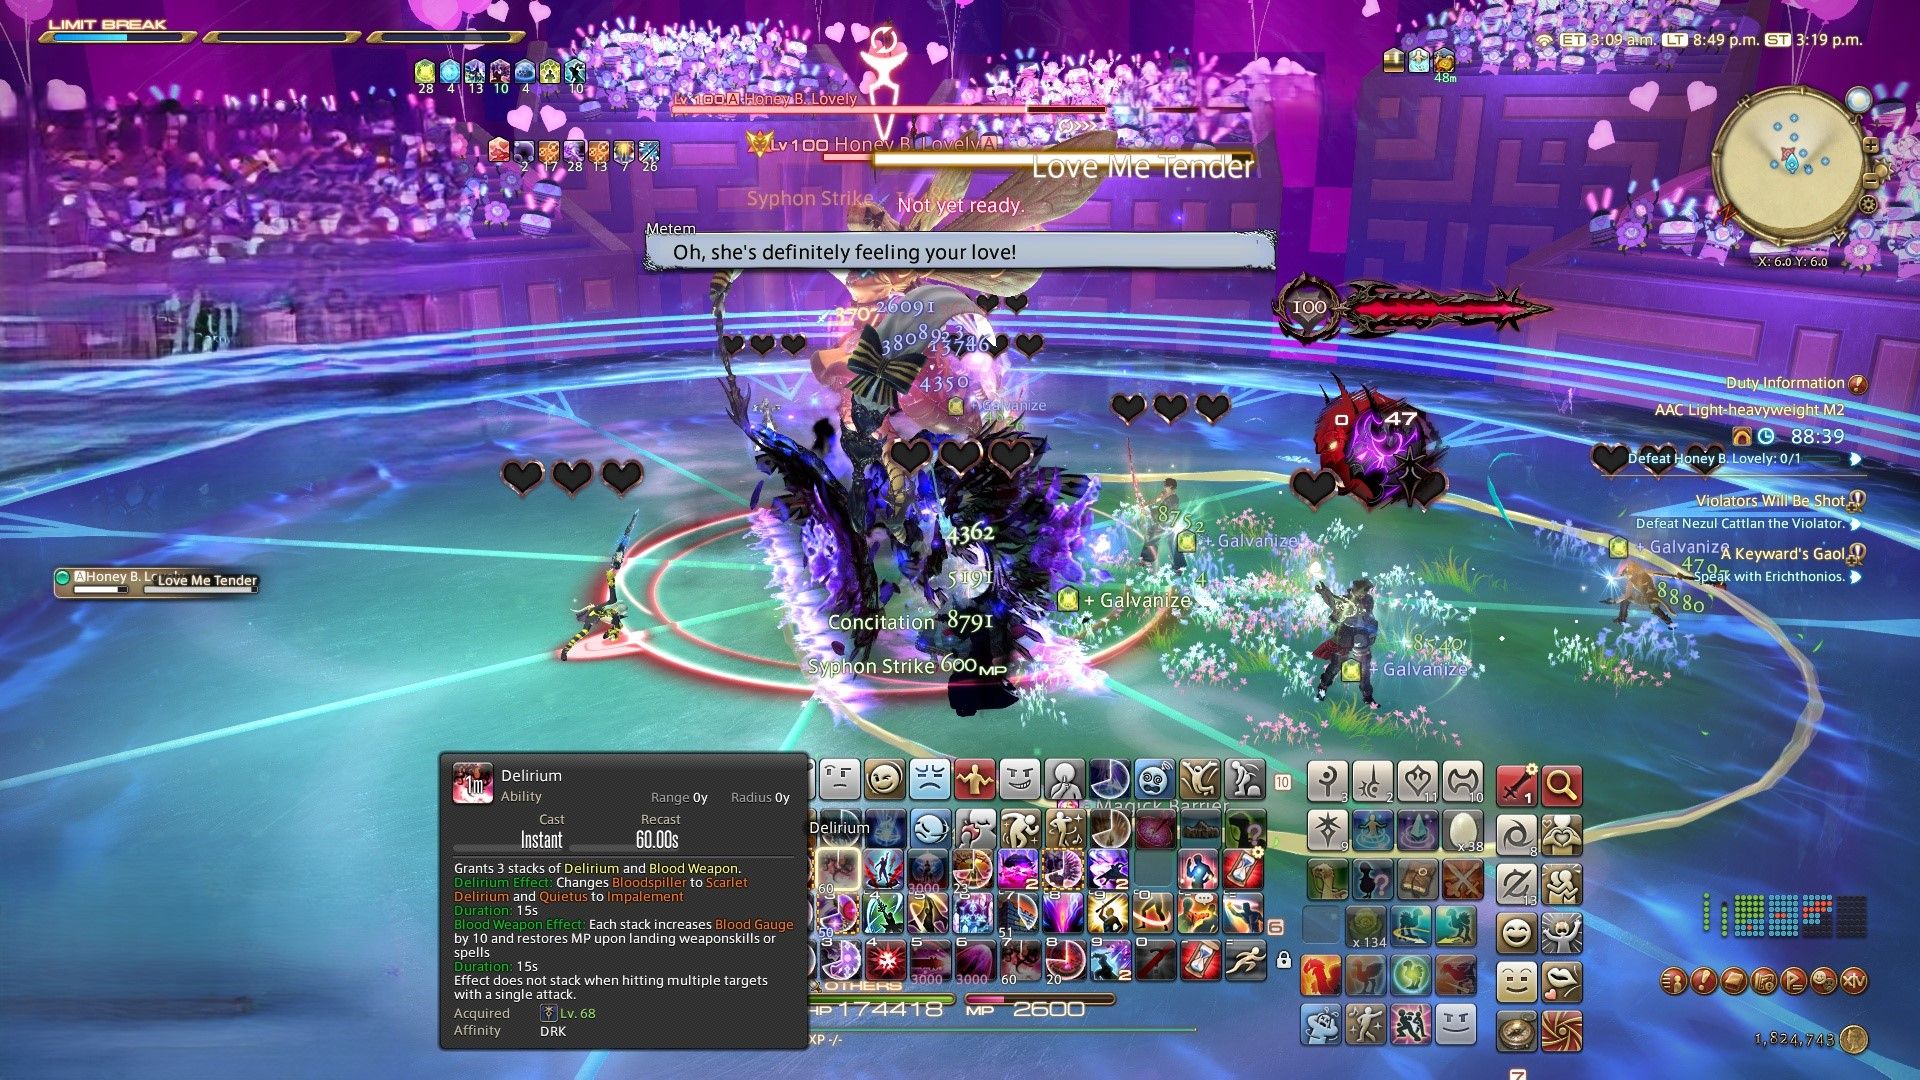
As an enthusiast, I’d put it this way: “Circular pink AoE markers sprout around, bestowing a Heart to everyone they touch. When Heart Towers manifest, position Tanks and Melee DPS beneath each one. This action not only ensures their survival but also adds a Heart to their Meter. If no player is found under an empty Tower, it could lead to our party’s downfall.”
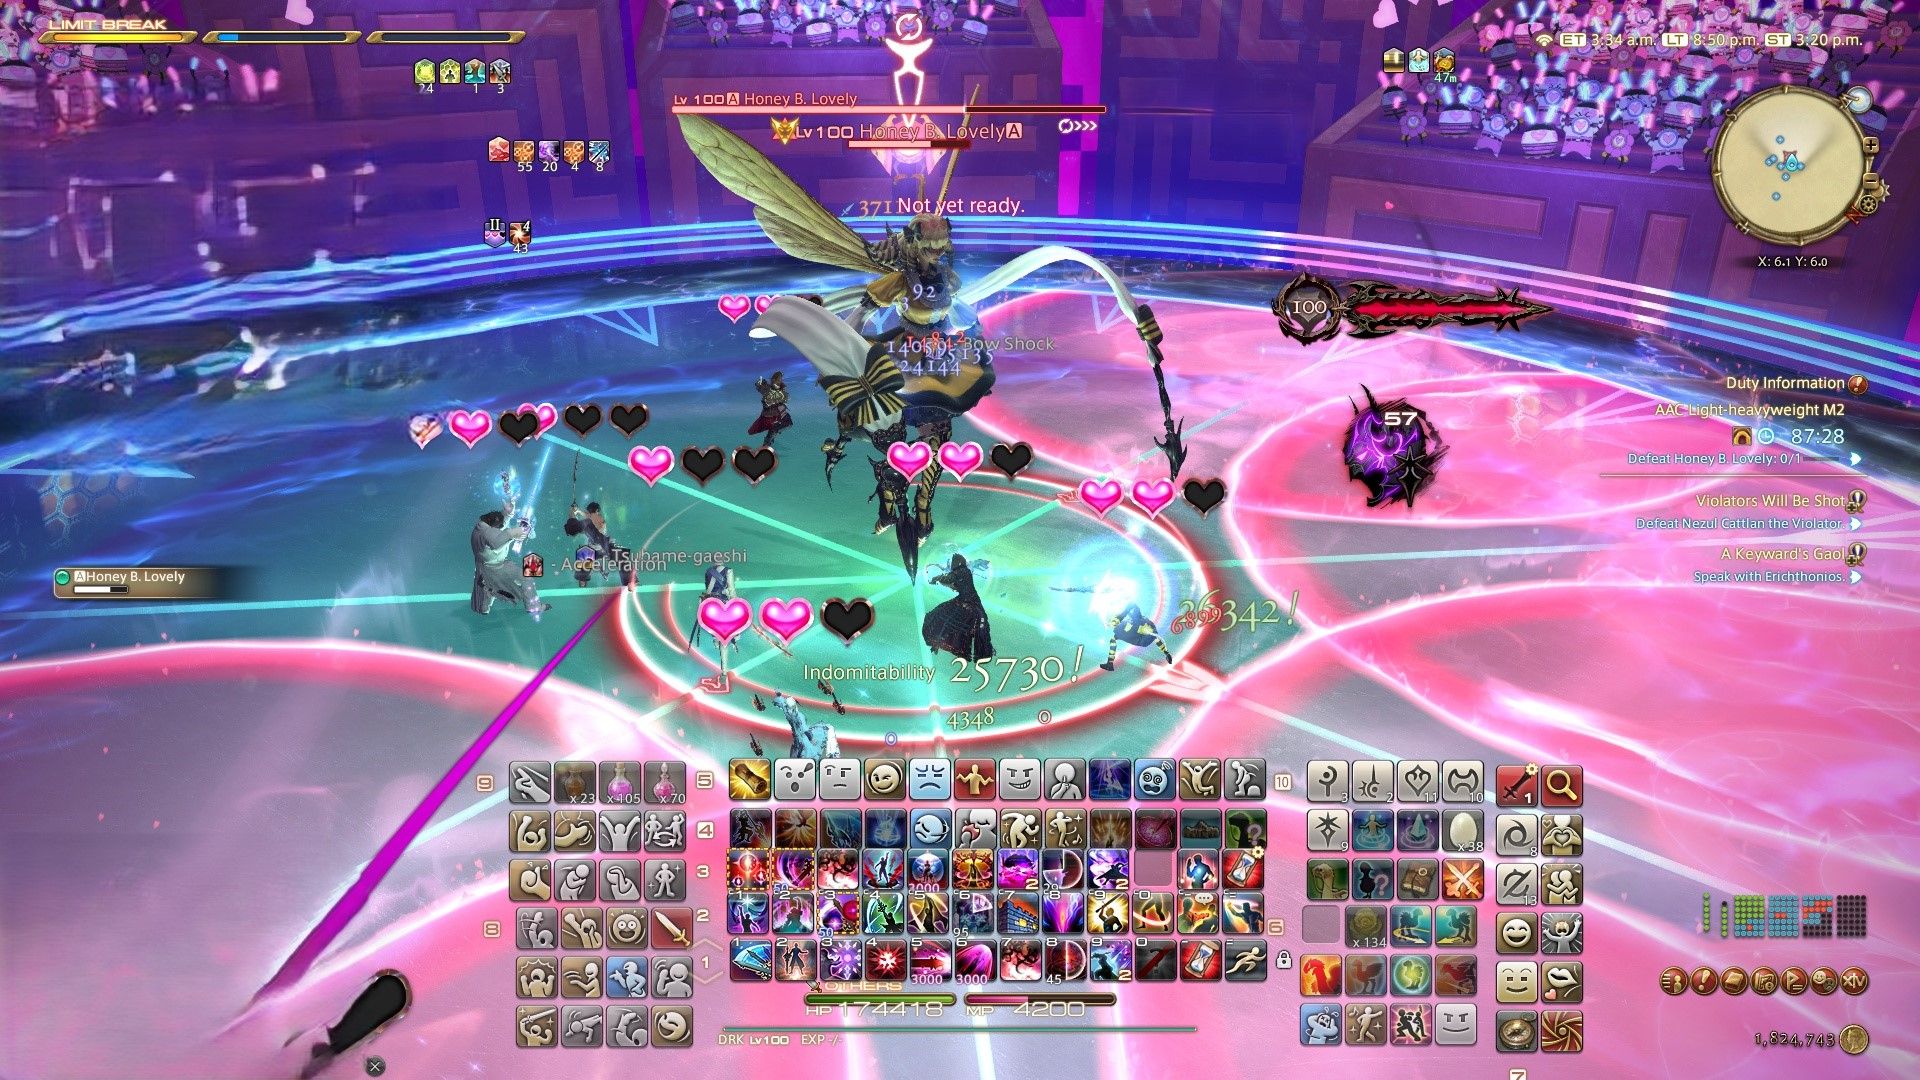
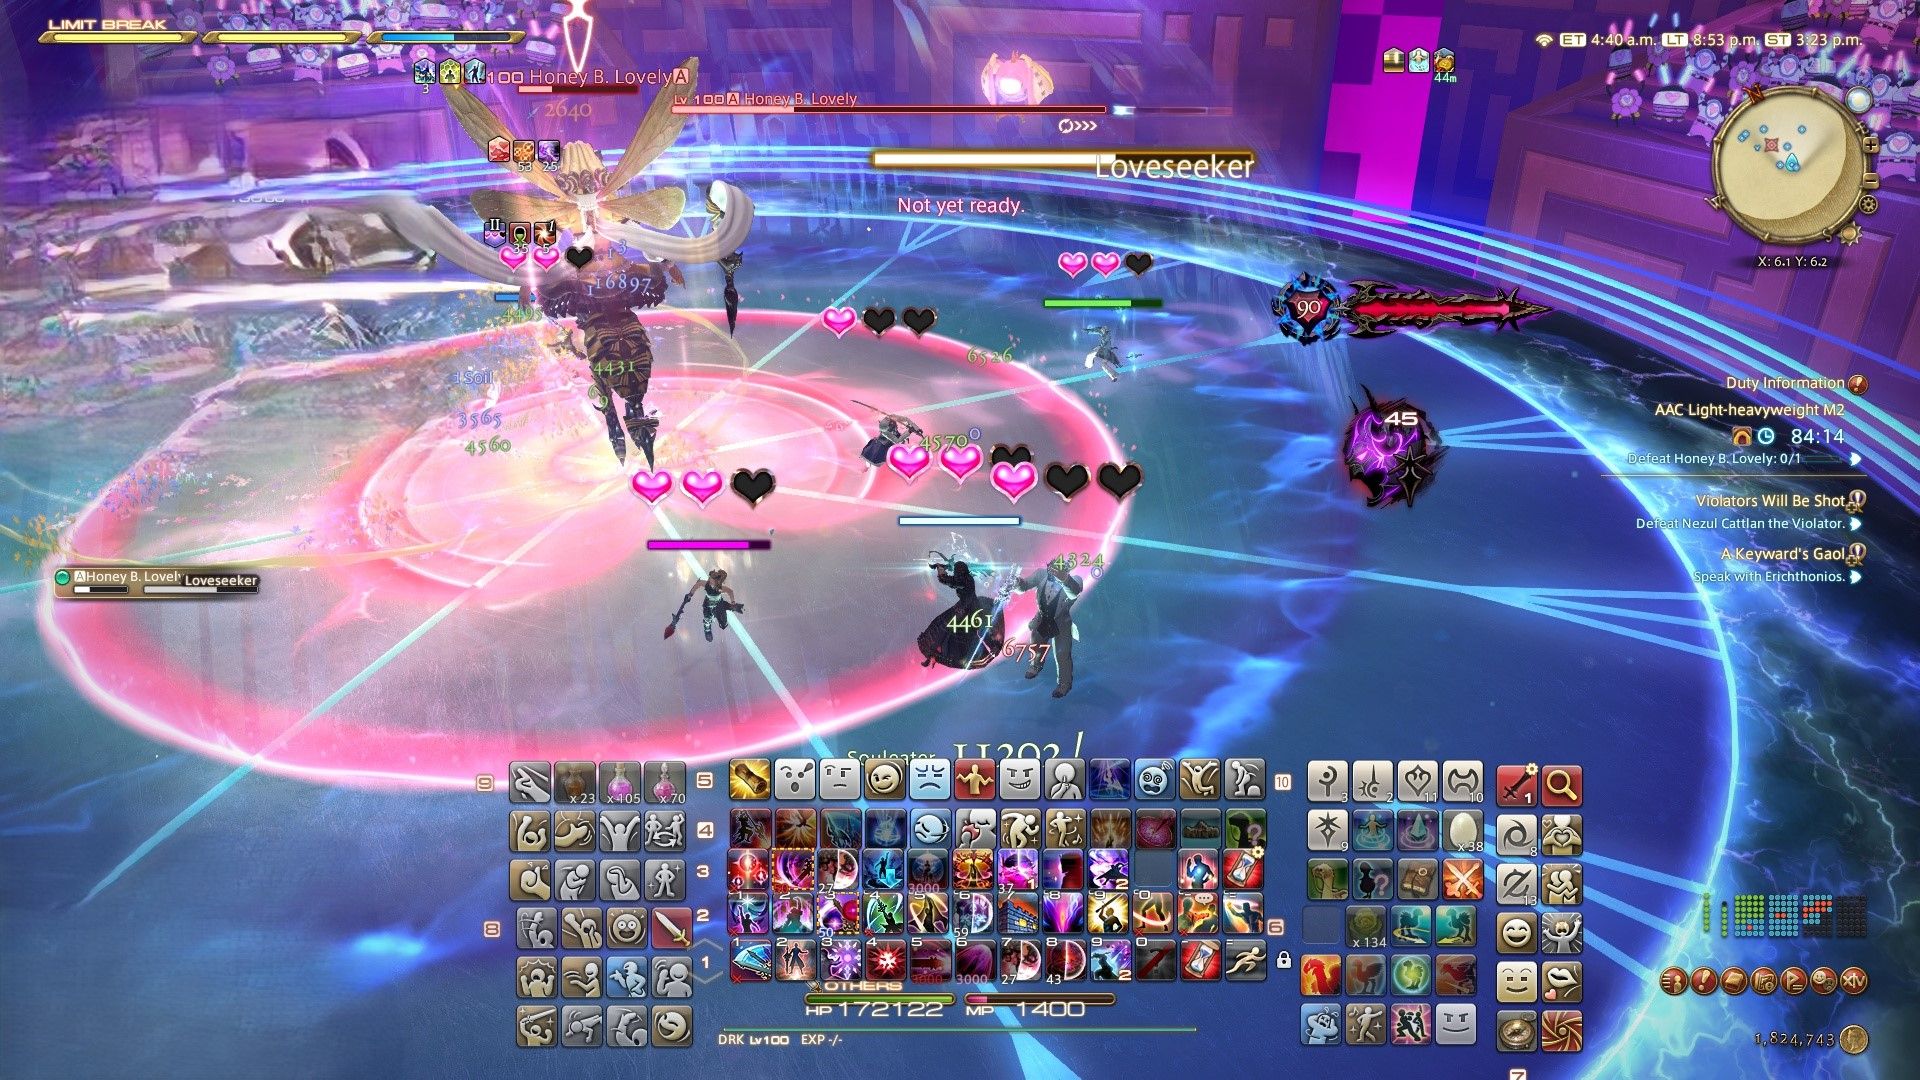
Loveseeker

I unleash a swarm of Heart Missiles in an area-of-effect (AoE) blast, painting the battlefield pink with flying hearts. Be careful not to get hit by these moving hearts, as they fill up the Heart Meter, causing damage over time and potentially stunning or killing me. It’s a chaotic attack, so stay calm!
Love Me Tender 2
During the activation of Loveseeker, Honey B places numerous pink area-of-effect (AoE) markers across the playing field. It’s crucial to avoid these markers at any cost.
Blow Kiss
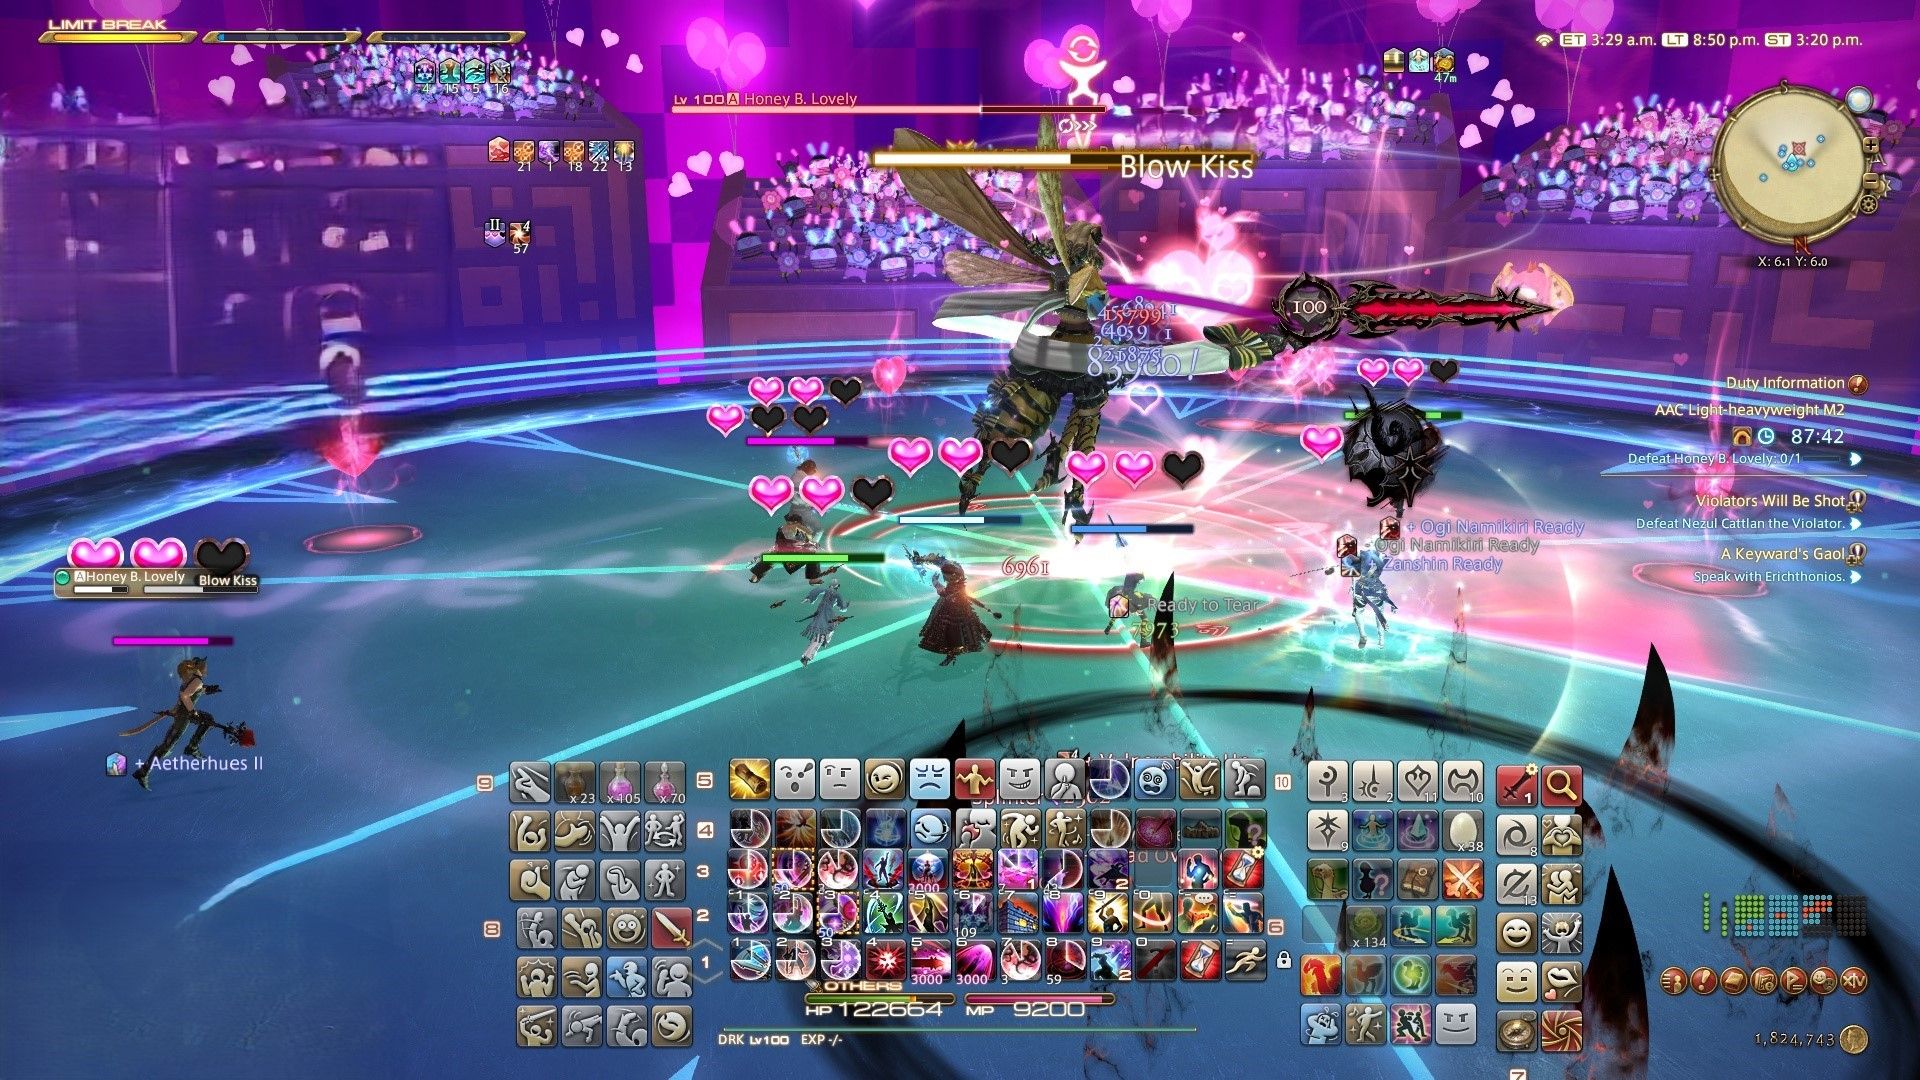
In simple terms, during Conal Age of Empires, Honey B aims her ‘Blow Kiss’ attack at one of the party members. If you are not the chosen target, it would be wise to keep your distance from that particular party member and position yourself behind the boss for safety.
Love Me Tender with Blow Kiss
1. Following an explosion at the initial Area of Effect (AoE) marker, proceed to the next one. Subsequently, remain in a position trailing her once she aims Blowkiss at another player.
Honey B. Finale
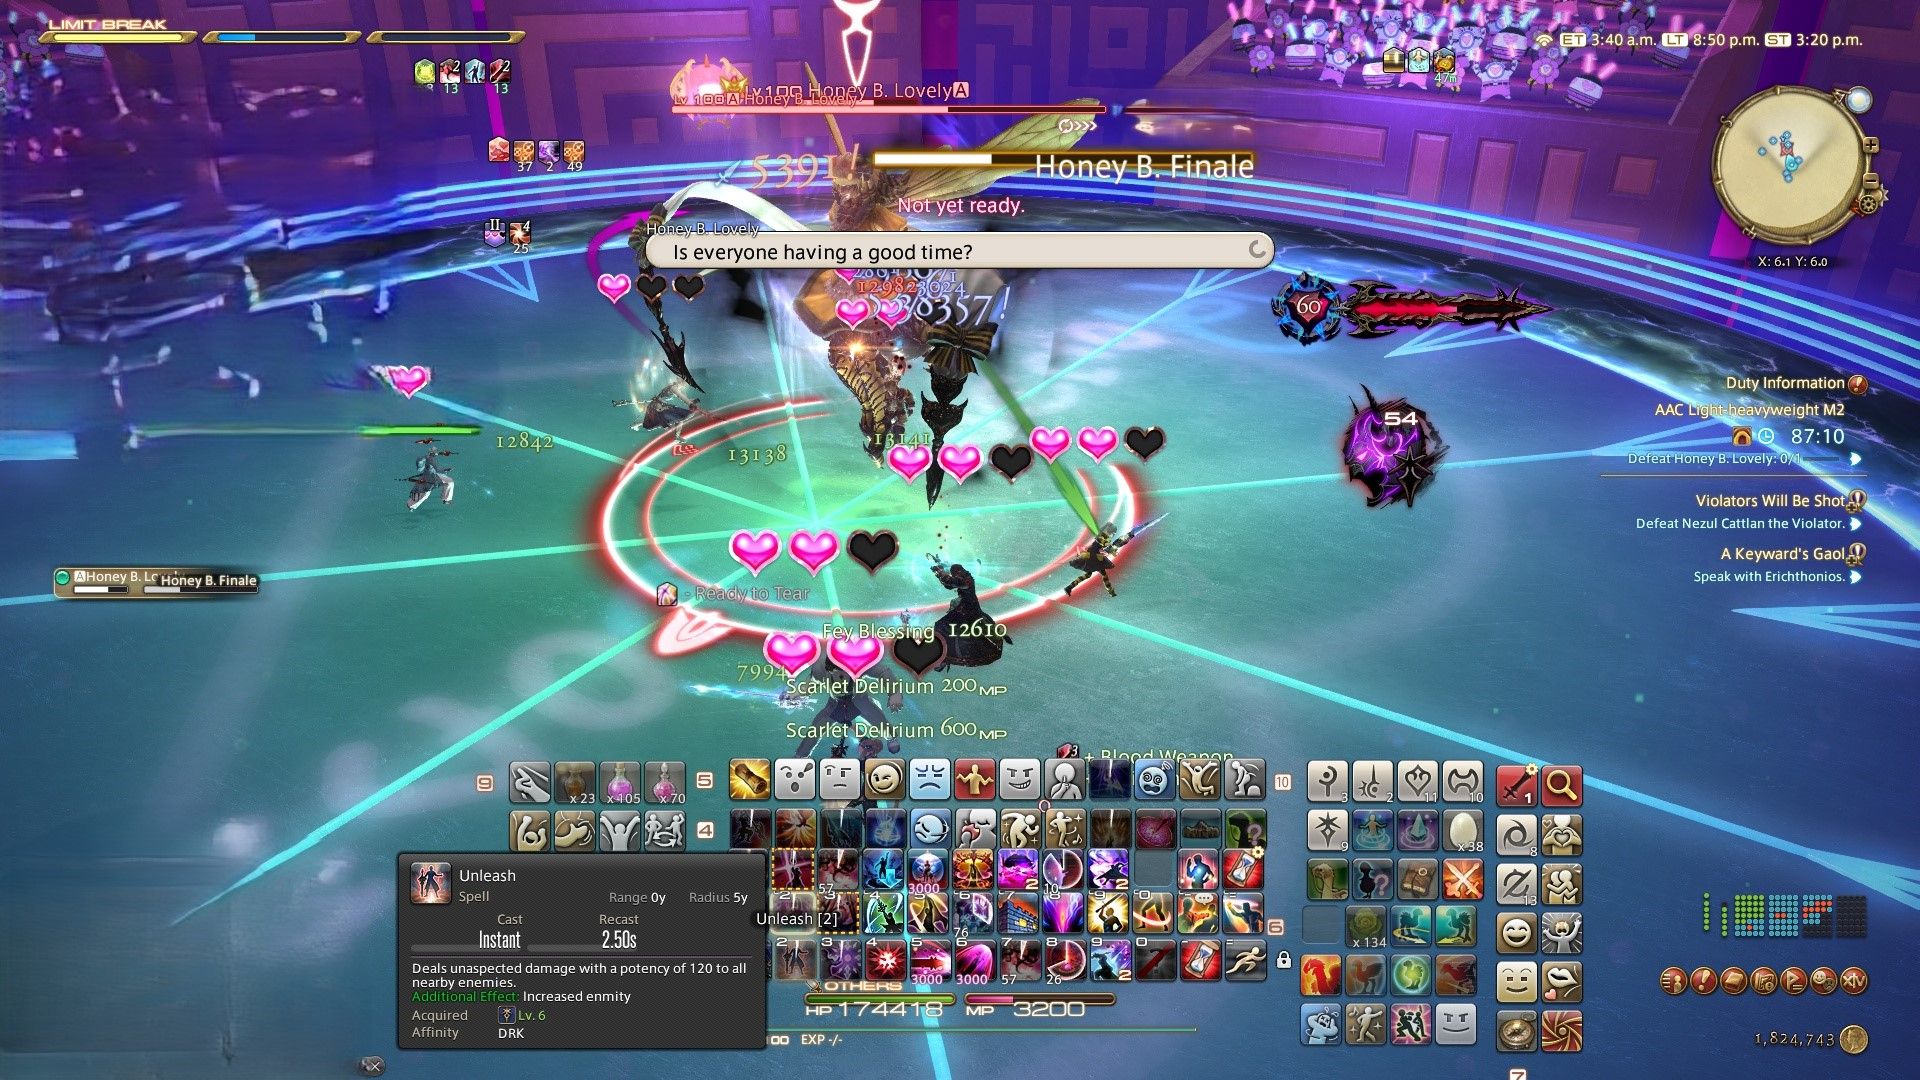
In simpler terms, having the basic Area of Effect (AoE) without a Heart Meter means you should keep up your defensive measures to prevent high damage, making the healing process less pressure-filled.
Tempting Twist + Honey Beeline+ Venom
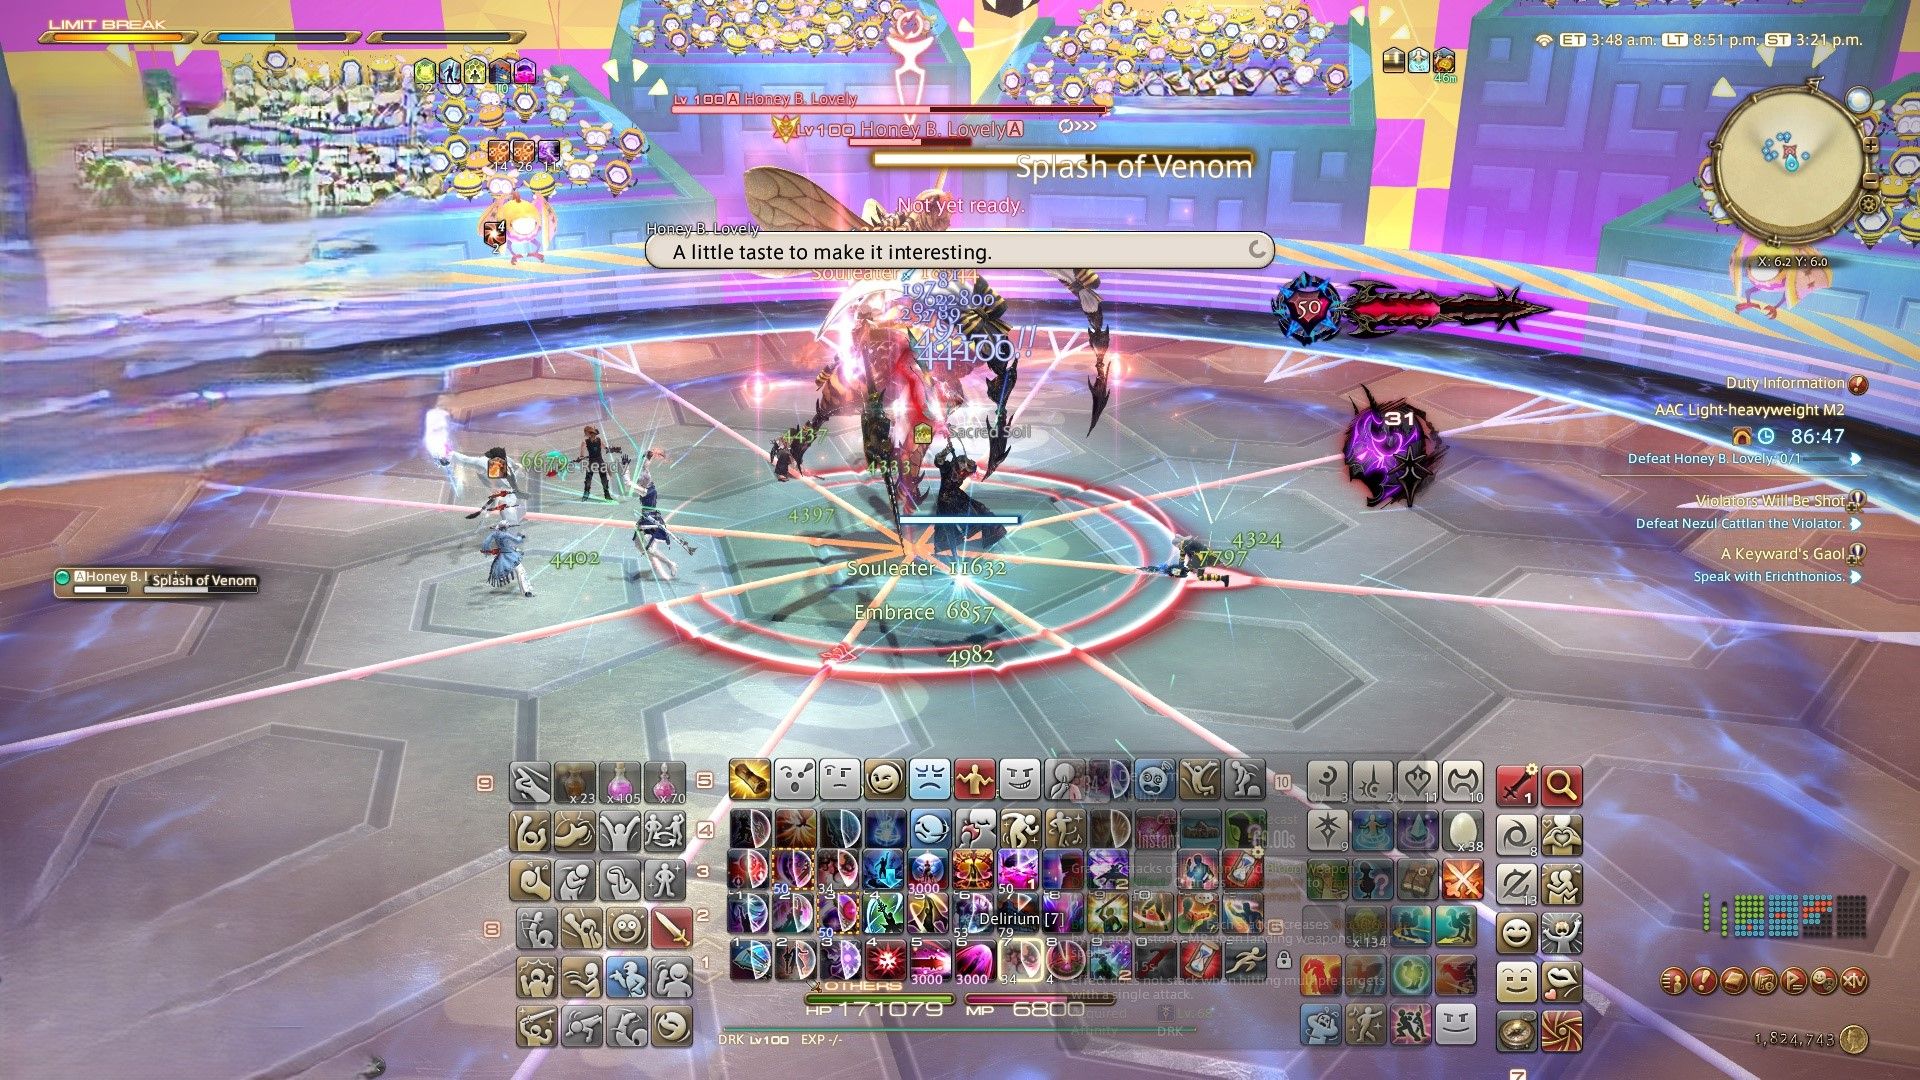
Approach Honey B closely to dodge the Tempting Twist and stay away from her sides to prevent the Honey Beeline. When she initiates either attack, Honey B will follow up with one of two area-of-effect venom attacks.
As a fan, I’d urge you all to keep your distance when “Splash Venom” is unleashed, as it’s an area-of-effect attack. On the other hand, when “Drop Venom” occurs, it leaves a stack marker (yellow icon) that everyone should aim to collect.
Alarm Pheromones
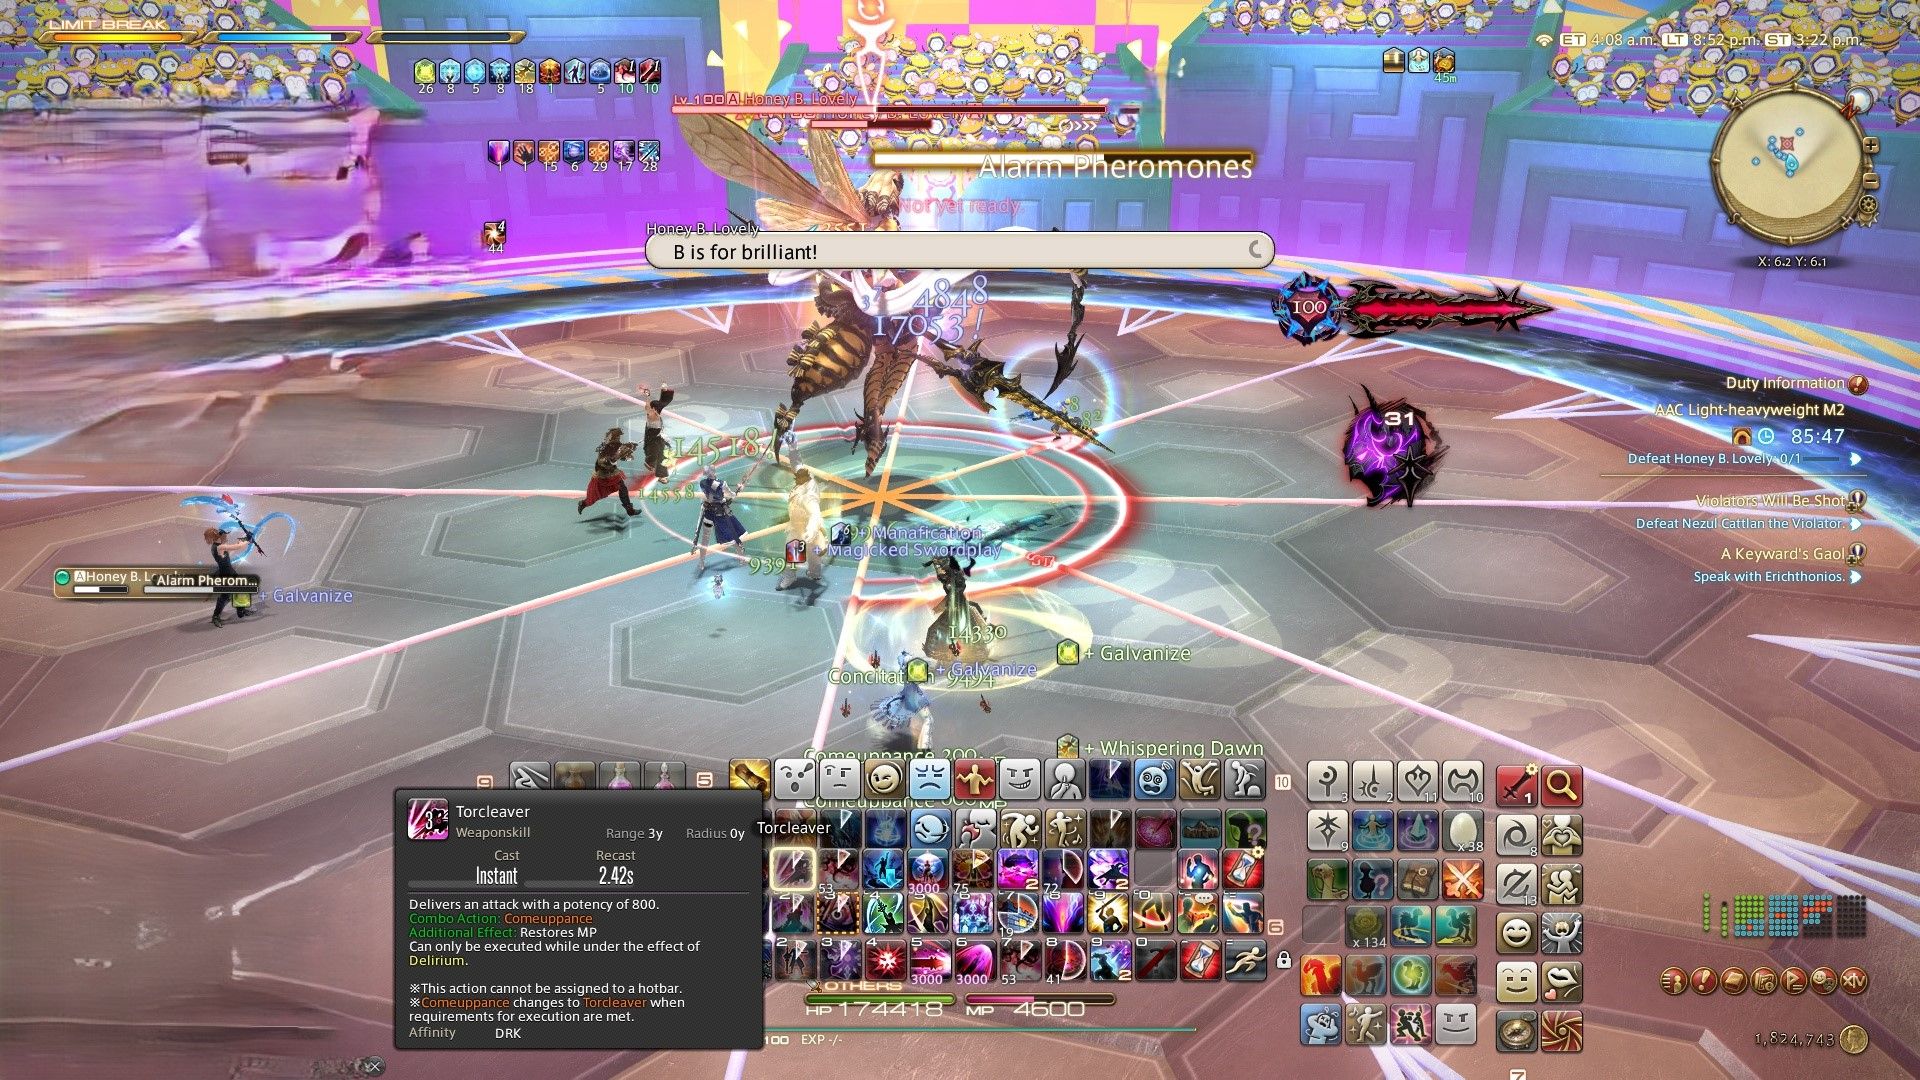
A cluster of bees situated beyond the playing field sets off Area-of-Effect (AoE) lines that are aimed towards the center. These AoEs are discharged sequentially, either moving clockwise or counterclockwise.
1. As the AoEs advance toward the core, follow their path. Subsequently, Honey B. Lovely releases Alarm Pheromones once more.
Honey B. Live 2+ Loveseeker 2+Love Me Tender 3
Two yellow stack markers become visible, one on a Defense Platform (DPS) and the other on a Tank/Healer. Gather a group of four Damage Per Second (DPS) units and four Support units beneath each marker.
Whenever Heart Spires show up, make sure there’s at least one player positioned beneath each one. After that, Honey B activates Loveseeker. Steer clear of them as much as possible.
Alarm Pheromones 2
Unpredictable Area-of-Effect Attacks (AoEs) – These swarms of attackers randomly discharge their AoEs in various directions. Stay alert and try to dodge or evade these assaults whenever you can.
Boss Name | Armour Tokens | Random Rewards (Additional) | Guaranteed Rewards |
|---|---|---|---|
Honey B Lovely | 1* Holohelm 1* Hologauntlets 1* Holoarmor 2* Hologreaves 1* Holochausses 2* Holoearring | 1* Bee My Honey Orchestrion Roll | 20* Allagan Tomestones of Aesthetics |
Here are instructions for M1 and M2 raids within the Arcadion’s Light – Heavyweight division in FFXIV. Your skills, knowledge, and preparedness will serve you well when facing these formidable opponents. Get ready and charge ahead, Champions of the Light!
Read More
- Grimguard Tactics tier list – Ranking the main classes
- 10 Most Anticipated Anime of 2025
- USD CNY PREDICTION
- Box Office: ‘Jurassic World Rebirth’ Stomping to $127M U.S. Bow, North of $250M Million Globally
- Silver Rate Forecast
- Gold Rate Forecast
- Black Myth: Wukong minimum & recommended system requirements for PC
- Mech Vs Aliens codes – Currently active promos (June 2025)
- “Golden” Moment: How ‘KPop Demon Hunters’ Created the Year’s Catchiest Soundtrack
- Maiden Academy tier list
2024-08-21 23:13