Quick Links
Items & Passive Bonuses
- Evergaol Encounters
- Field Bosses
- Shifting Earth Events
- Central Castle
In the context of Nightlord battles, swiftness and accuracy are crucial. You’ll want to swiftly defeat enemies and Field Bosses, with the key concern being maximizing your character’s level limit for optimal performance.
To achieve your target, it’s crucial to have a good supply of Runes. Mastering the role of strategist for your team by effectively planning your route through the map is essential, as selecting the appropriate landmarks and sites is vital for reaching the highest possible level limit.
Regardless of whether you decide to accept that position, today’s tutorial is designed to provide a concise overview of the most effective resources to help you optimize your level advancements. As always, speed remains the key factor, as the more swiftly you can coordinate your actions, the sooner you’ll reach the highest level during your exploration journey.
Items & Passive Bonuses
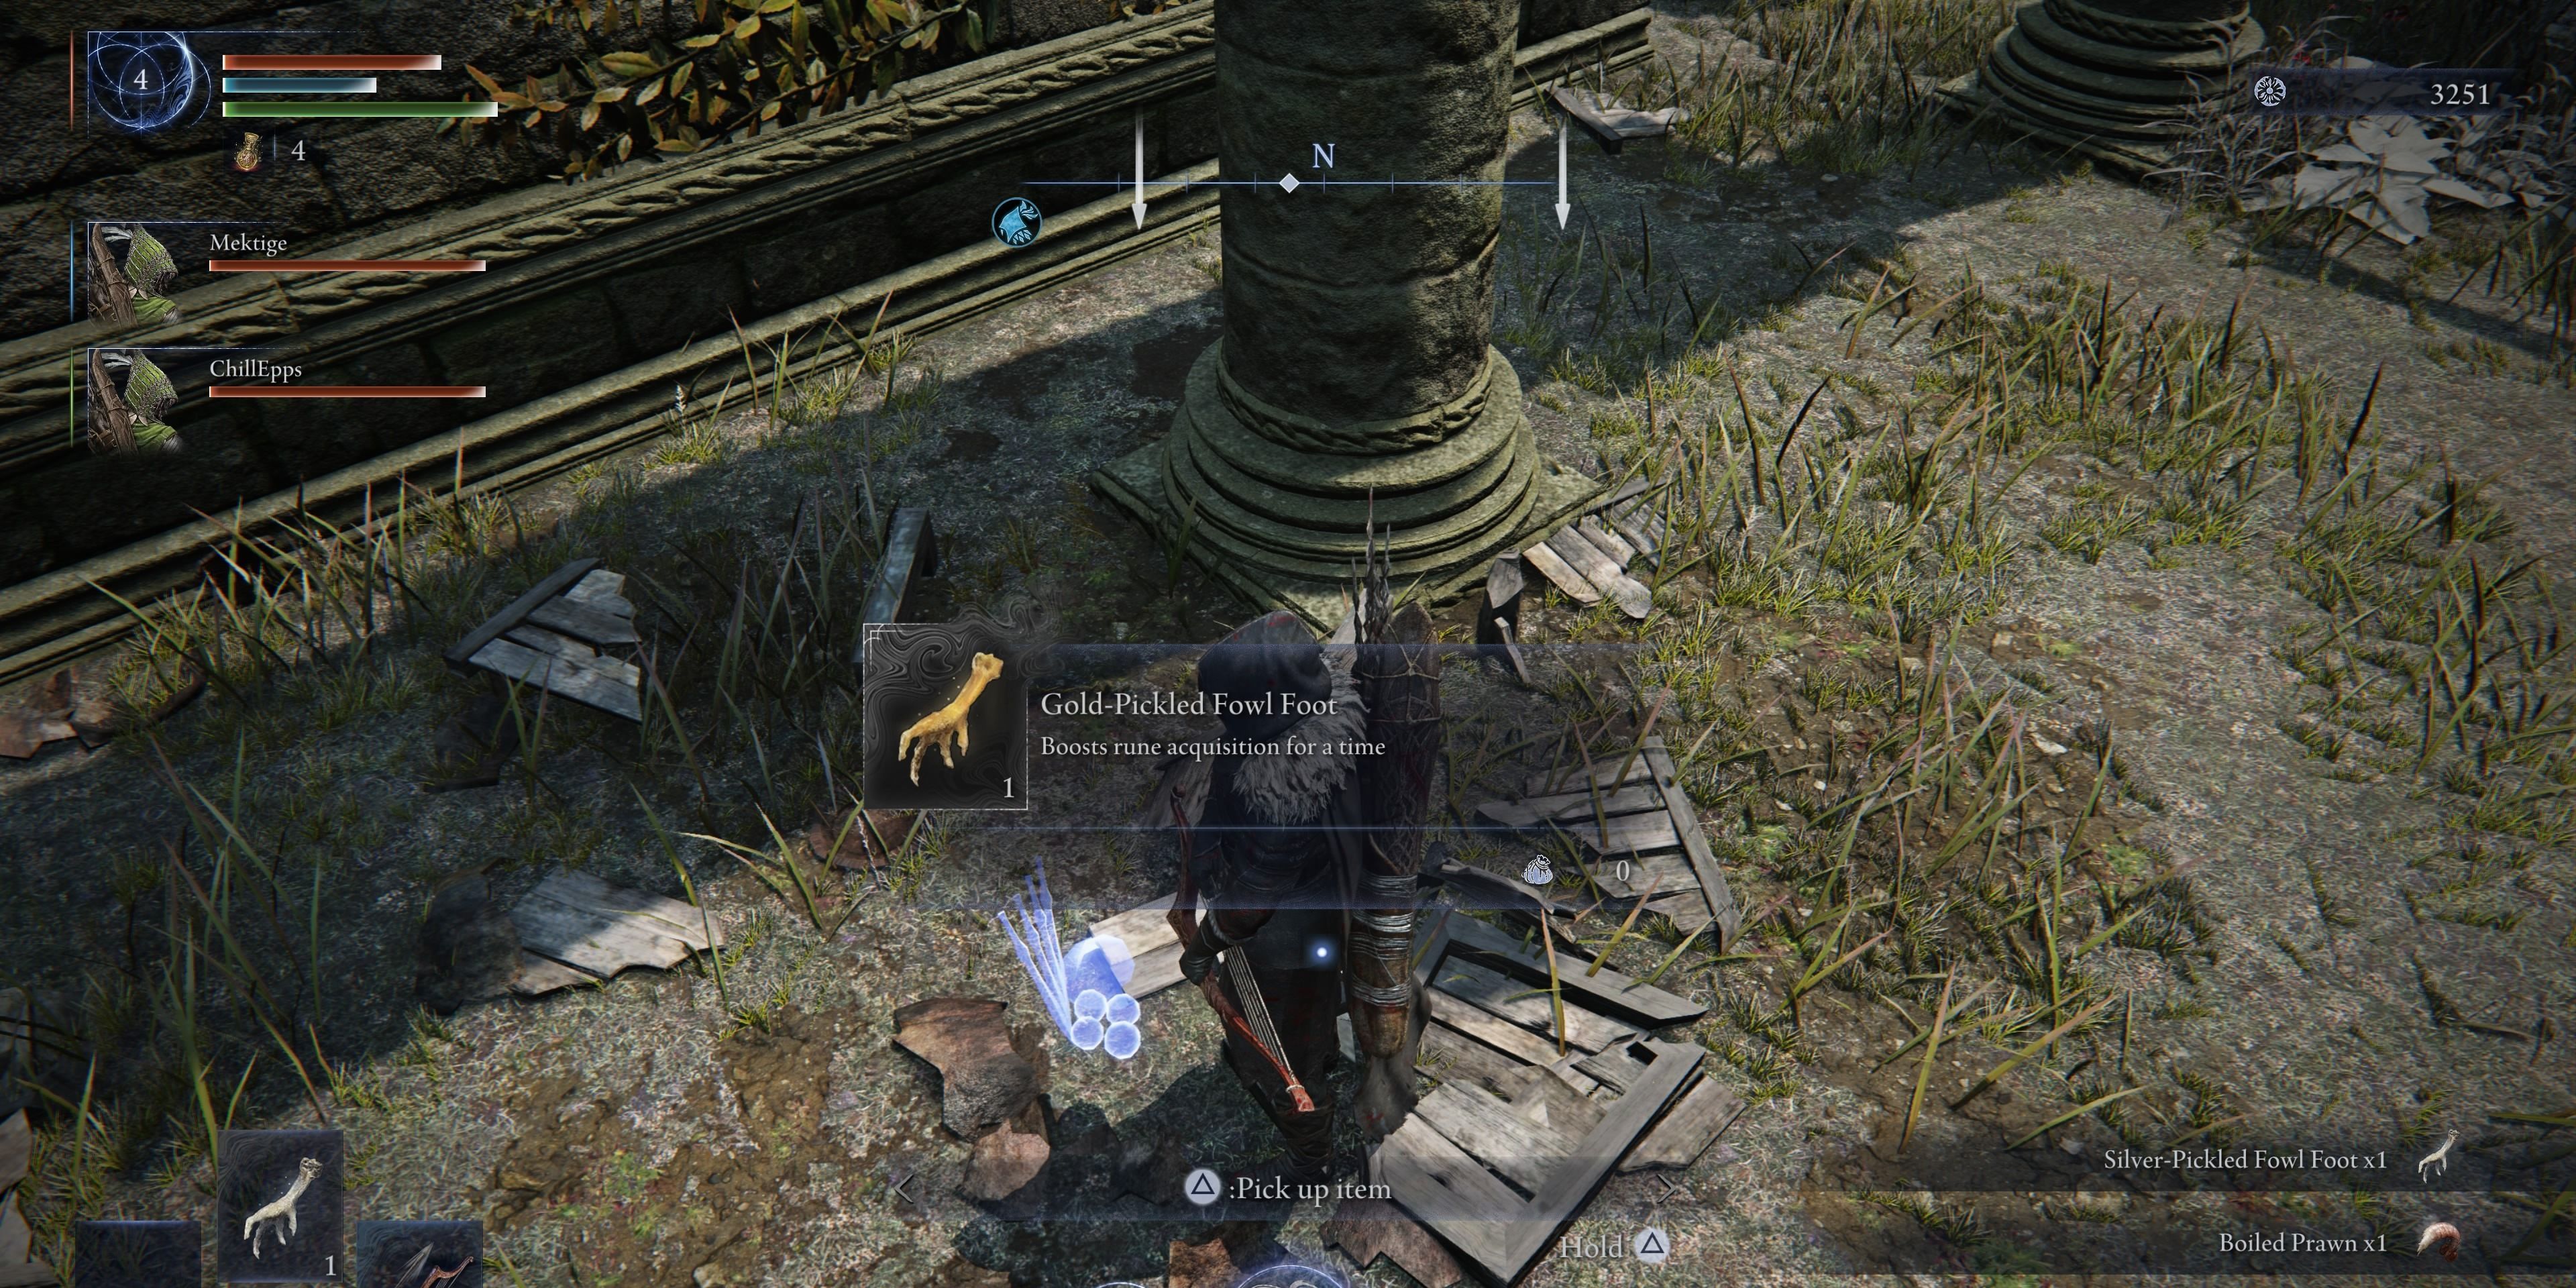
1st off, let me emphasize that apart from Boiled Crab and Exalted Flesh items, the other usable items in this game are crucial. To level up fast and gather more Runes, it’s advisable to scrutinize every single dropped item you come across. Keep an eye out for the Gold-Pickled Foot Fowl, as these temporarily boost Rune collection.
Regarding temporary bonuses, you may encounter and engage with shimmering hedges that seem to be golden throughout the map. These will temporarily increase your rune earnings.
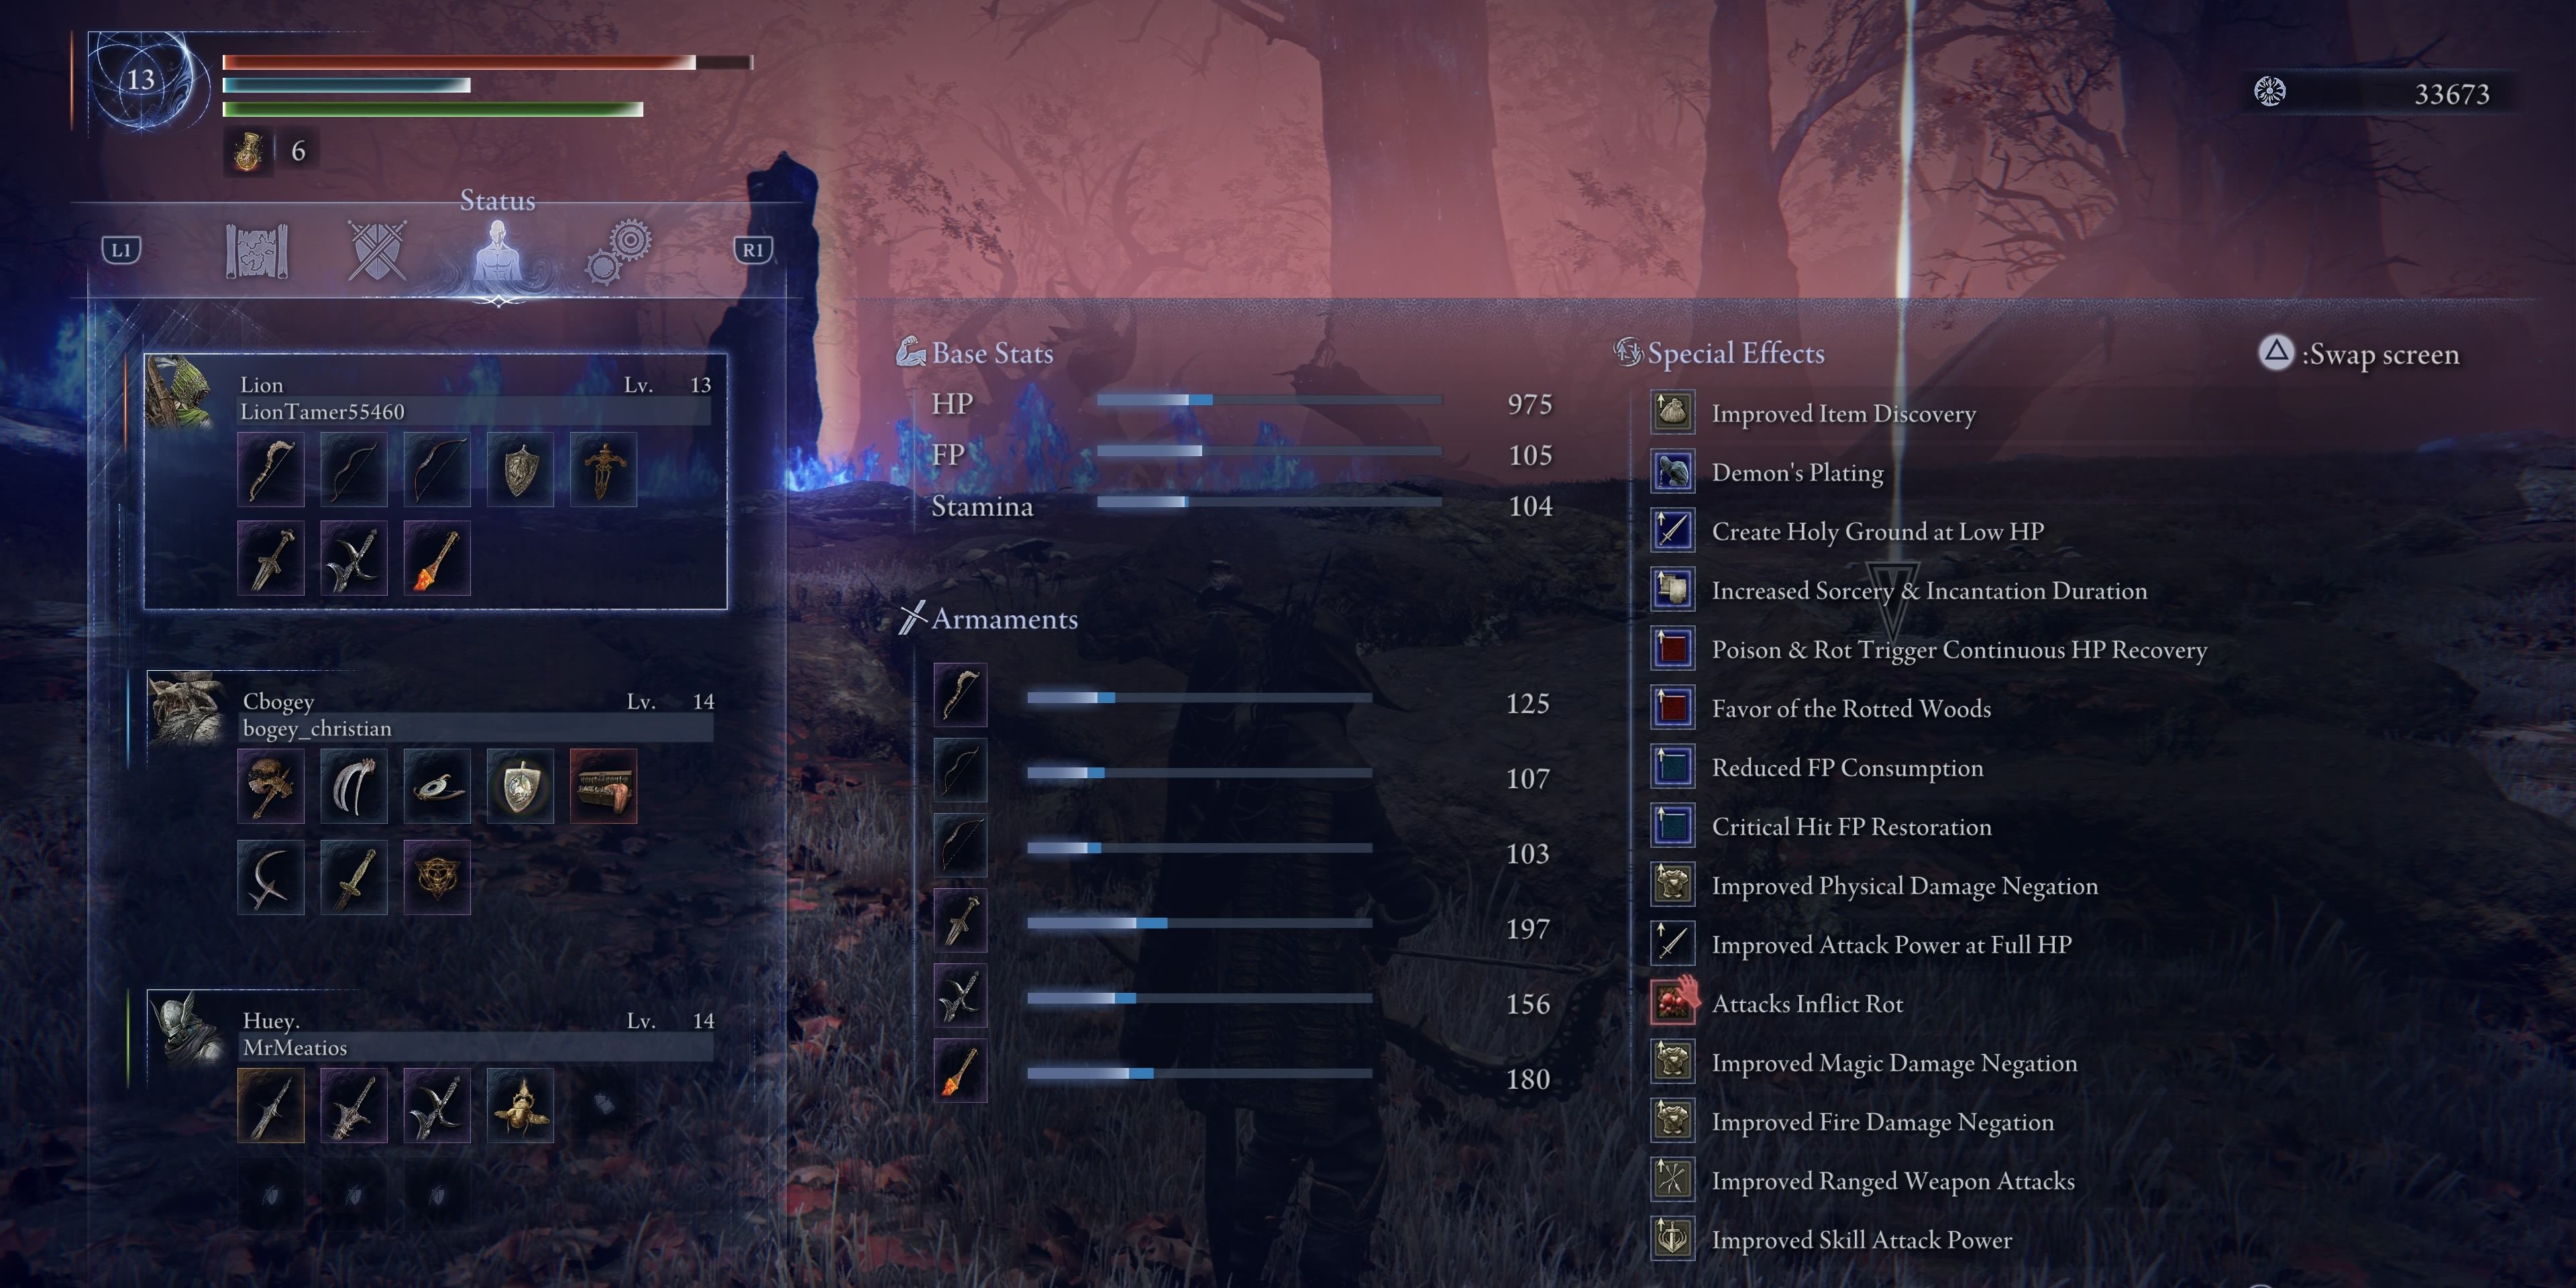
If you recall gathering Runes in the main game, then you might be familiar with one of my teammates having the Gold Scarab Talisman in their inventory as displayed in the picture above. This item boosts the amount of Runes you get from various sources.
In addition to the listed items, you may also obtain special bonuses from defeating Field Bosses. These bonuses will enhance the worth of Runes obtained from vanquished foes. If luck is on your side and these bonuses are bestowed upon you early in the game, I strongly recommend forgoing any other rewards and selecting that bonus instead.
Evergaol Encounters
To successfully embark on any expedition for me, it’s crucial to make sure the churches are dealt with first, given the enhancements from the Crimson Flask. After addressing the churches, I always focus on the mini-forts guarded by Godrick soldiers next. At the pinnacle of these fortresses, there’s usually a chest that could contain a Stonesword Key as a possible reward.
In addition, you might come across specific Artifacts that are known for granting a Stone Sword Key at the beginning of each adventure.
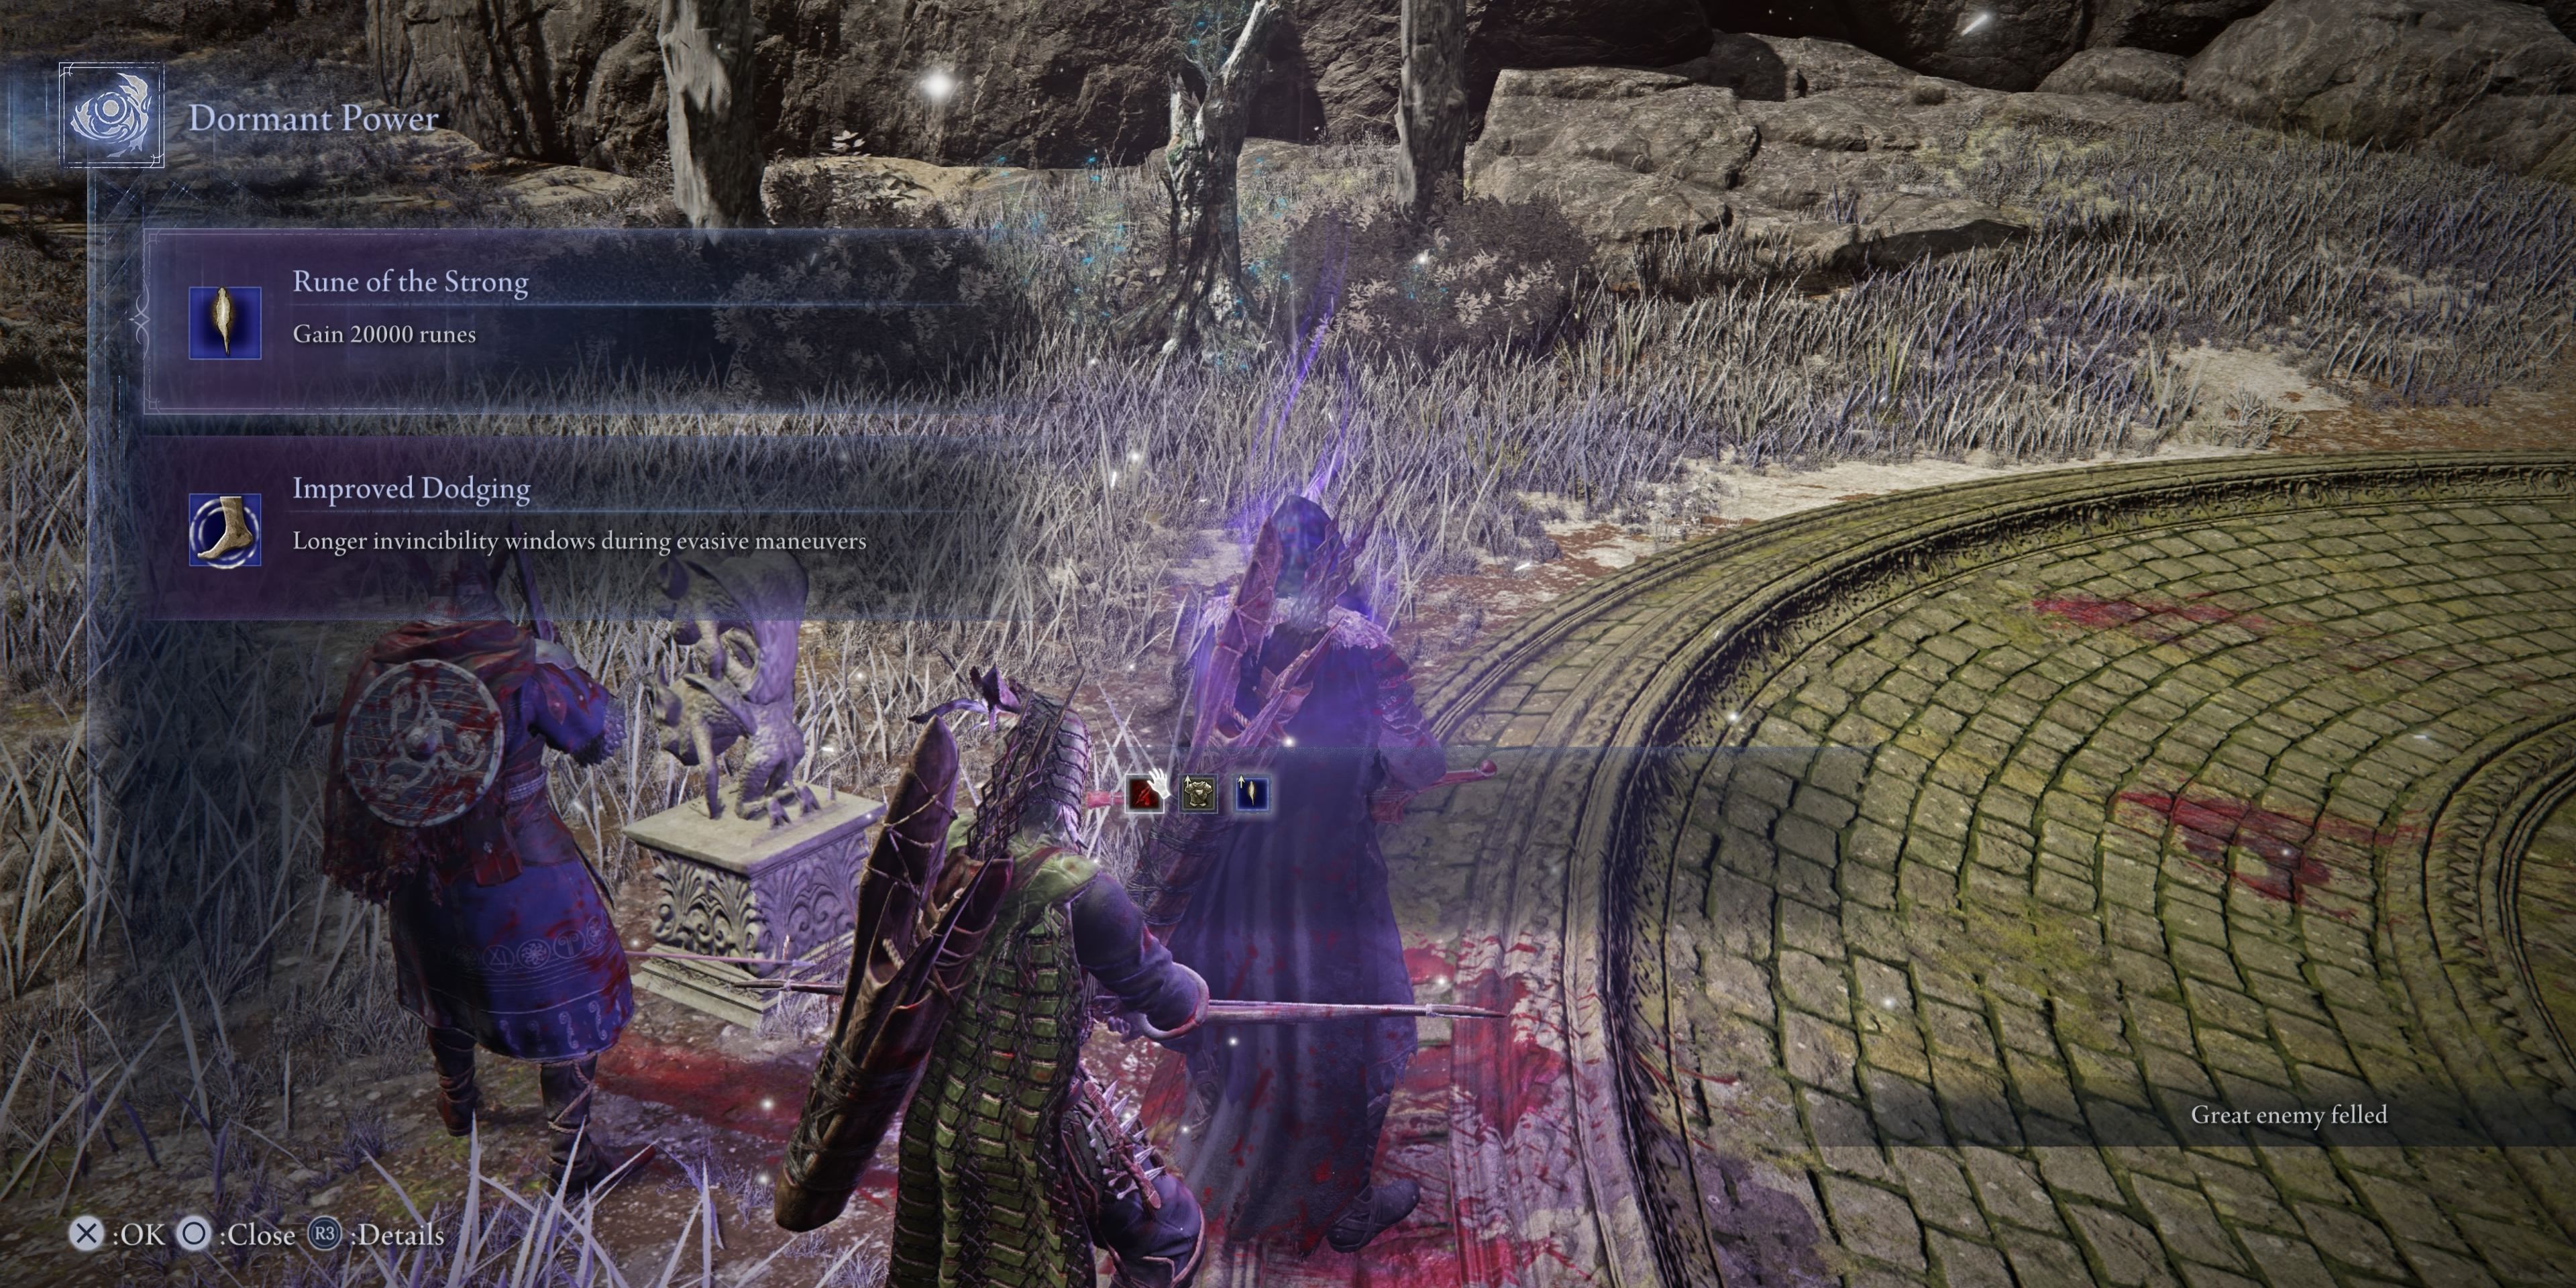
You can employ the Stonesword Keys to unlock the Evergaols marked on your map, which will initiate an encounter with a Field Boss. Notably, these Evergaols offer you a choice between receiving 10,000 or 20,000 Runes as a reward.
My friend and I usually make an effort to search for the Stonesword Key in the initial areas on the first day, because it typically provides a generous amount of Runes as a bonus, provided that the alternative option isn’t more appealing.
Field Bosses
In each exploration, aim to increase your chances of encountering Field Bosses. Often, you can find hint maps at the fortresses, or stumble upon them yourself. Usually, these Field Bosses are indicated on the map by a dark monster symbol.
In these situations, when Trash Mobs transform into boss battles, the principle remains the same – regardless of how their health is split among multiple enemies. You’ll still be rewarded with a substantial number of Runes for swiftly engaging and vanquishing them, even though the prize may not be particularly impressive.
On day two, you’ll encounter tougher Field Bosses, but they come with greater rewards in terms of loot.
Instead of wasting time on unnecessary encounters with camps or ruins along the way, it could be more advantageous to focus solely on defeating the bosses near your intended destination if you’re skilled enough and can move swiftly.
Shifting Earth Events
In your exploration missions, the Shifting Earth Events could be your most effective choice for obtaining Runes due to the significant rewards they offer. These event zones on the map are filled with formidable bosses that can help you swiftly reach the highest level. Moreover, there’s a hidden treasure at the end that offers one of the best loot or buffs in the game.
At the outset of the game, you’ll only be able to explore the Crater Shifting Earth Event. However, as you triumph in your initial expeditions, you’ll gradually unlock and gain access to additional map variation zones for your team. I assure you, they’re well worth the risk!
Regardless if it’s the dangerous Scarlet Woods or the freezing challenges at Mountaintop Peak, always follow the primary route and goals to avoid encountering unnecessary enemy combatants or getting lost in some events reminiscent of classic dungeons.
Central Castle

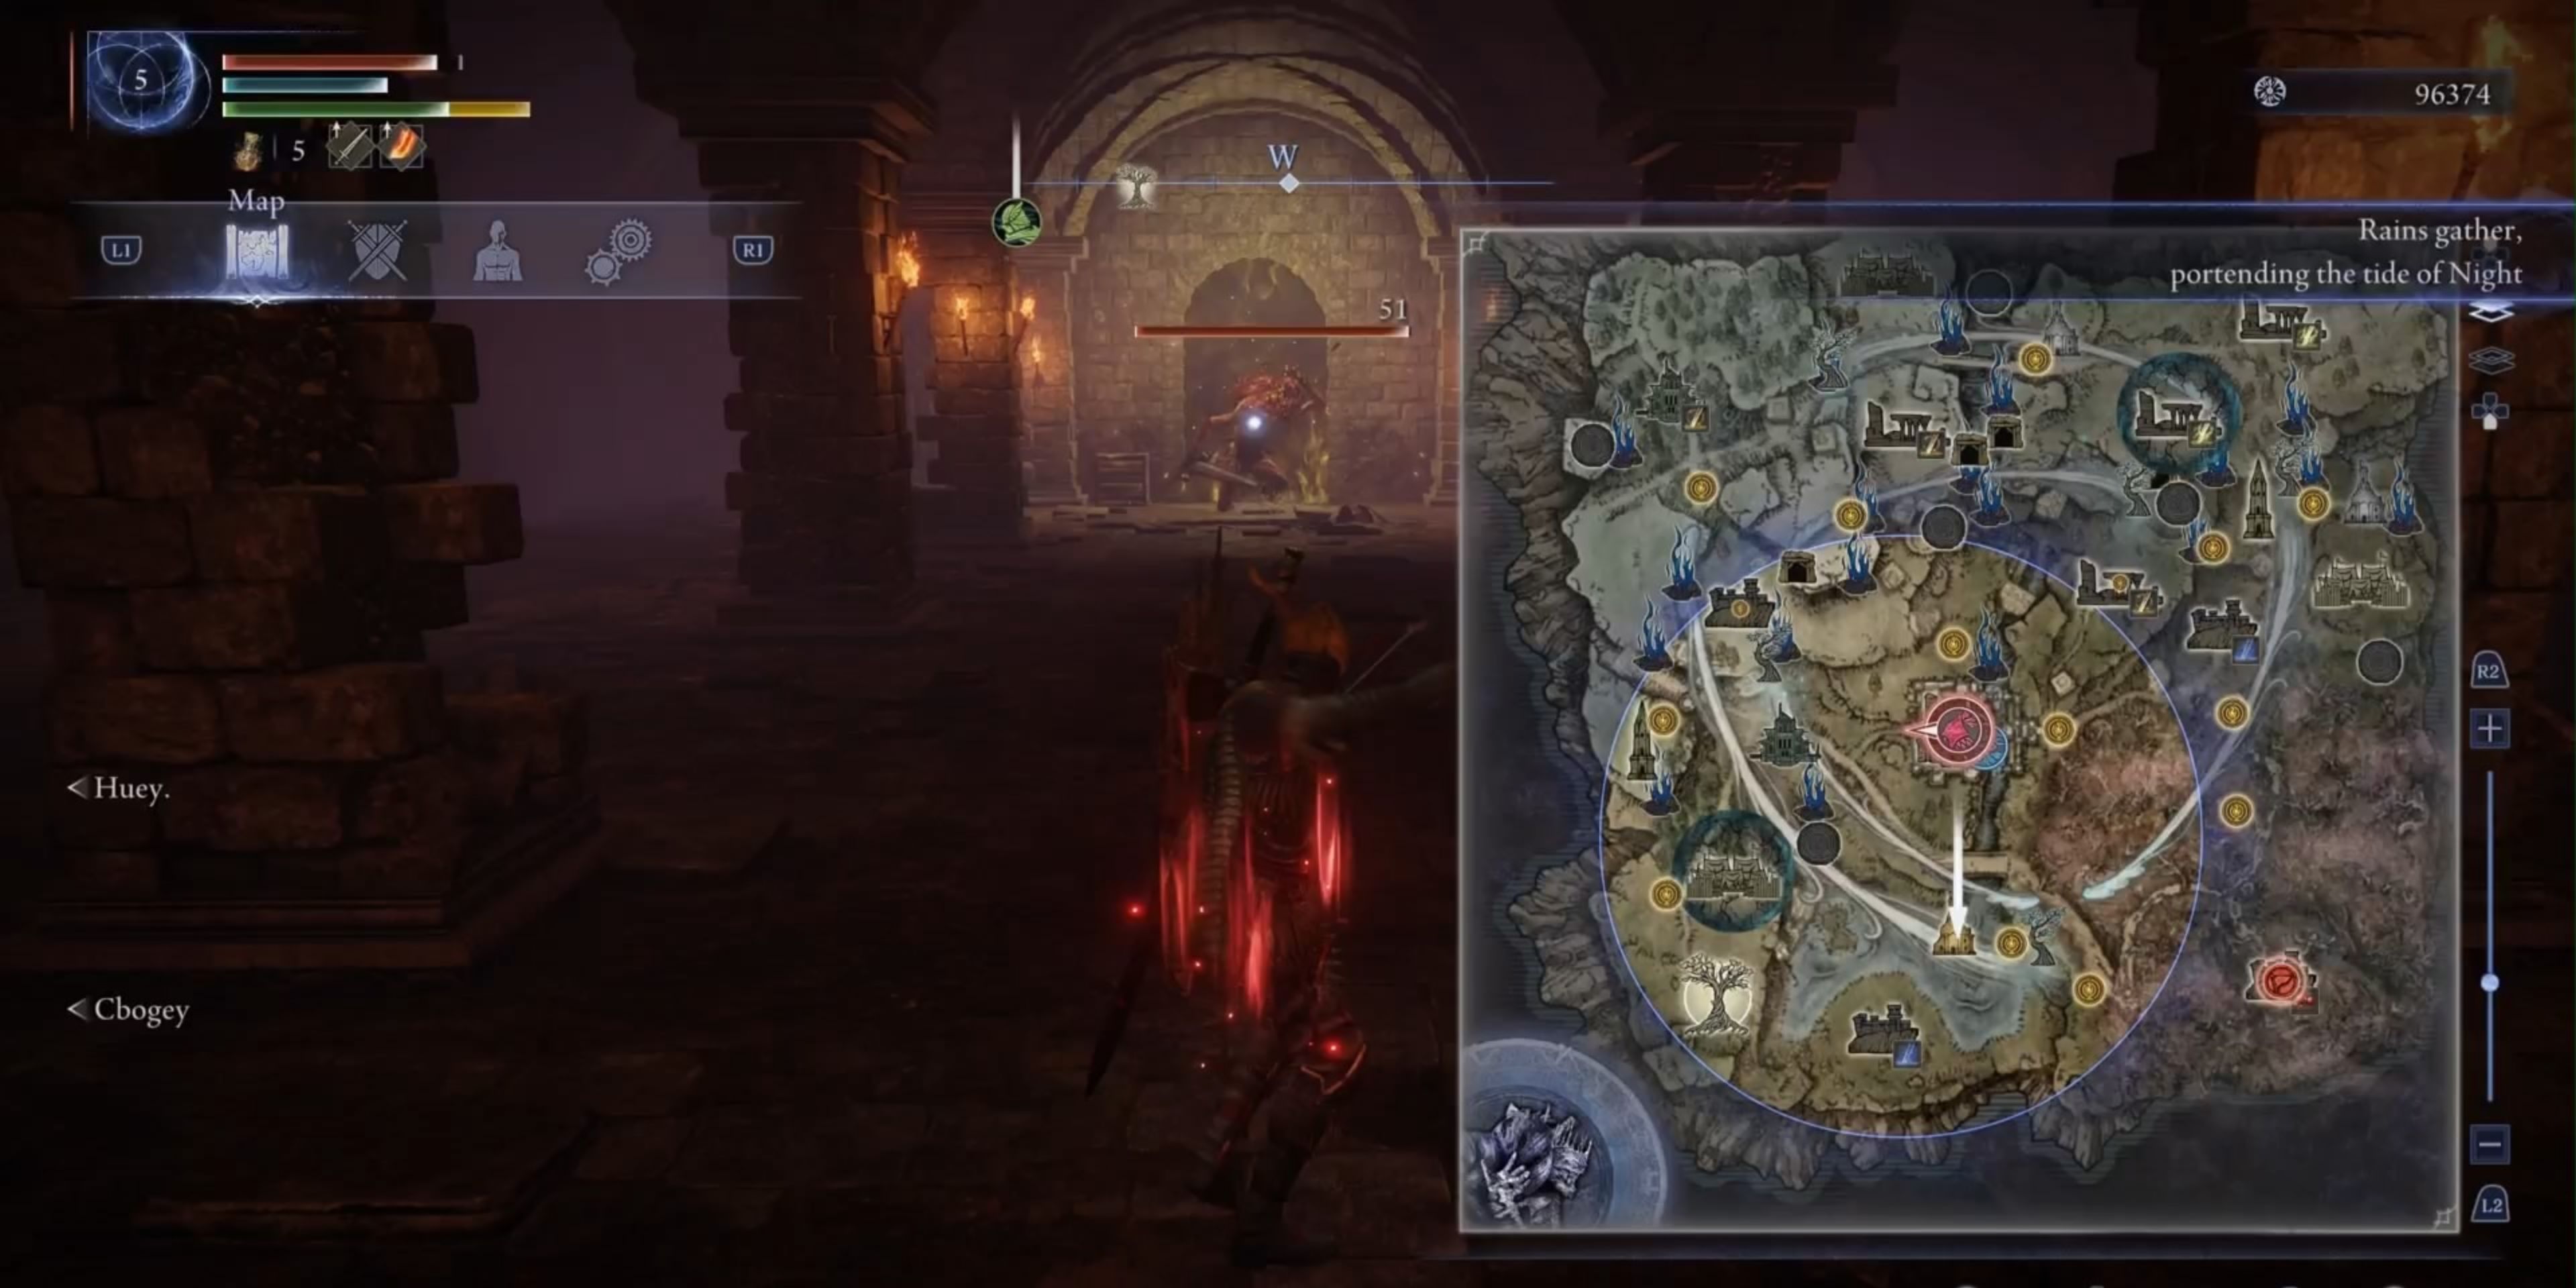
For now, let’s ignore the earthquakes and focus on locating the central castle at the heart of the map. This stronghold is an excellent spot where you can collect a significant amount of Runes to boost your levels while exploring. Here are some essential facts about this place:
In this castle, there are typically three distinct types of primary adversaries: either the Banished Stormveil Knights, Trolls who hurl pots, or Crucible Knights. It would be beneficial to encounter the Crucible Knights because of their higher Rune value, but dealing with the other two isn’t a problem as long as you act swiftly to eliminate them all.
You have an opportunity to engage in a challenging boss battle right in our underground cellar, accessible through the main entrance. If successful, this fight will earn you a treasure chest loaded with Talismans as your prize.
Dealing with trolls can be quite challenging because they inflict significant damage and track their victims with those explosive pots. However, if you work well with your team and approach from the castle’s rear entrance via the rooftops, you can effectively eliminate them in a group.
As a fellow enthusiast, I’d like to share some insights from my experience: It’s best to heed my advice and strategize for a second-day arrival. This way, you can sweep through with maximum efficiency instead of spending valuable time dealing minimal damage to the enemies and bosses initially.
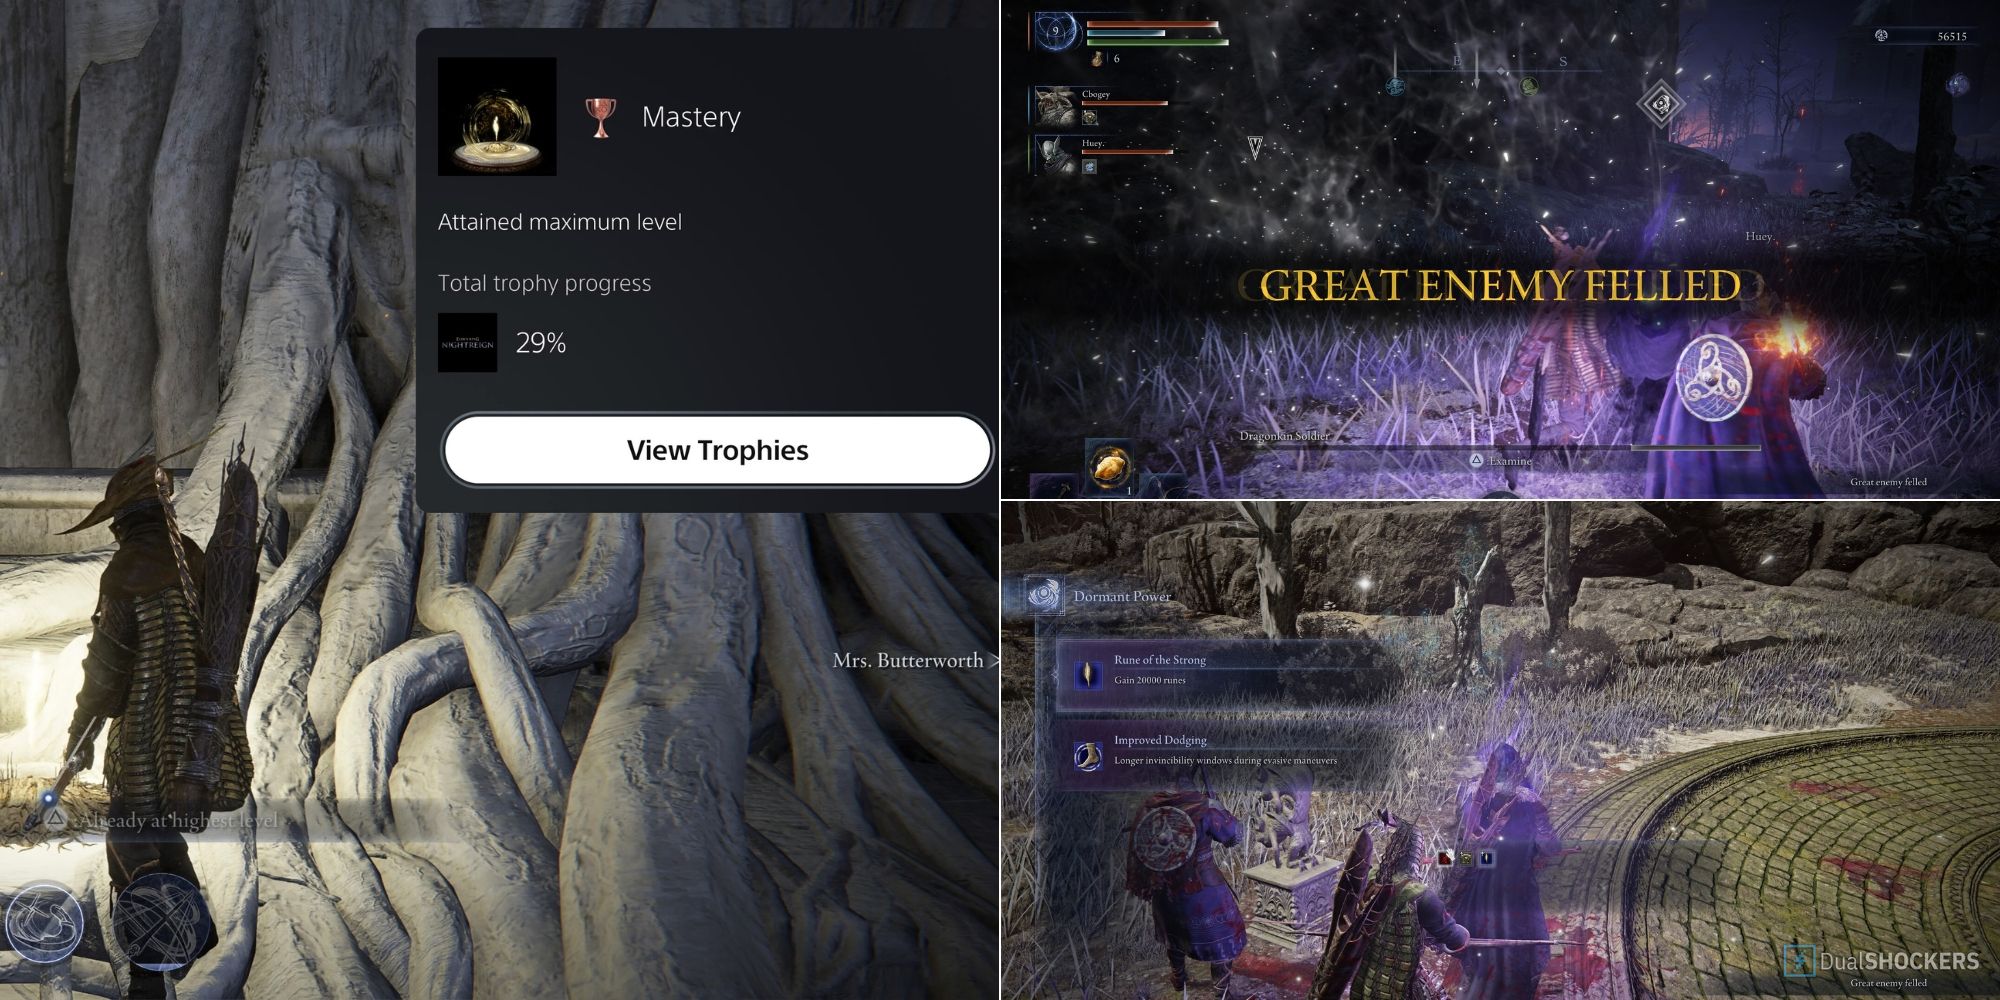
So, if you manage to clean this area efficiently, maintain good random number generation (RNG), and minimize unnecessary deaths throughout your journey, I’m confident you’ll reach level 15 for an optimal encounter with the Nightlord and even earn that ‘Mastery’ Trophy/Achievement.
Read More
- Gold Rate Forecast
- Silver Rate Forecast
- Honor of Kings returns for the 2025 Esports World Cup with a whopping $3 million prize pool
- PUBG Mobile heads back to Riyadh for EWC 2025
- USD CNY PREDICTION
- Kanye “Ye” West Struggles Through Chaotic, Rain-Soaked Shanghai Concert
- Arknights celebrates fifth anniversary in style with new limited-time event
- Every Upcoming Zac Efron Movie And TV Show
- Mech Vs Aliens codes – Currently active promos (June 2025)
- Hero Tale best builds – One for melee, one for ranged characters
2025-05-30 17:39