As a seasoned veteran of the digital battlefield, I can confidently say that this guide has certainly piqued my interest! Having faced many a formidable foe in my time, I must admit that Wicked Thunder seems to be quite the challenge.
Following the successful completion of both M1 and M2 in the Light-Heavyweight division with Arcadion in FFXIV, it’s now time for encounters with the final pair of opponents on the list. The heat is about to be turned up.
In the earlier Arcadion M1 and M2 tutorials, it’s clear that these bosses are no ordinary opponents. To succeed, you need to be quick on your feet and skillfully use the optimal attack, block, and dodge sequences from your hotkey set.
FFXIV Raid Guide for AAC Light-Heavyweight M3 (Normal)
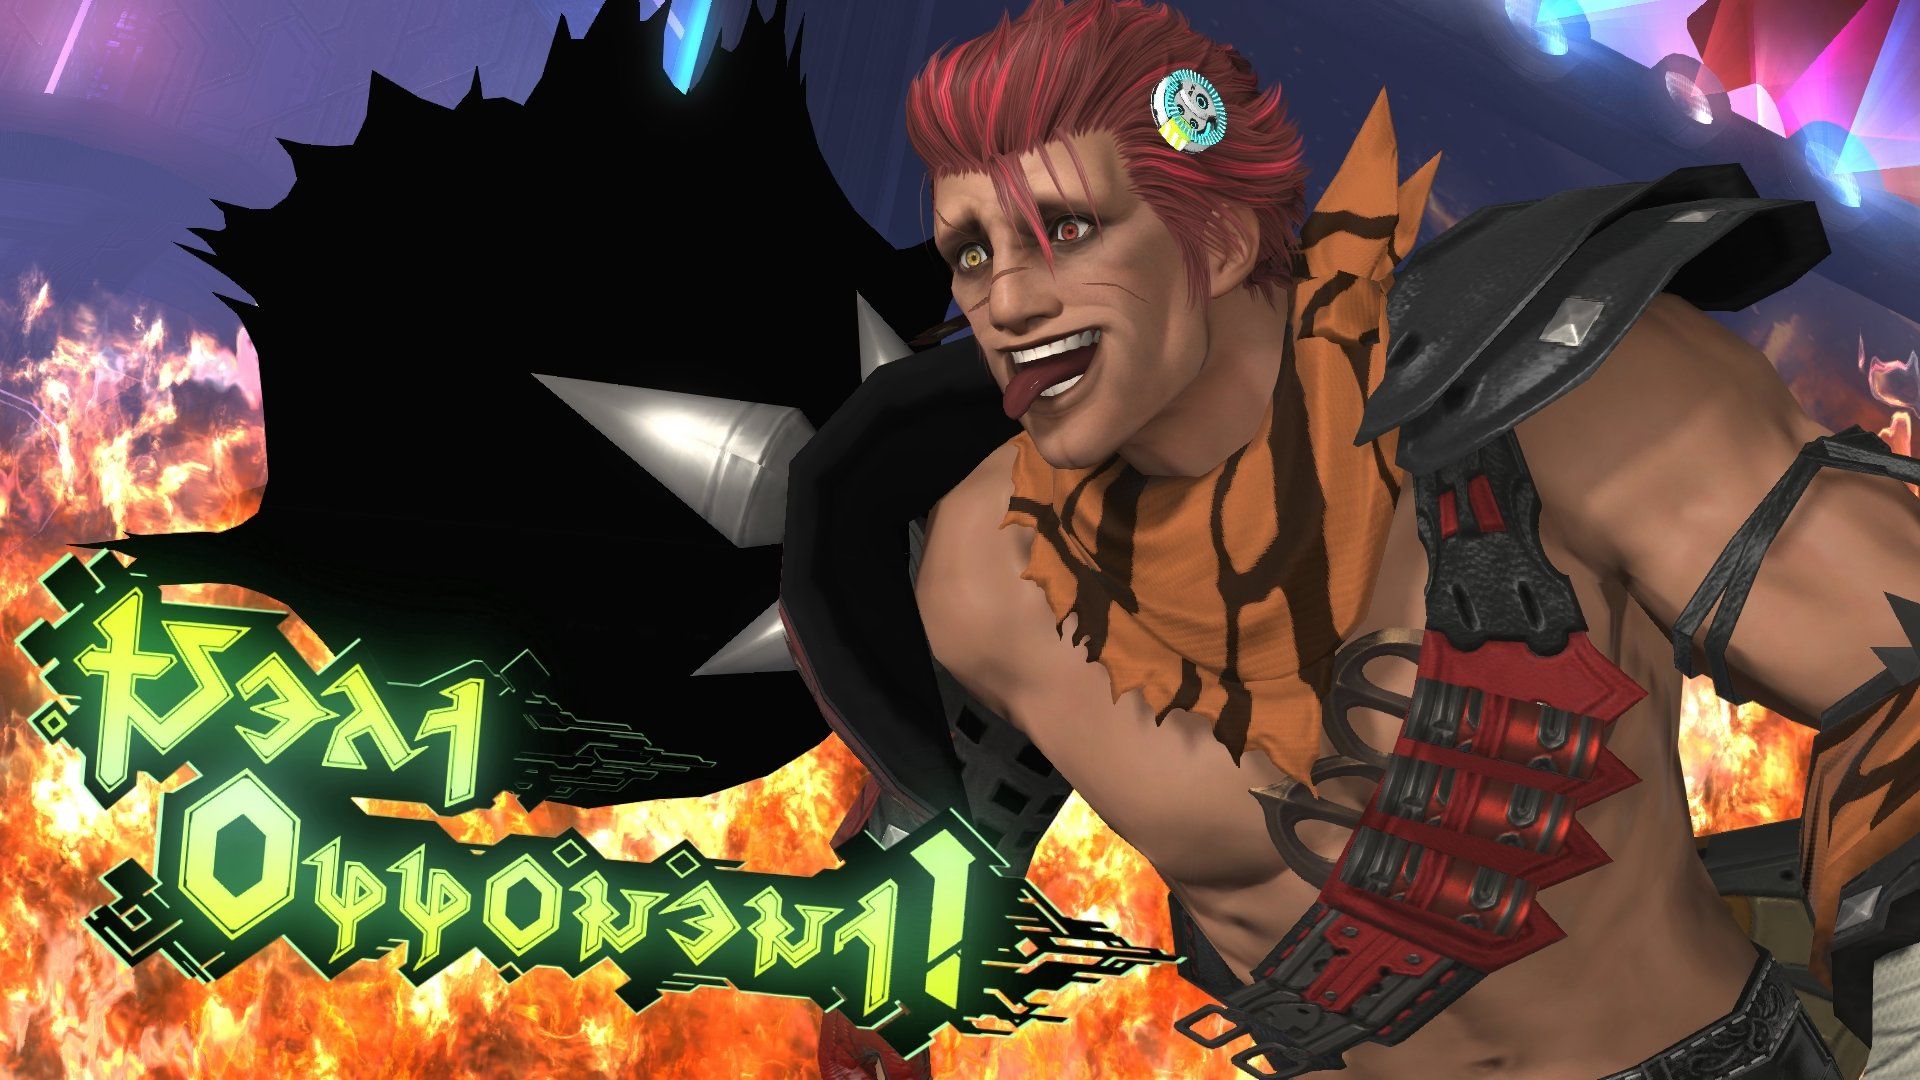
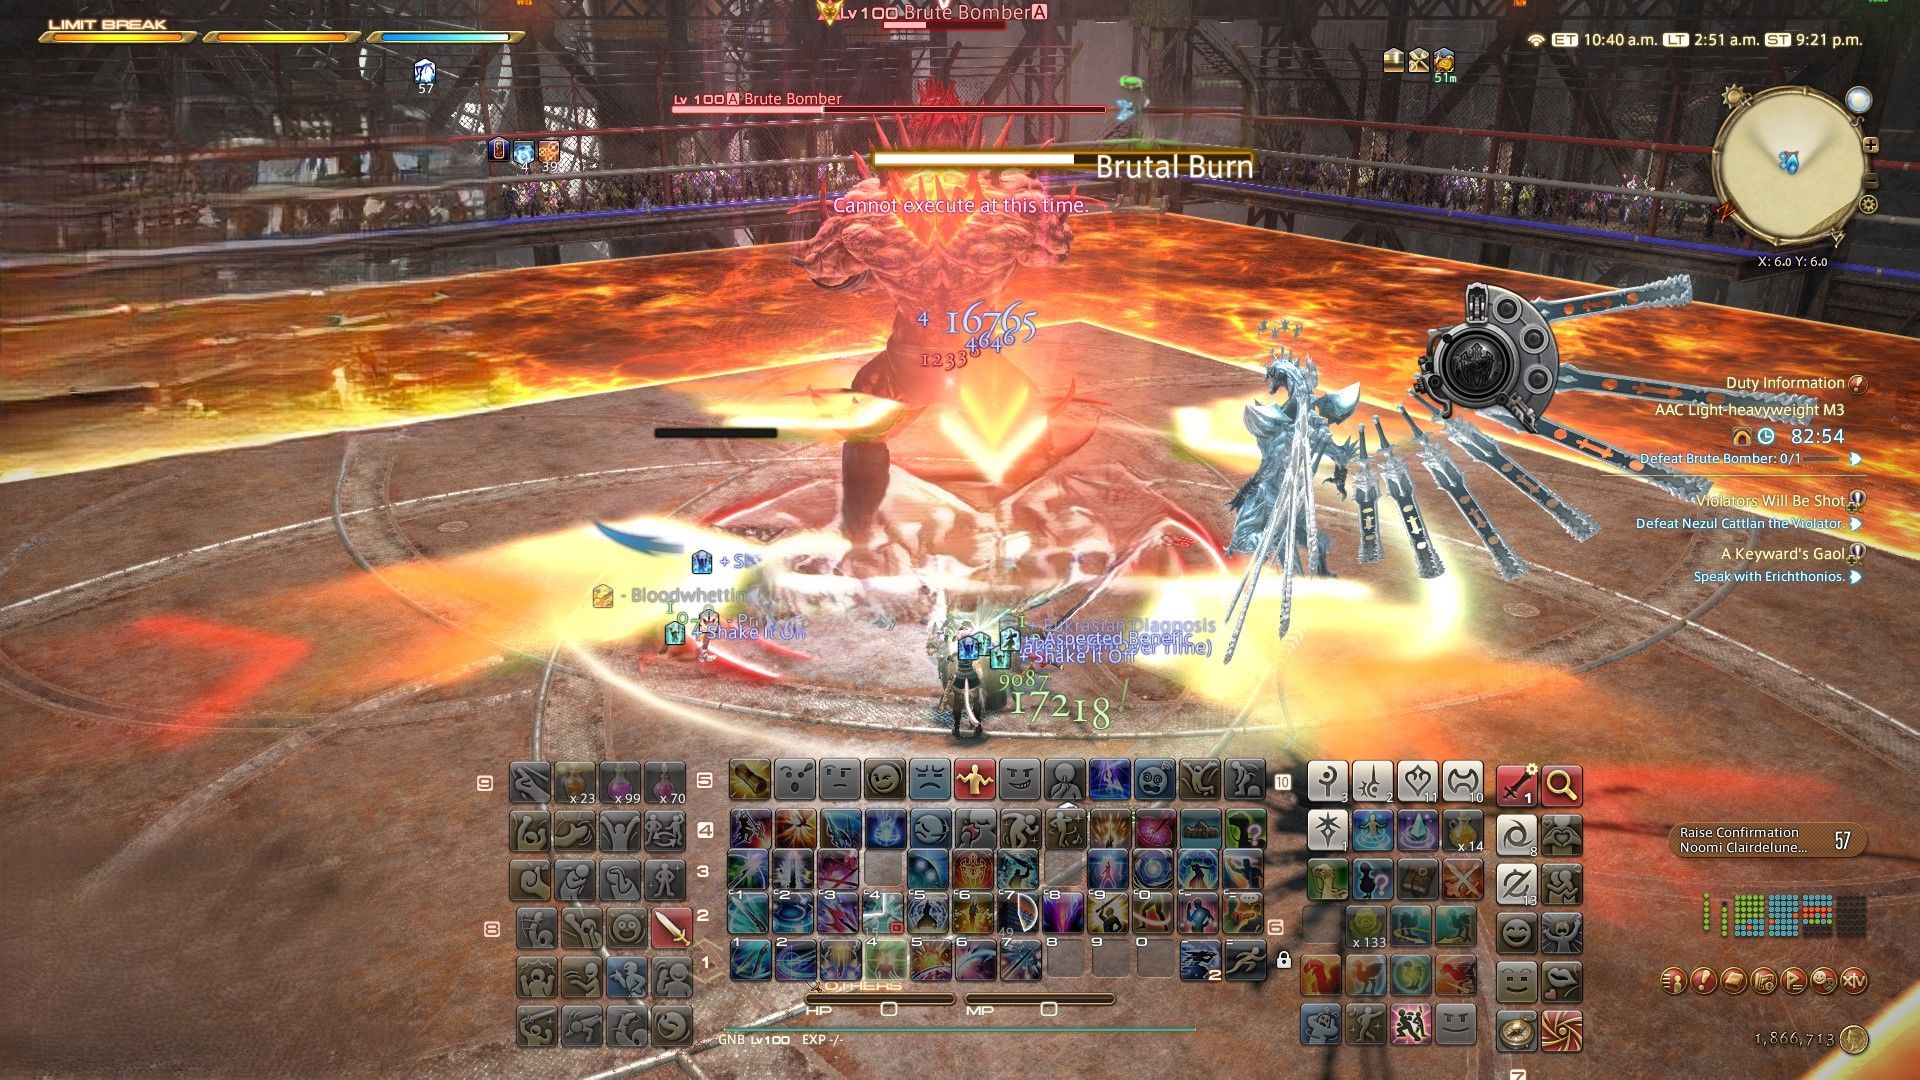
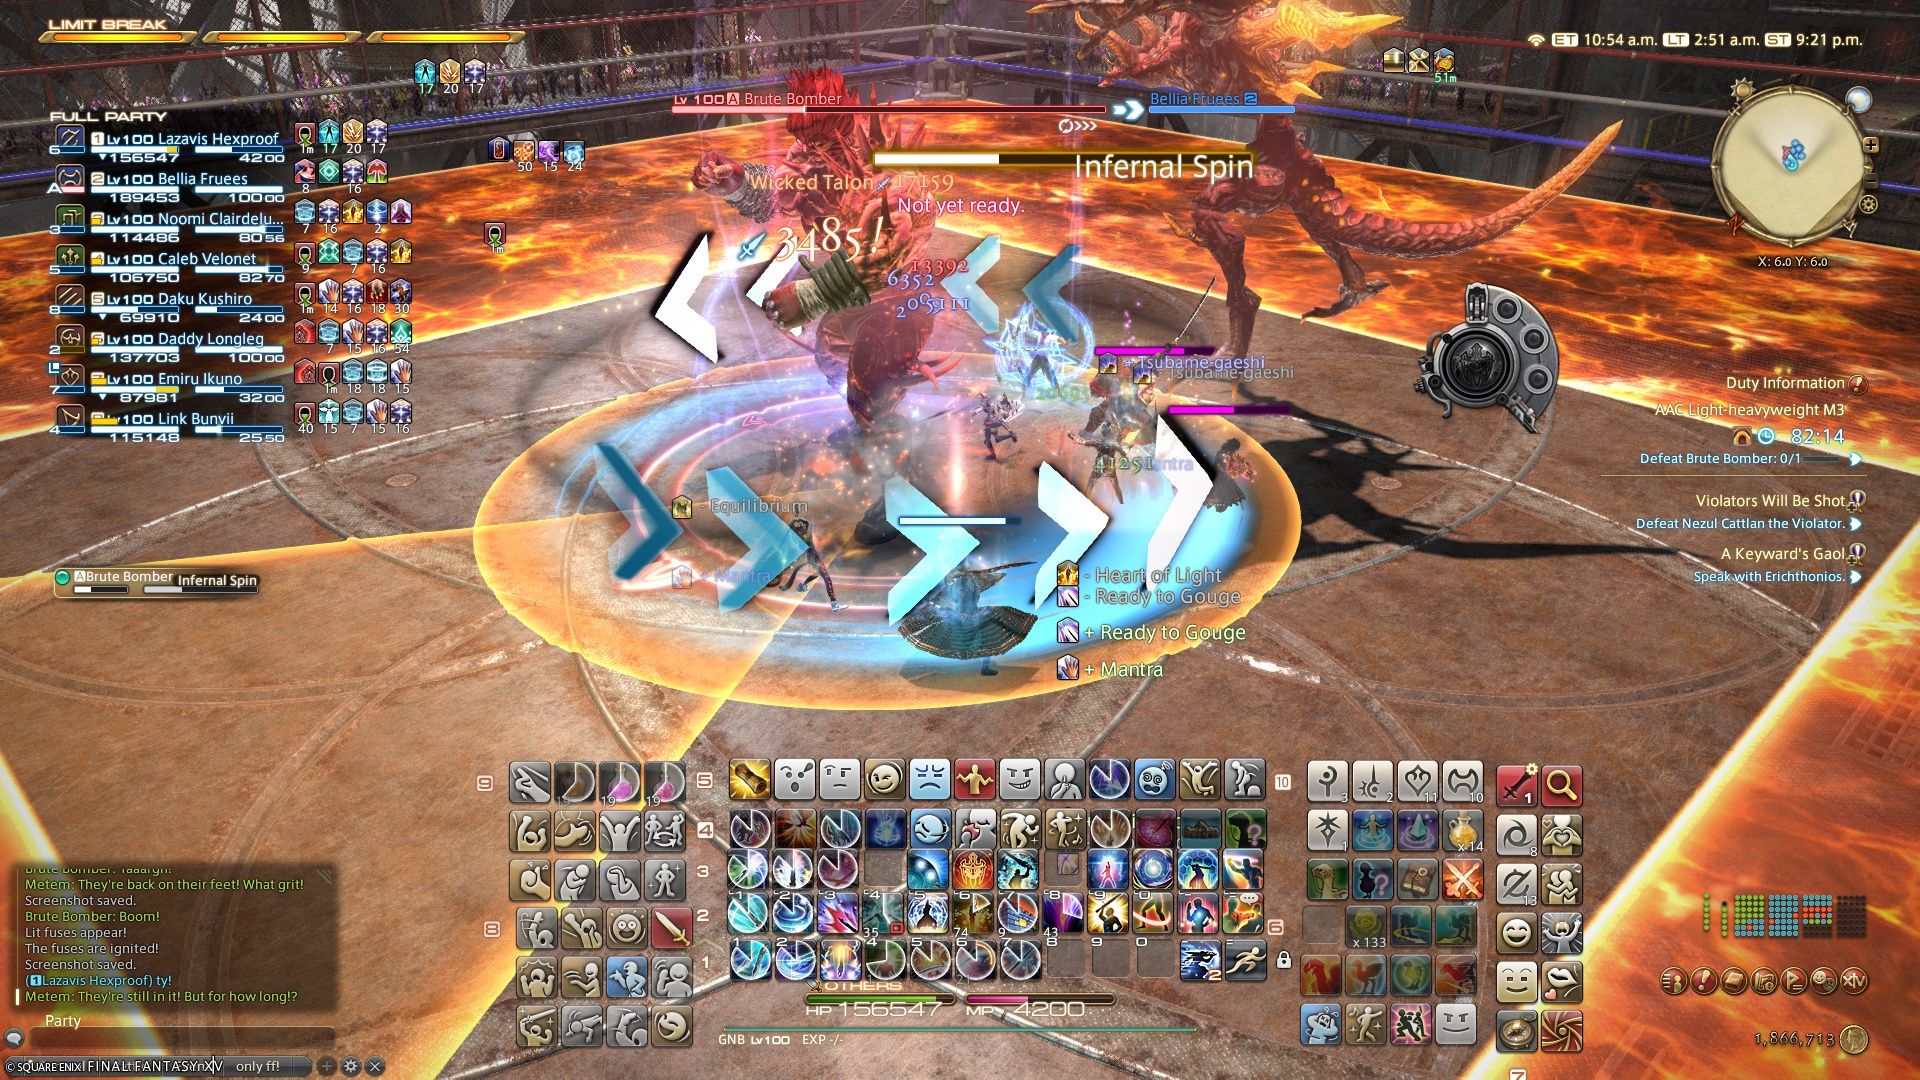
Meet the formidable force known as Brute Bomber, introduced by Match 3! With his robust strikes and frequent area-of-effect attacks, you’ll need to stay agile. Fortunately, while he packs a punch, his raid techniques, combos, and battle patterns tend to repeat, making them easier for you to dodge.
Here’s his list of attacks and how to avoid them.
Brutal Impact
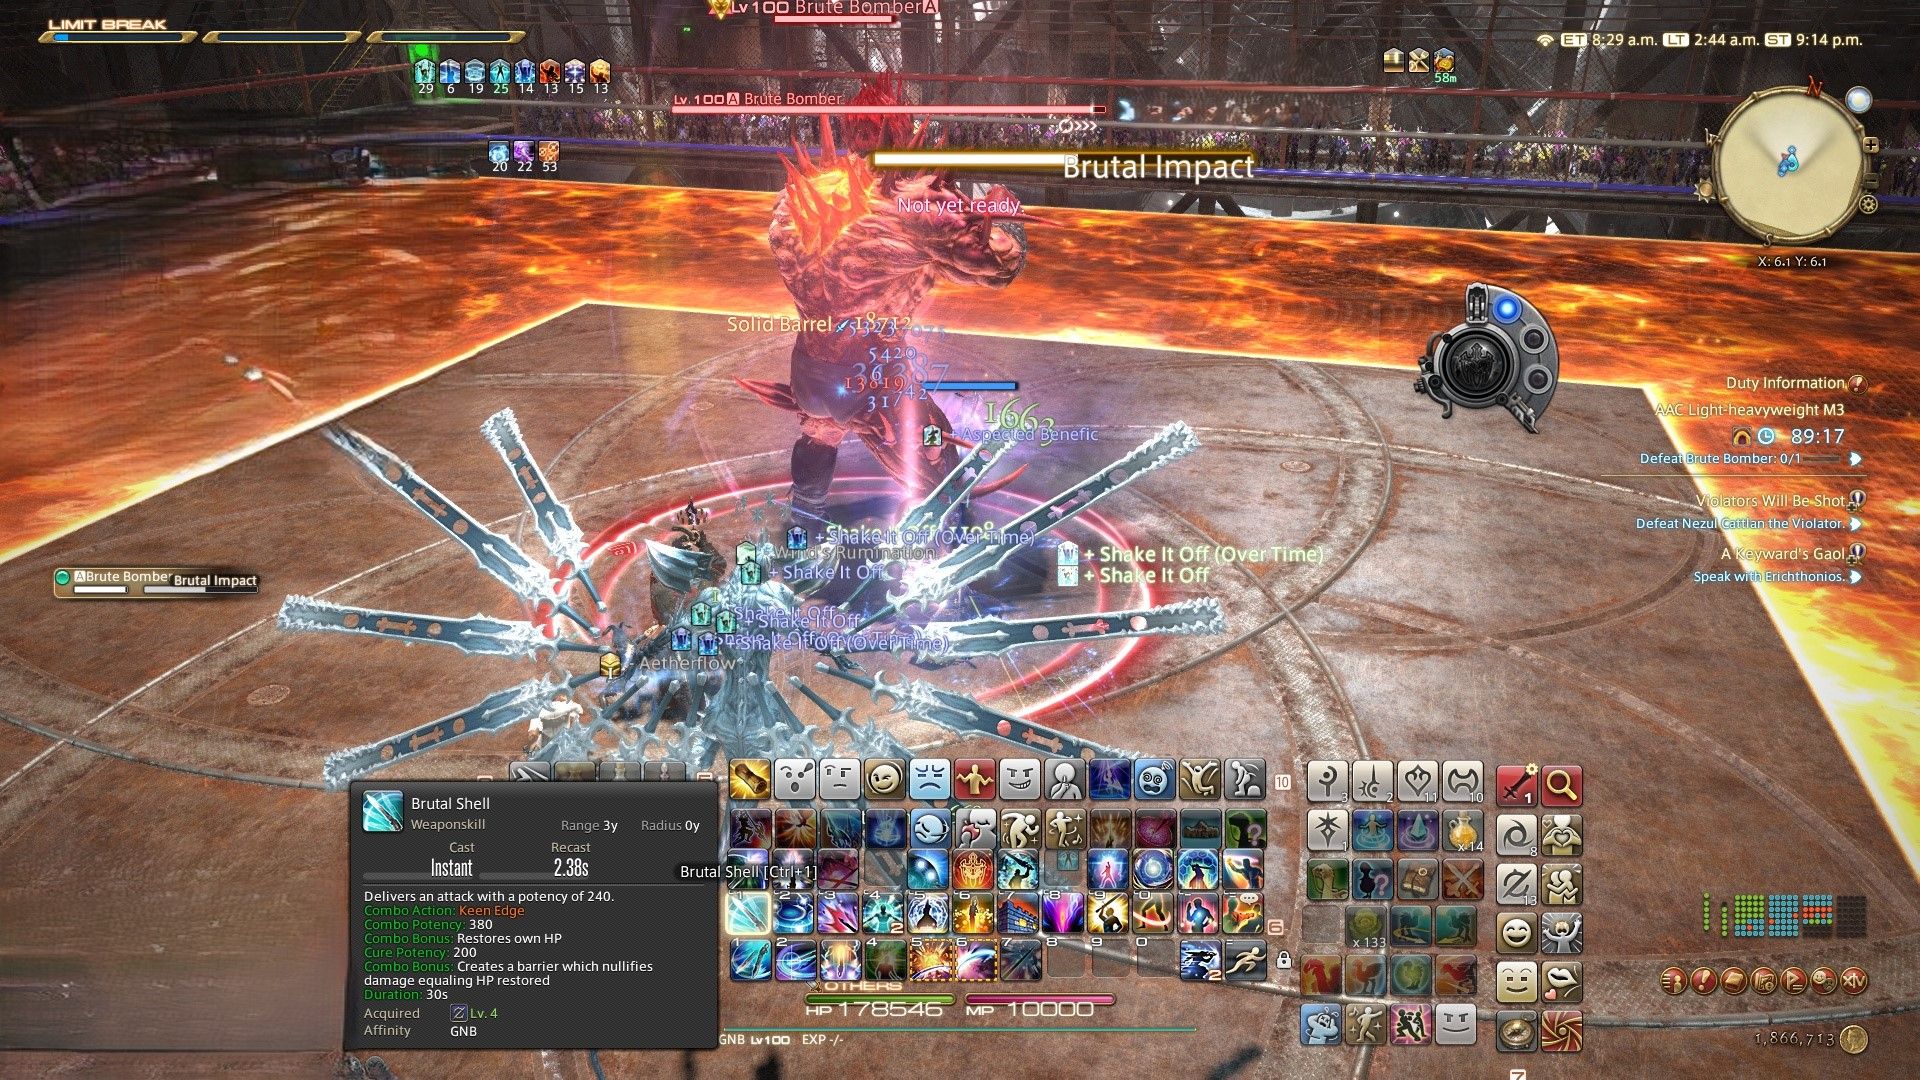
4 AoE assaults – Prepare your defense mechanisms (Retaliation for tanks and Feint from DPSs) and heal to endure Brute Bomber’s initial onslaught.
Knuckle Sandwich
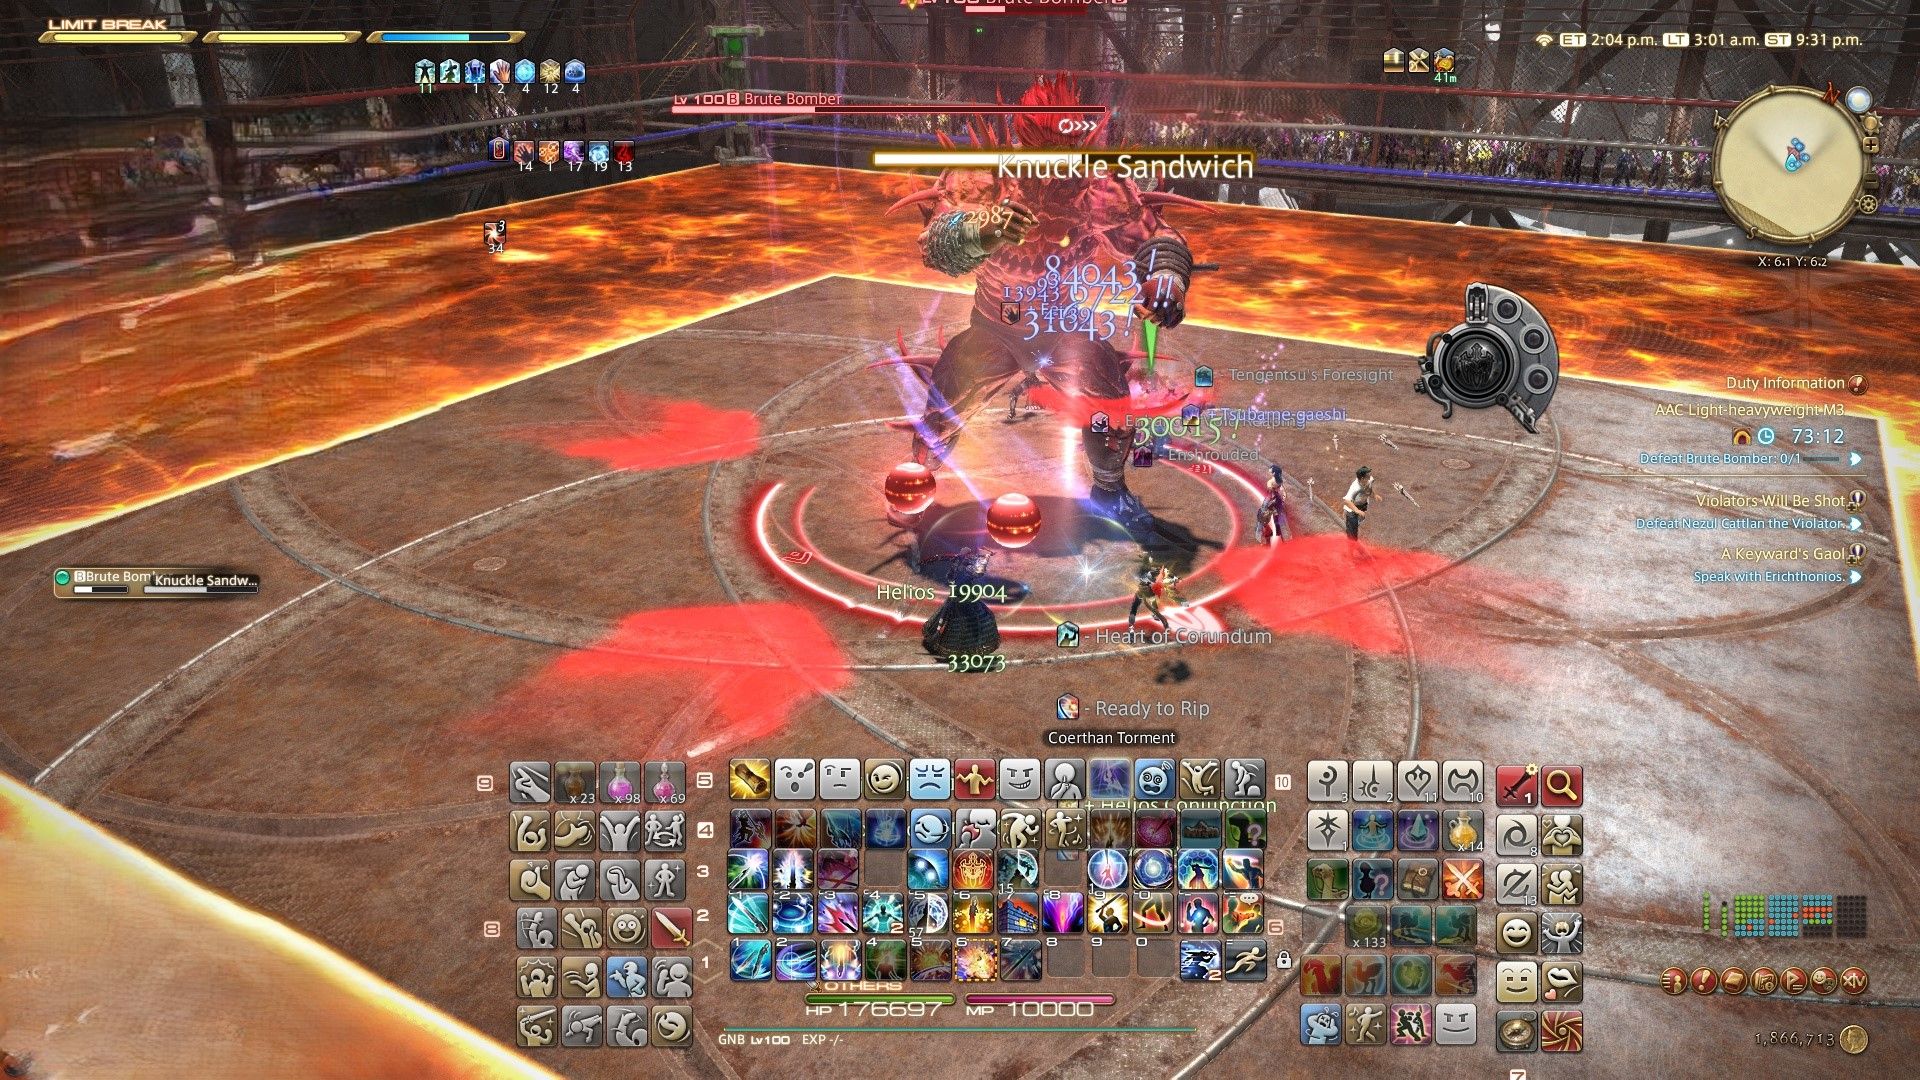
Split tank buster- Both tanks stand together with mitigations on.
Brutal Lariat
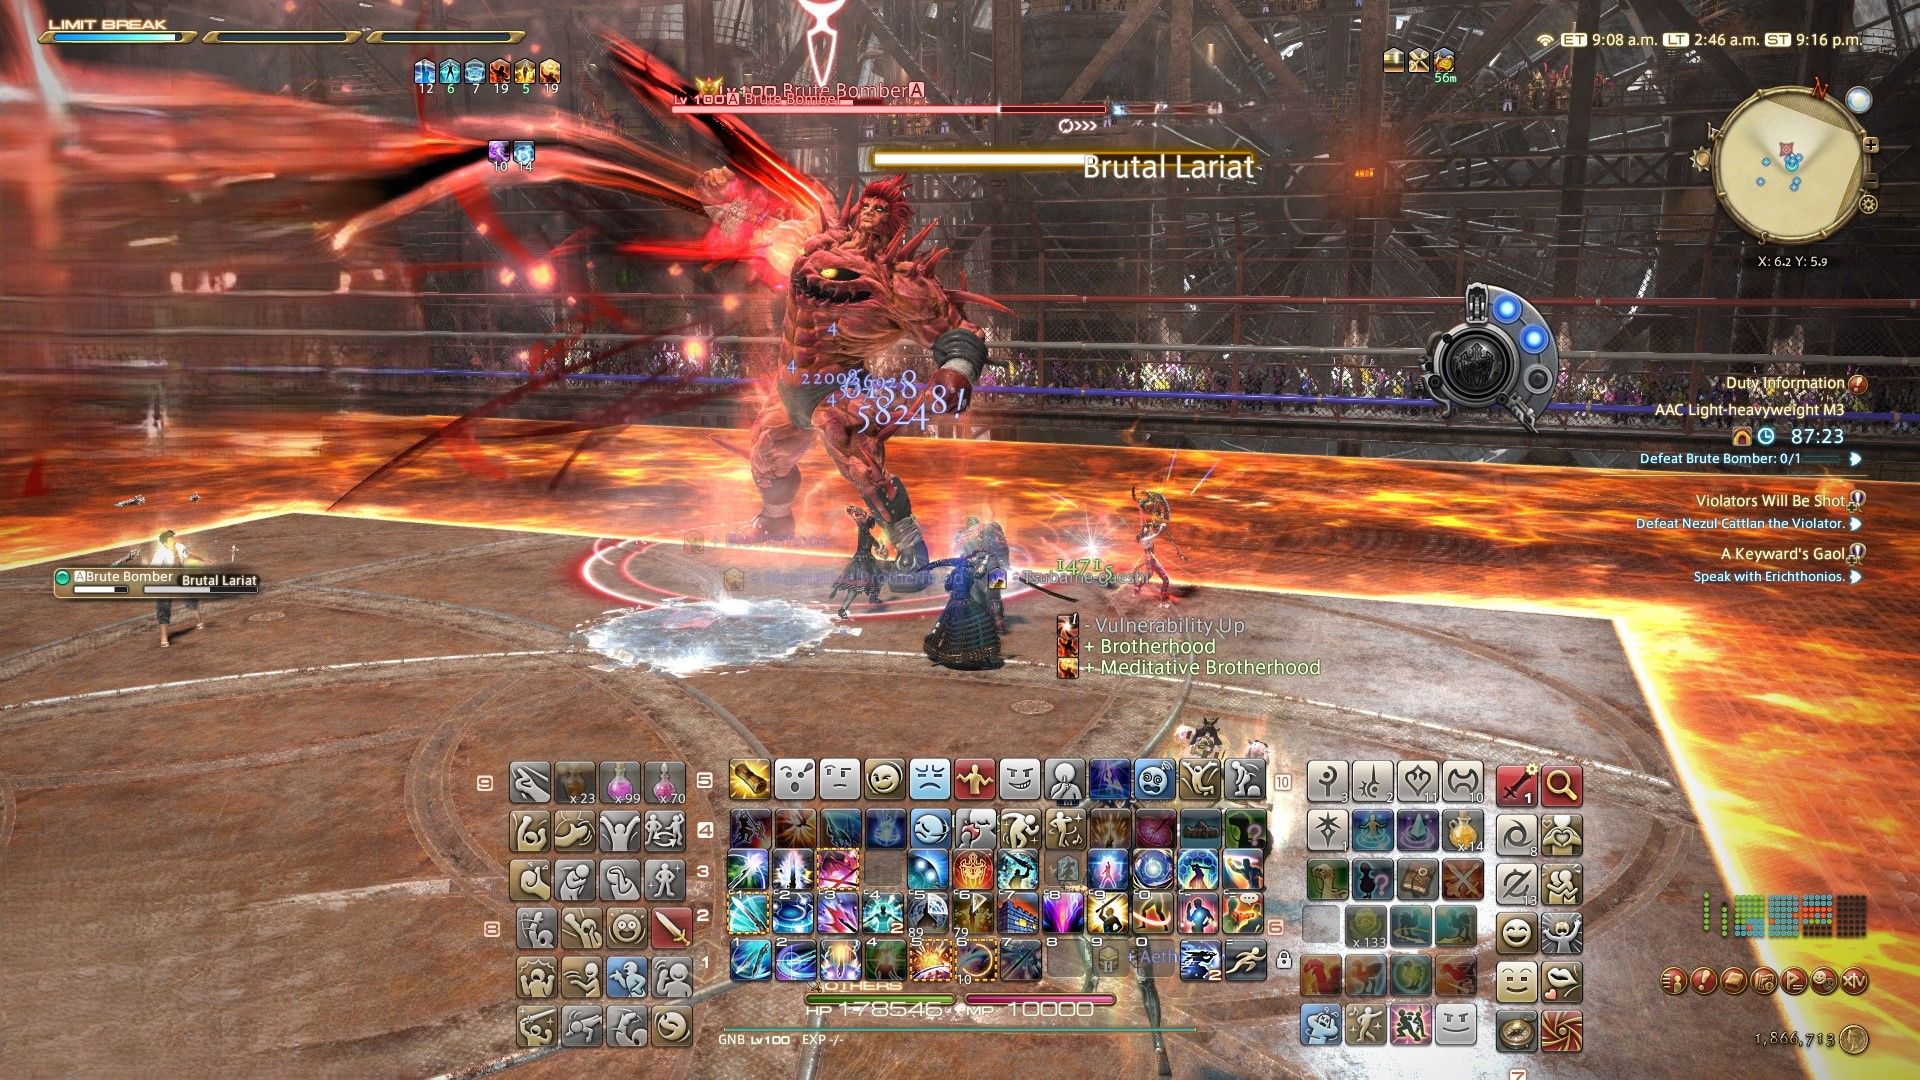
In simple terms, the ability of Brute Bomber in Age of Empires is a dash that takes up about two-thirds of the room. To dodge his fiery arm attack, it’s best to stay on the opposite side of him.
Murderous Mist
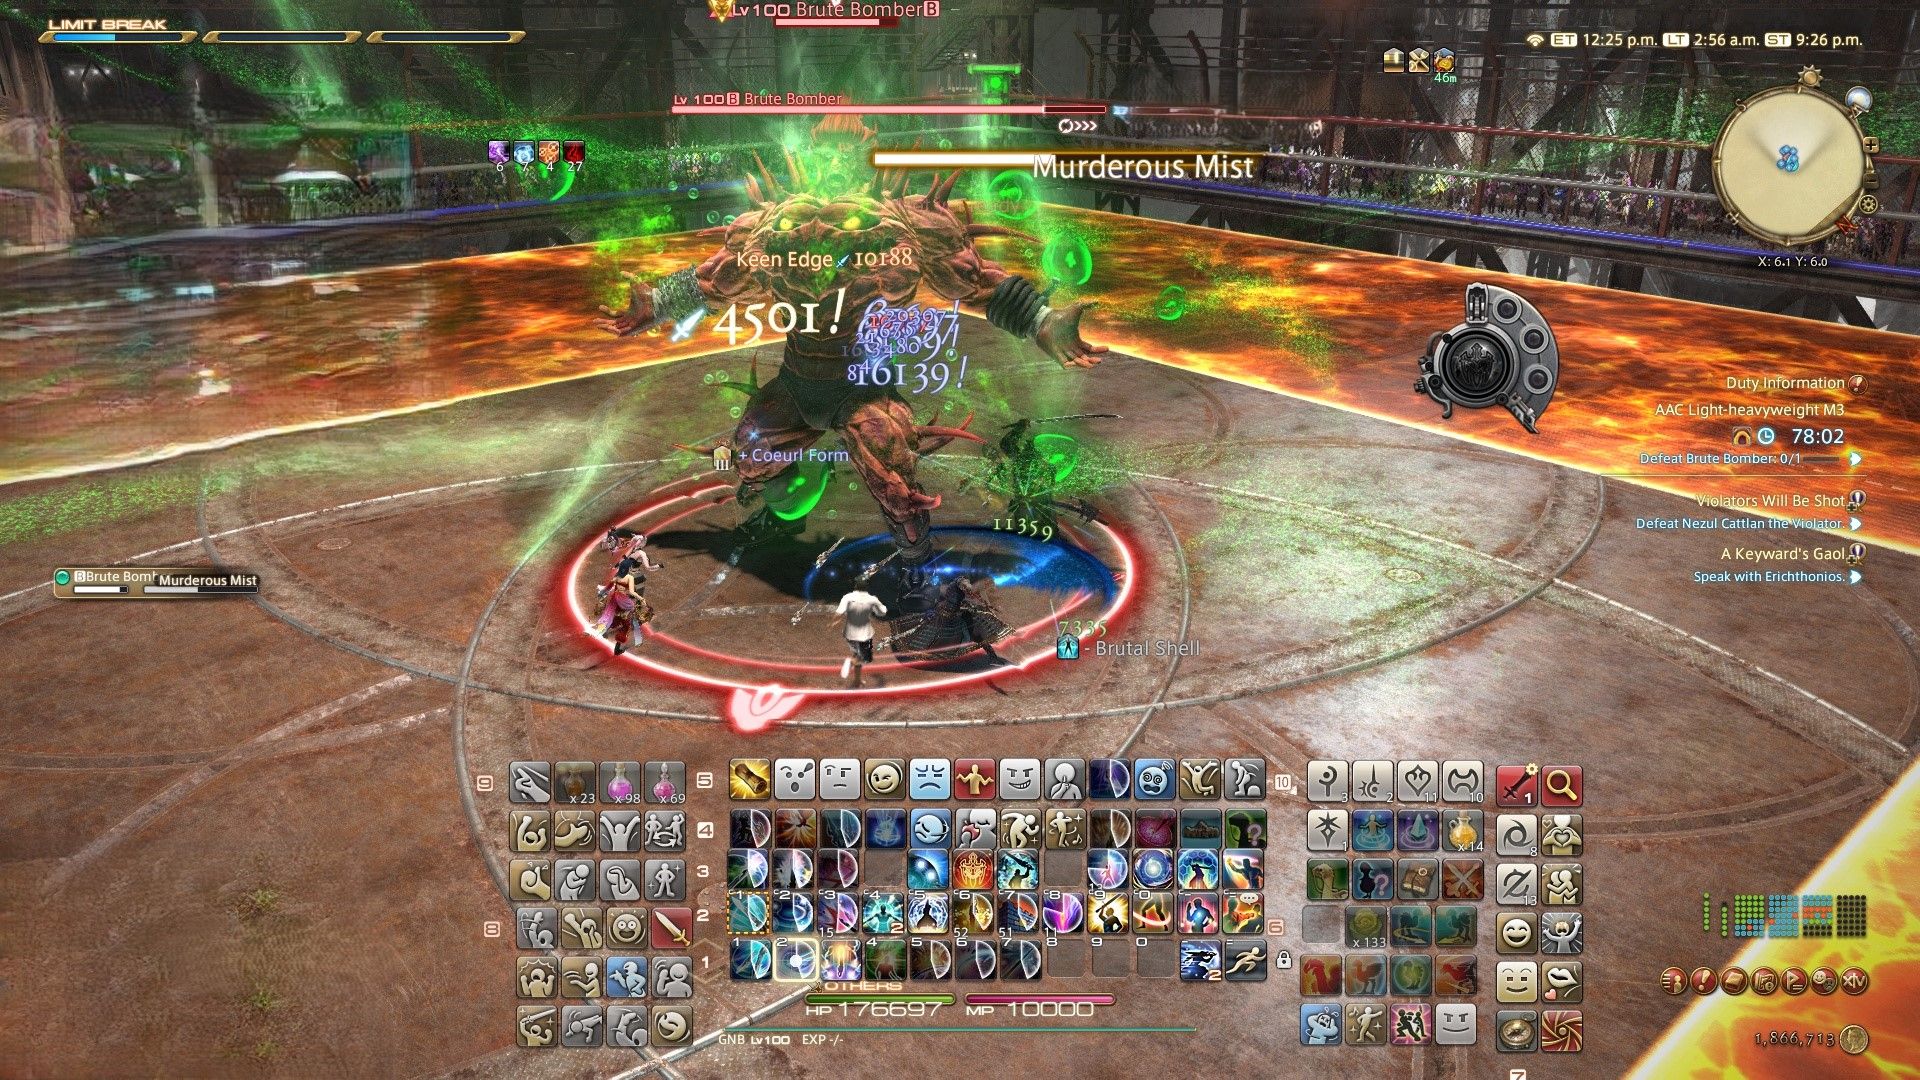
270° arena-wide AoE- Get behind Brute Bomber to avoid this attack.
Barbarous Barrage
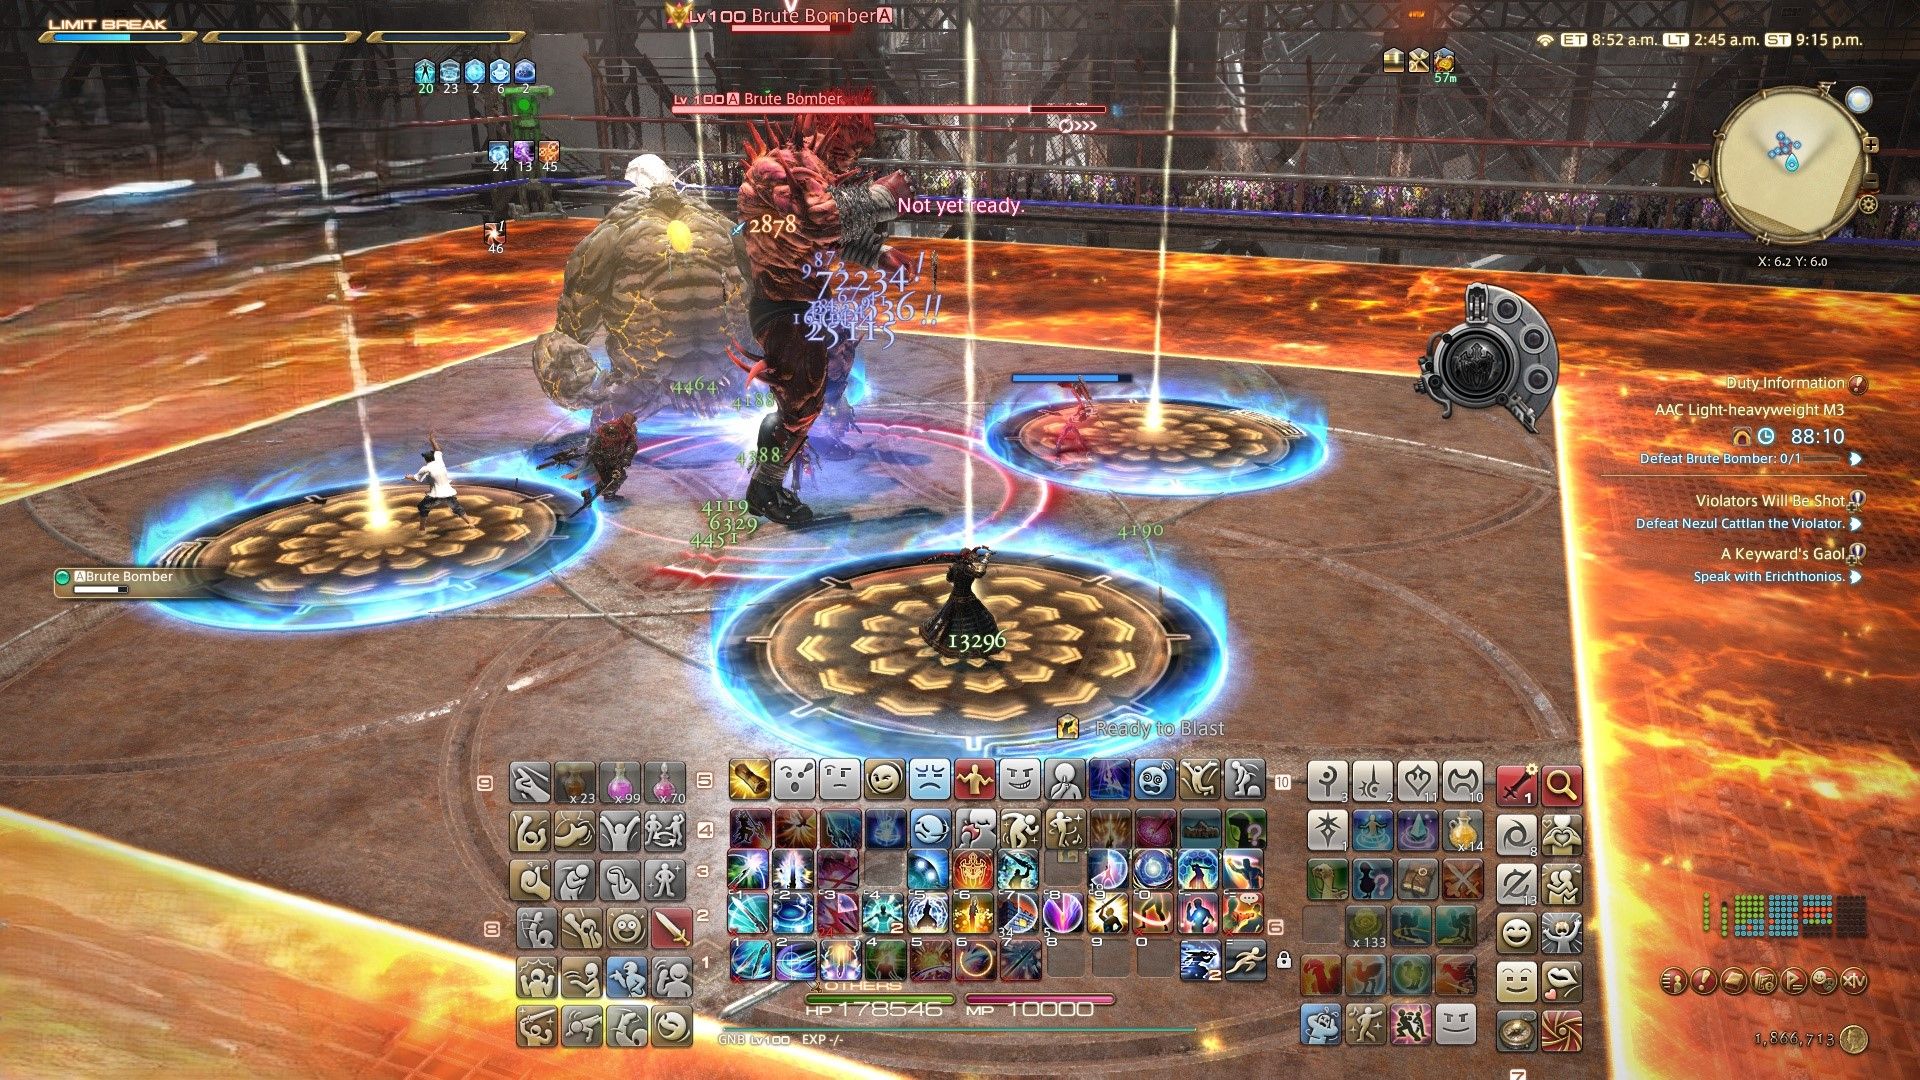
4 Towers with Pushback – Position a player beneath each tower to absorb the damage. Utilize Arm’s Length to prevent getting pushed off the platform.
Fire Spin
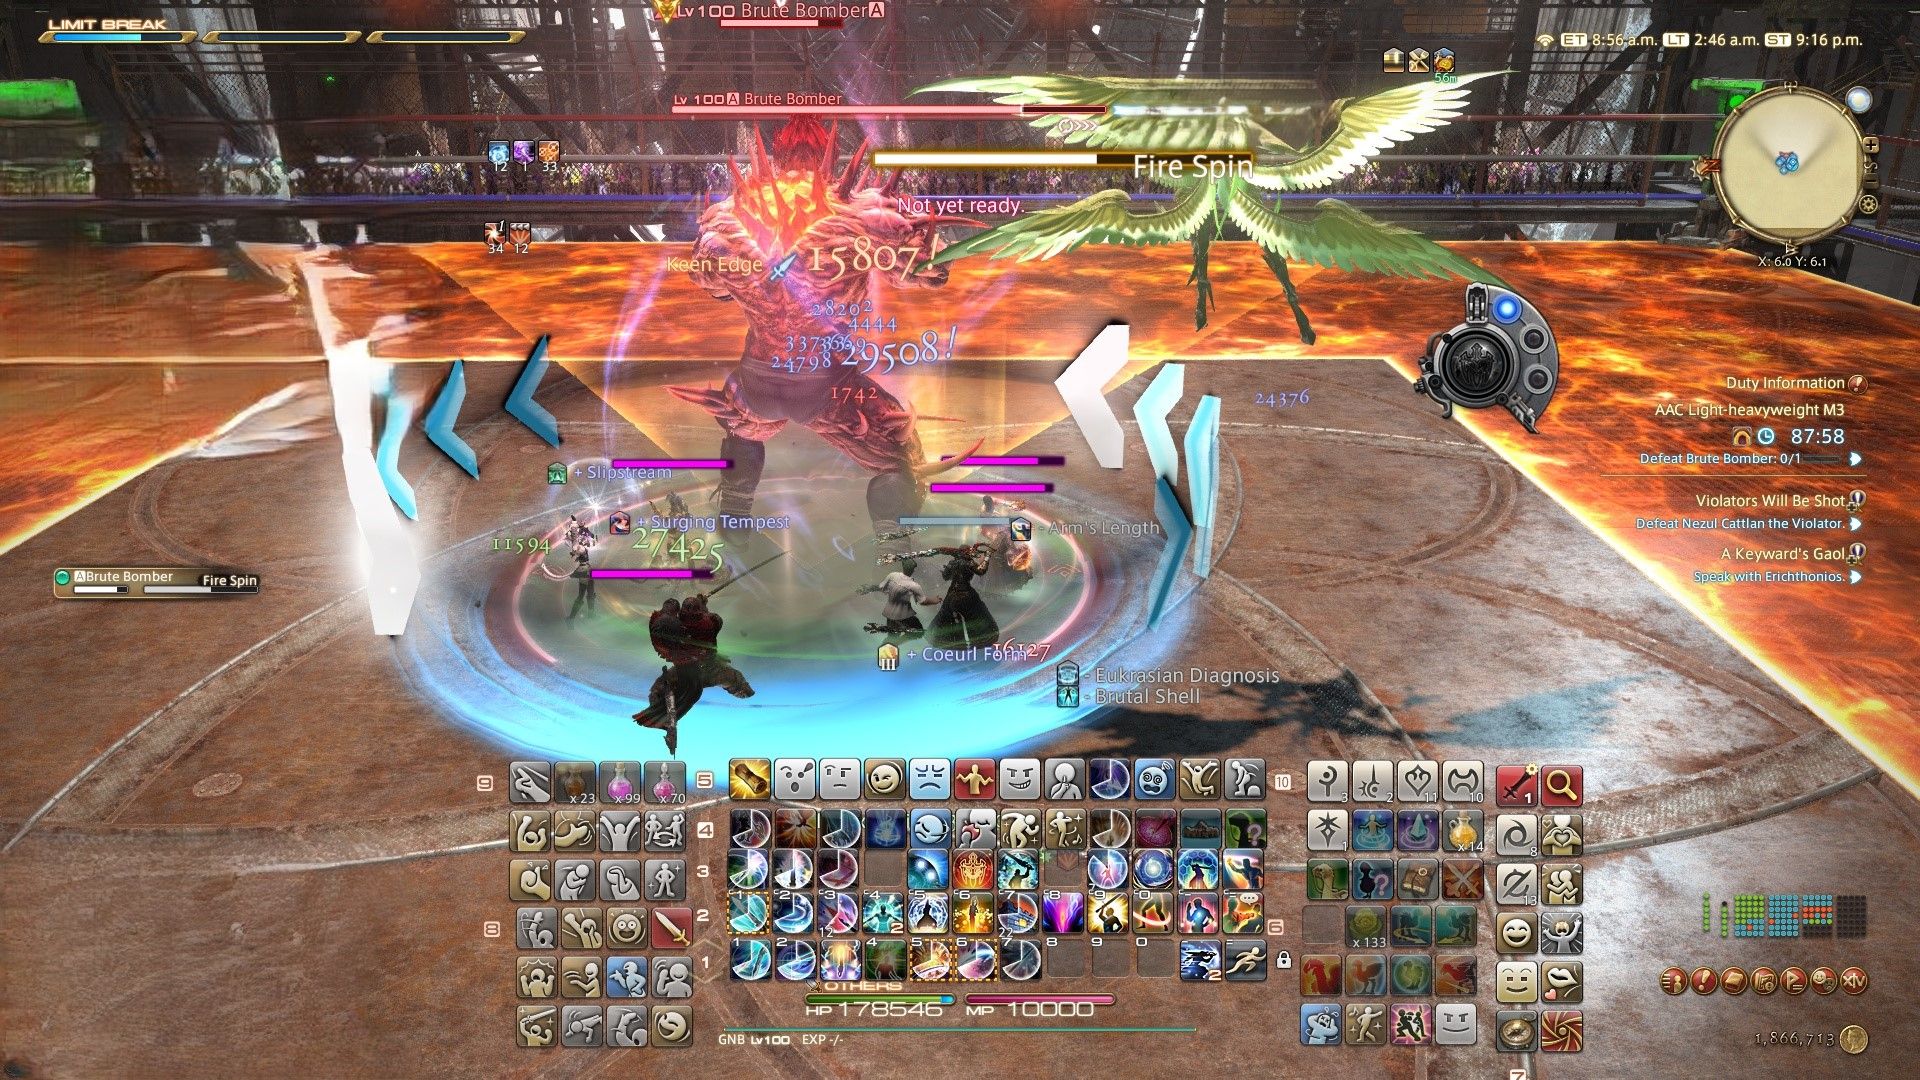
1. After Conal launches his Area of Effect (AoE), shift your position to the initial AoE location. Then, remain there until his attack rotation completes from that spot.
Fuses of Fury
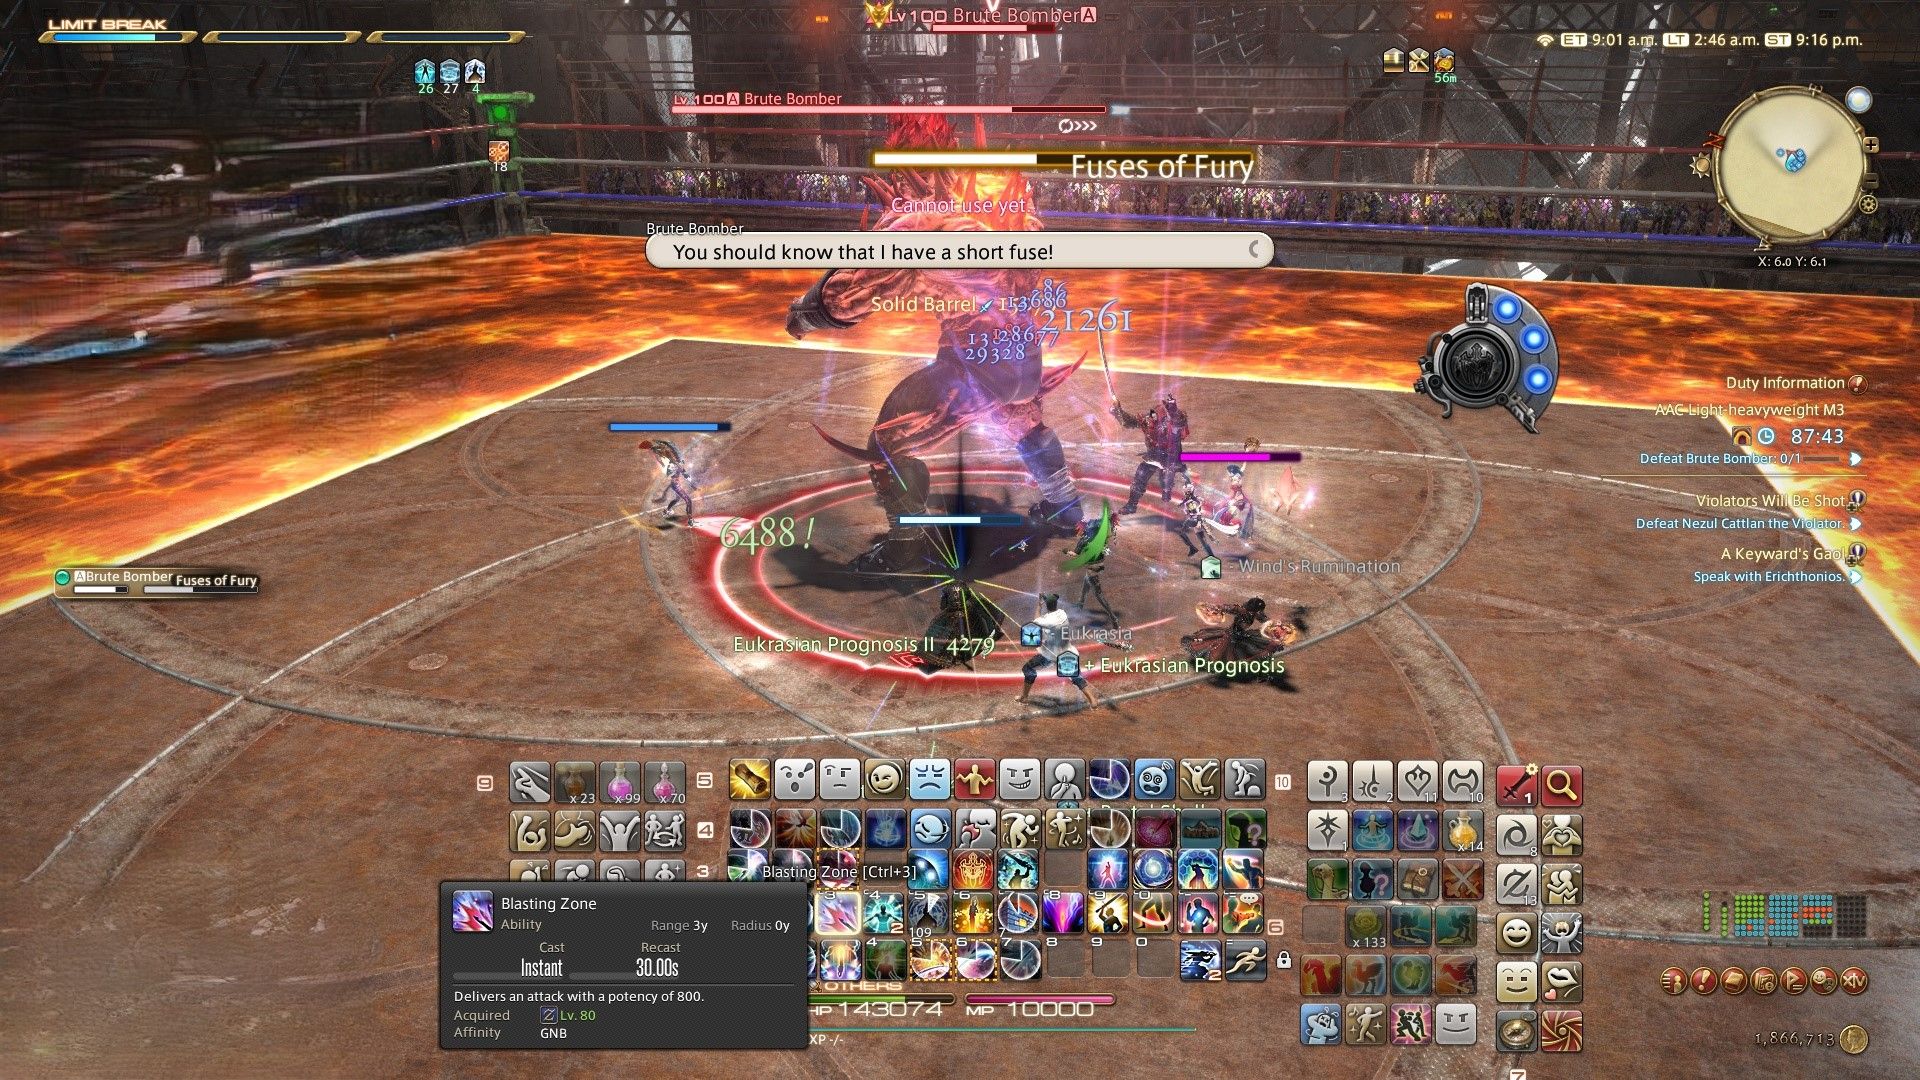
Wait near the slow-burning bombs and let off the quick-detonating ones first. Evade the zones of the fast-detonating bombs to prevent triggering the slow-burning ones.
Doping Drought
Temporary pause in the Brute Bomber’s assault – take advantage of this lull to consume an energy drink, boosting his damage potential. Use this period to launch all your damaging abilities and combos.
Brutal Impact+AoE Stack
6-Hit+AoE Stack- Gather under the yellow stack with debuff to soak in the oncoming damages.
Lariat Combo
Instead of making the initial Dash move, wait and observe if the second dash changes sides. If it does, relocate to the opposite zone. Remember to proceed only after inspecting the second glowing limb in the AoE sequence.
Fire Spin+Interfnal Spin
Instead of initially engaging with the Fire Spin Area of Effect (Aoe), dodge it, and maneuver within the circular or donut-shaped AoE zones that show up around Brute Bomber as they appear on the battlefield.
As a devoted admirer, I’d say Brute Bomber isn’t just about brute force – he masterfully blends various abilities to knock me off my feet! To dodge those devastating attacks, it’s crucial to stay on my toes, maintain my cool, and always be on the lookout for Area of Effect (AoE) moves.
Boss Name | Armour Tokens | Random Rewards (Additional) | Guaranteed Rewards |
|---|---|---|---|
Brute Bomber | 1* Holohelm 1* Hologauntlets 2* Holoarmor 1* Hologreaves 2* Holochausses 2* Holoearring | 1* Burning Souls Orchestrion Roll | 20* Allagan Tomestones of Aesthetics |
FFXIV Raid Guide for AAC Light-Heavyweight M4 (Normal)
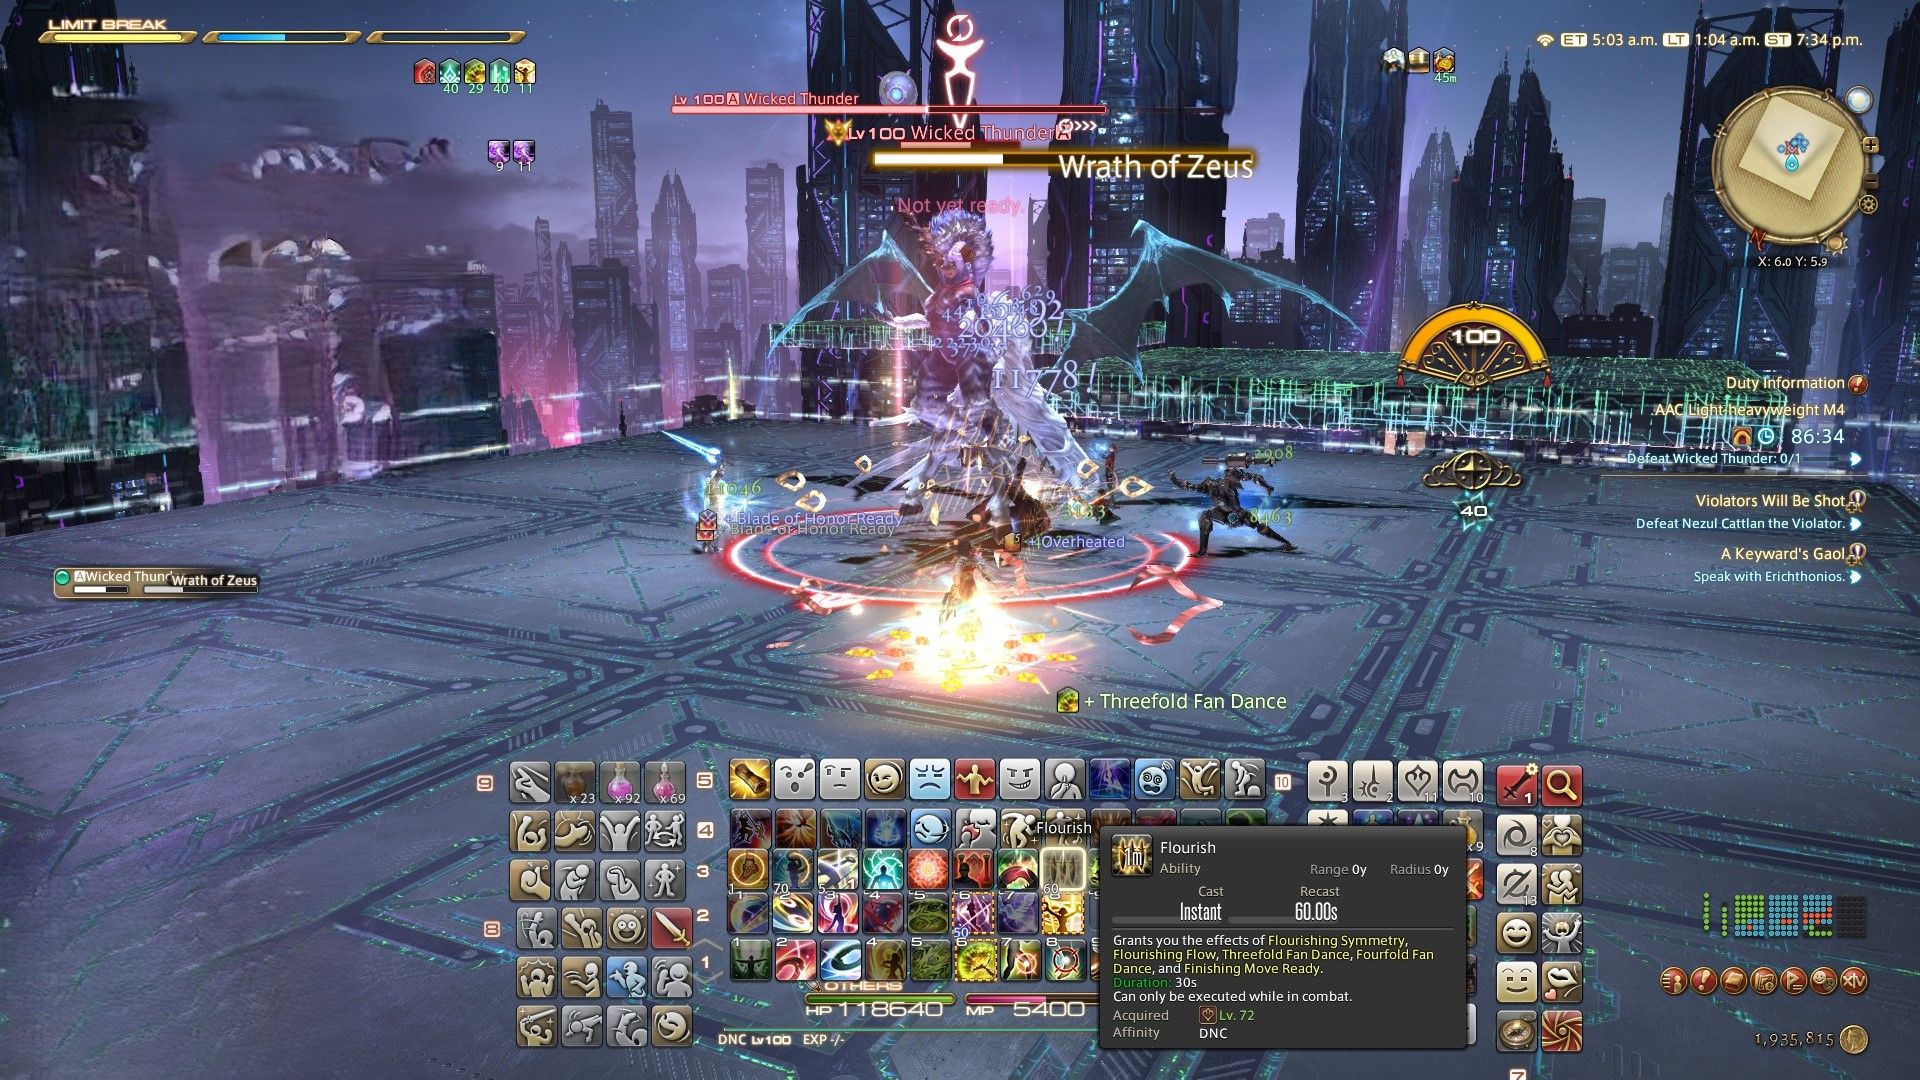
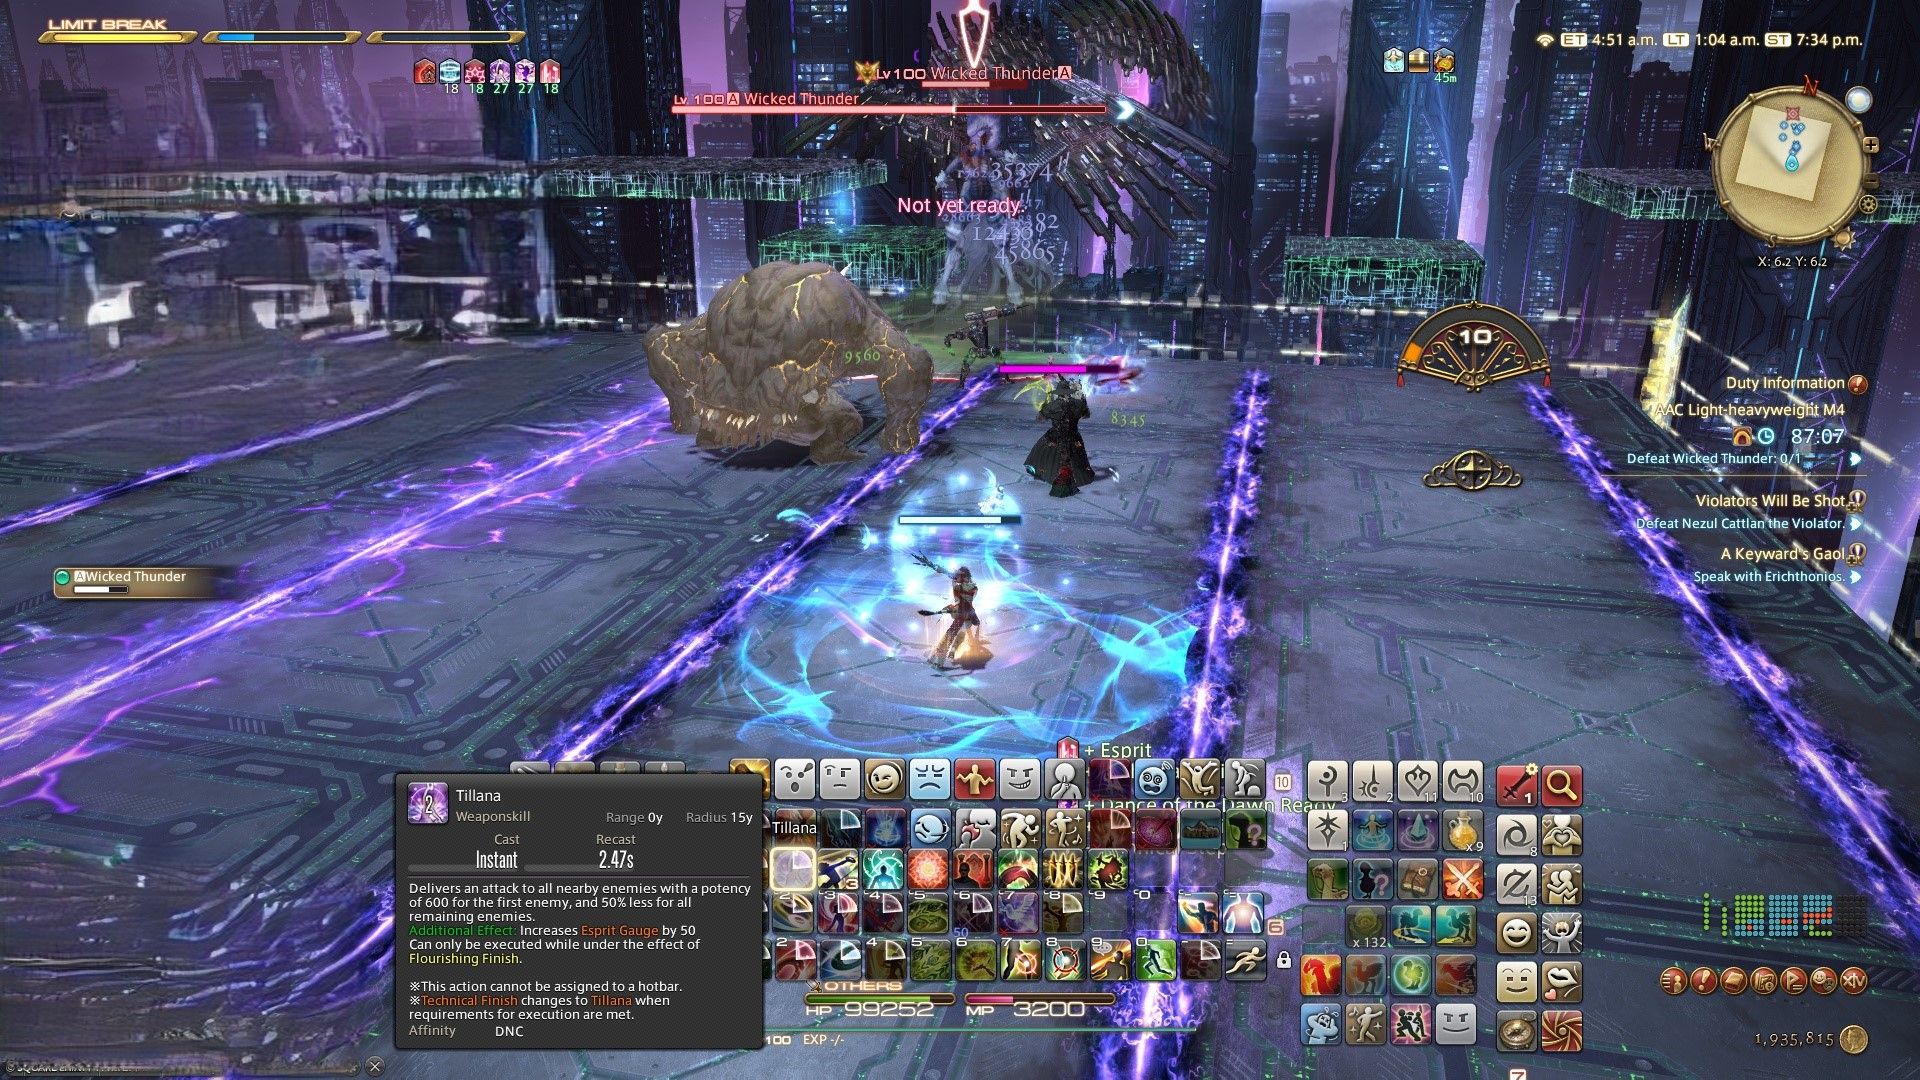
Prepare for some intense battles, as Wicked Thunder takes on the role of M4 Raid Boss in the Arcadion Light Heavyweight Normal Division! Her formidable abilities, lethal attacks, and shocking combo sequences will certainly not be underestimated.
Here’s the complete list of Wicked Thunder’s abilities and tips to tackle them.
Wrath of Zeus
Have an opinion on this article? We’d love to hear it!
A raid-wide AoE- Pop your mitigations and heal.
Wicked Jolt
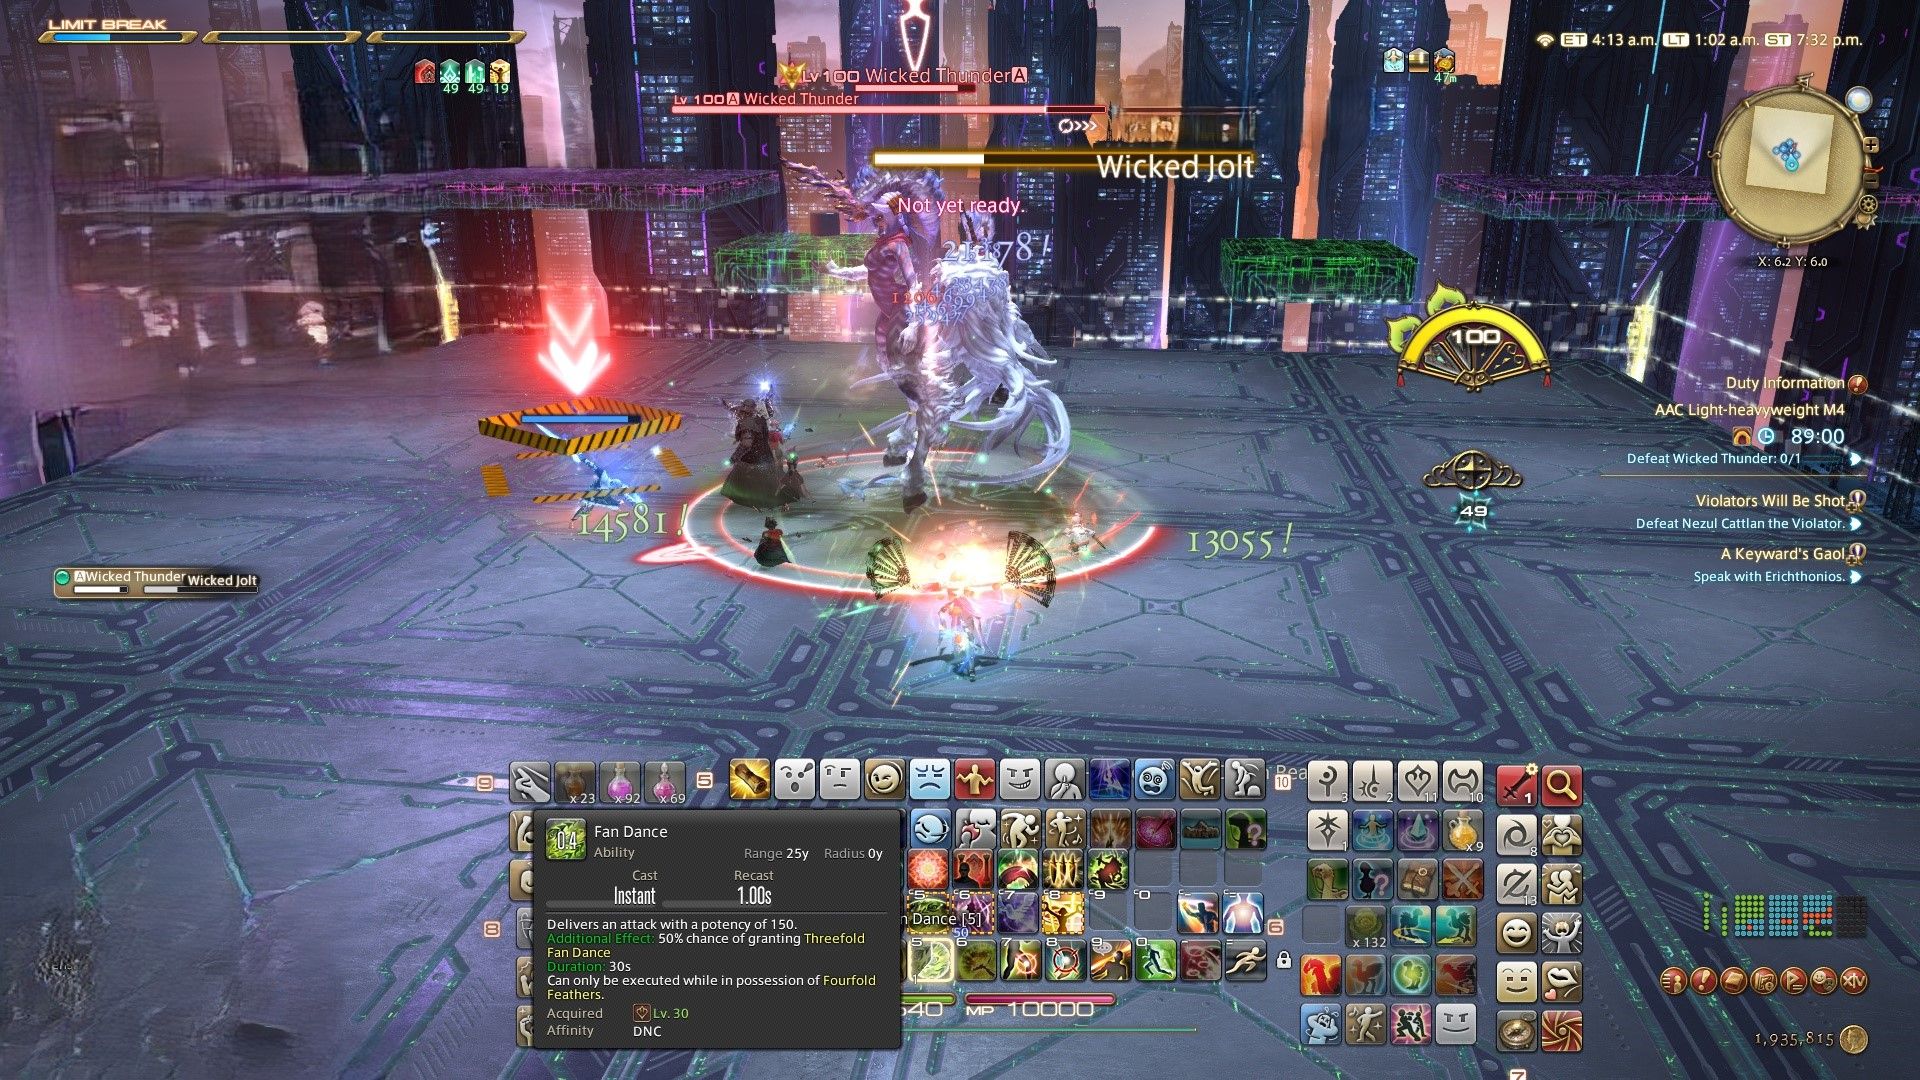
Basic tank-buster- If you’re the tank, pop your Rampart mitigation and stay away from others.
Sidewise Spark
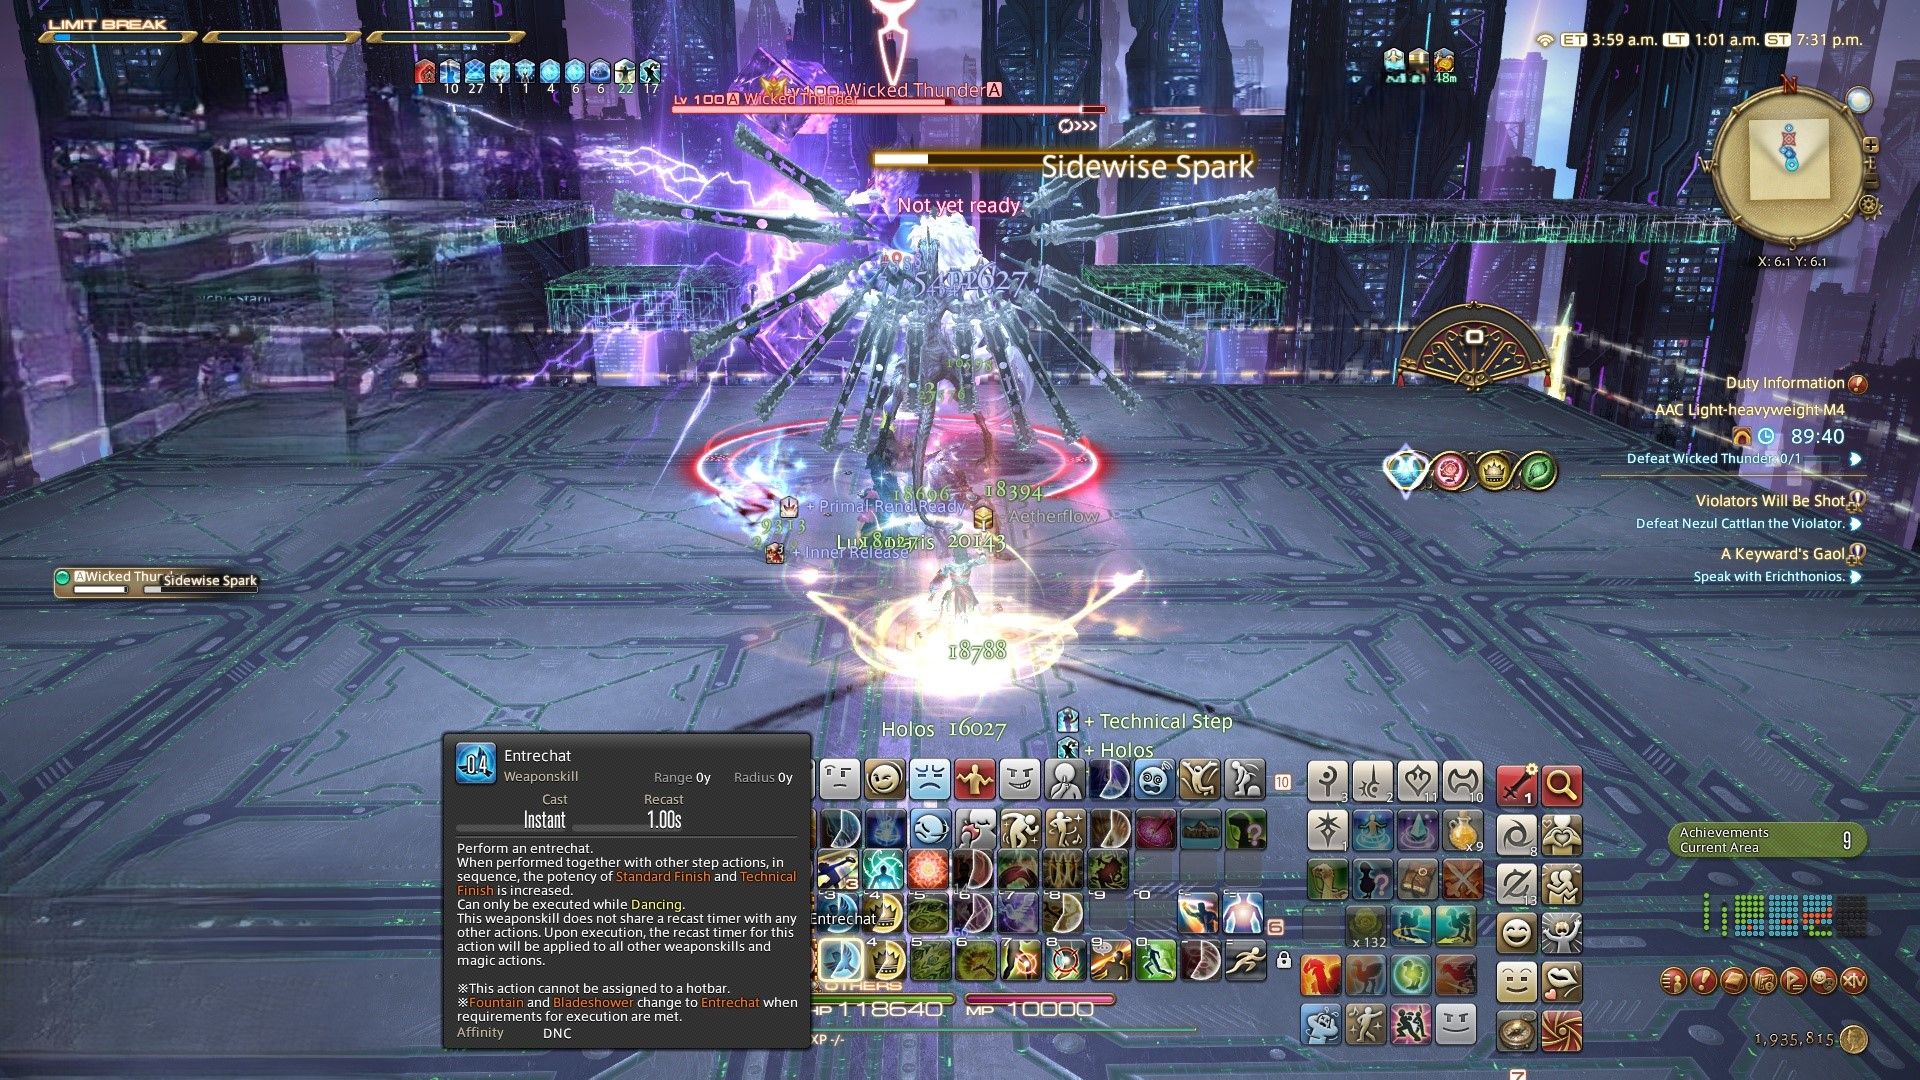
Half-room AoE- Stay on the opposite side of her glowing arm to avoid the attack.
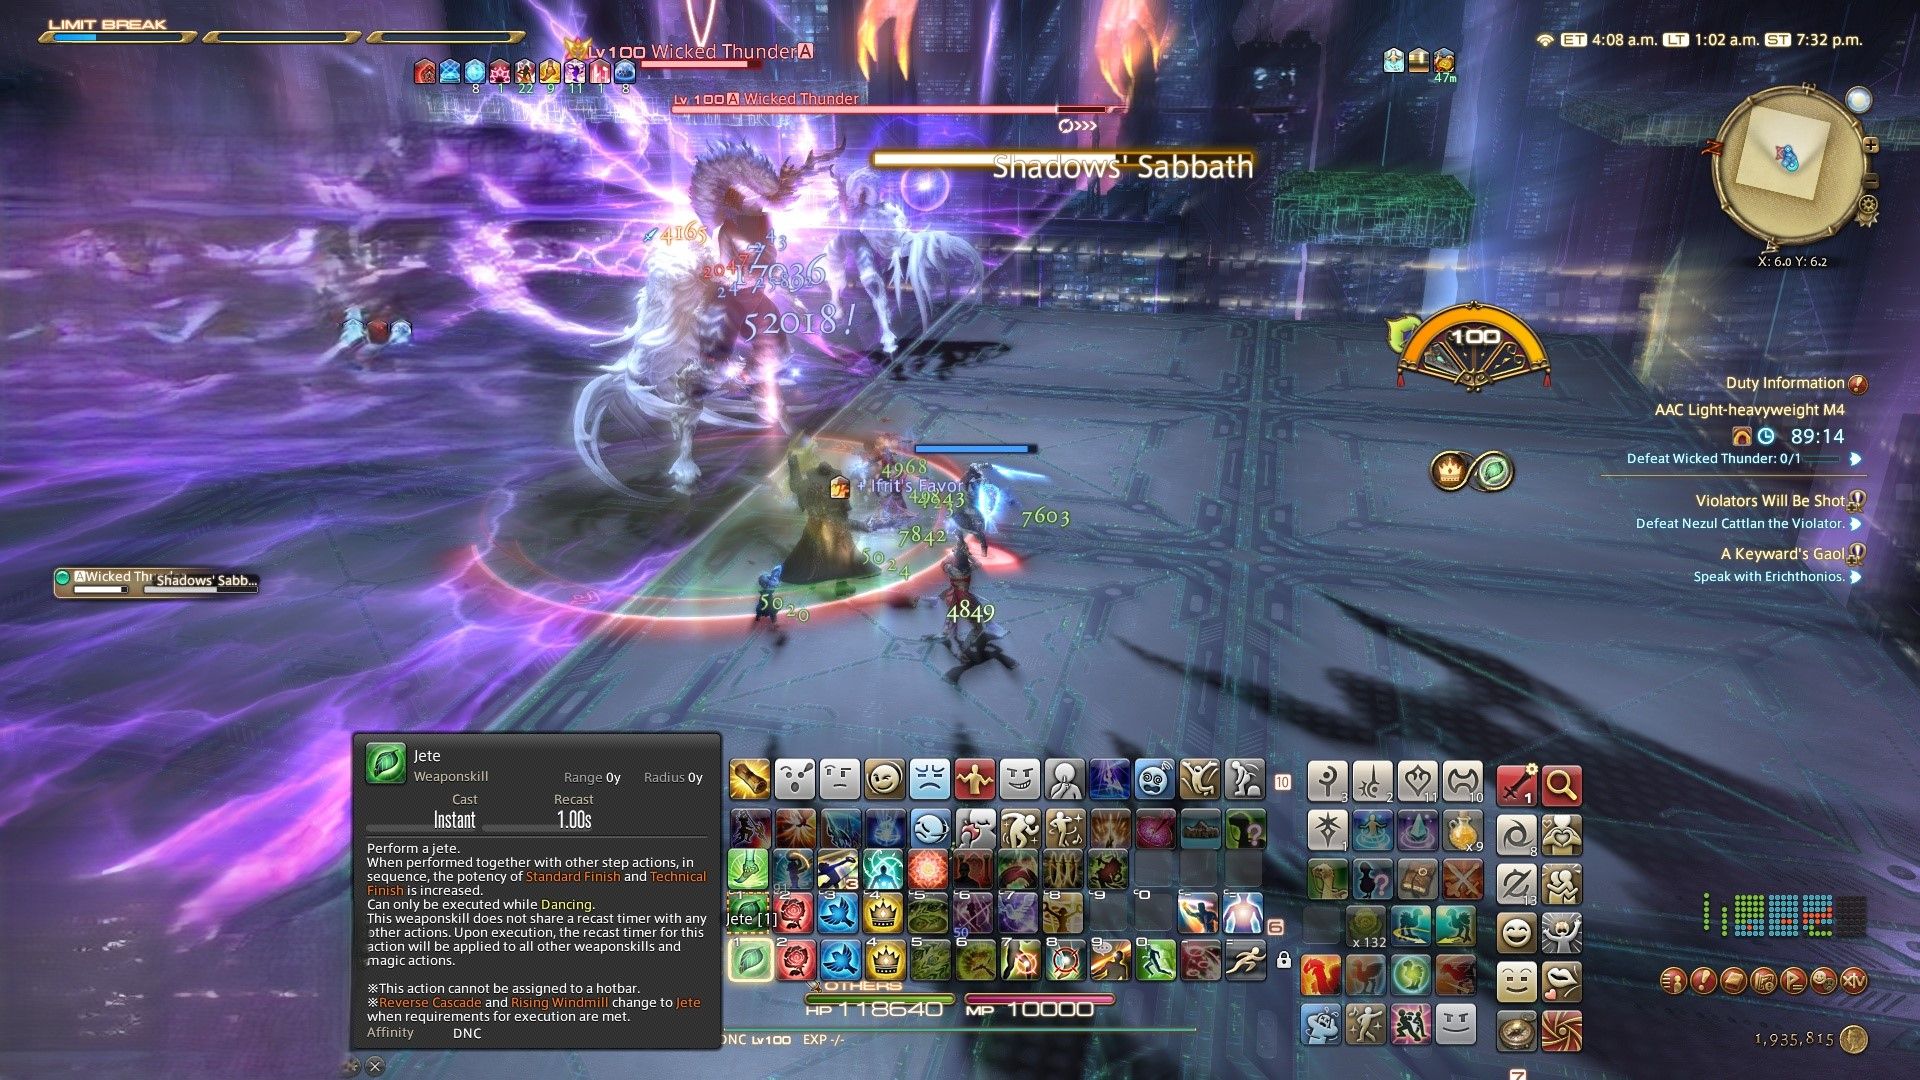
Shadows Sabbath
As a gamer, I always keep a keen eye on the spawned clones of Wicked Thunder, focusing particularly on their radiant sides to ensure I can take them down effectively.
Proton Cannon
Continue moving towards the less hazardous part of the platform, as the next Area of Effect (AoE) explosion will obliterate approximately three-quarters of the current location. The most recent blast has destroyed the immediate vicinity where your target was located.
Three-fold Blast
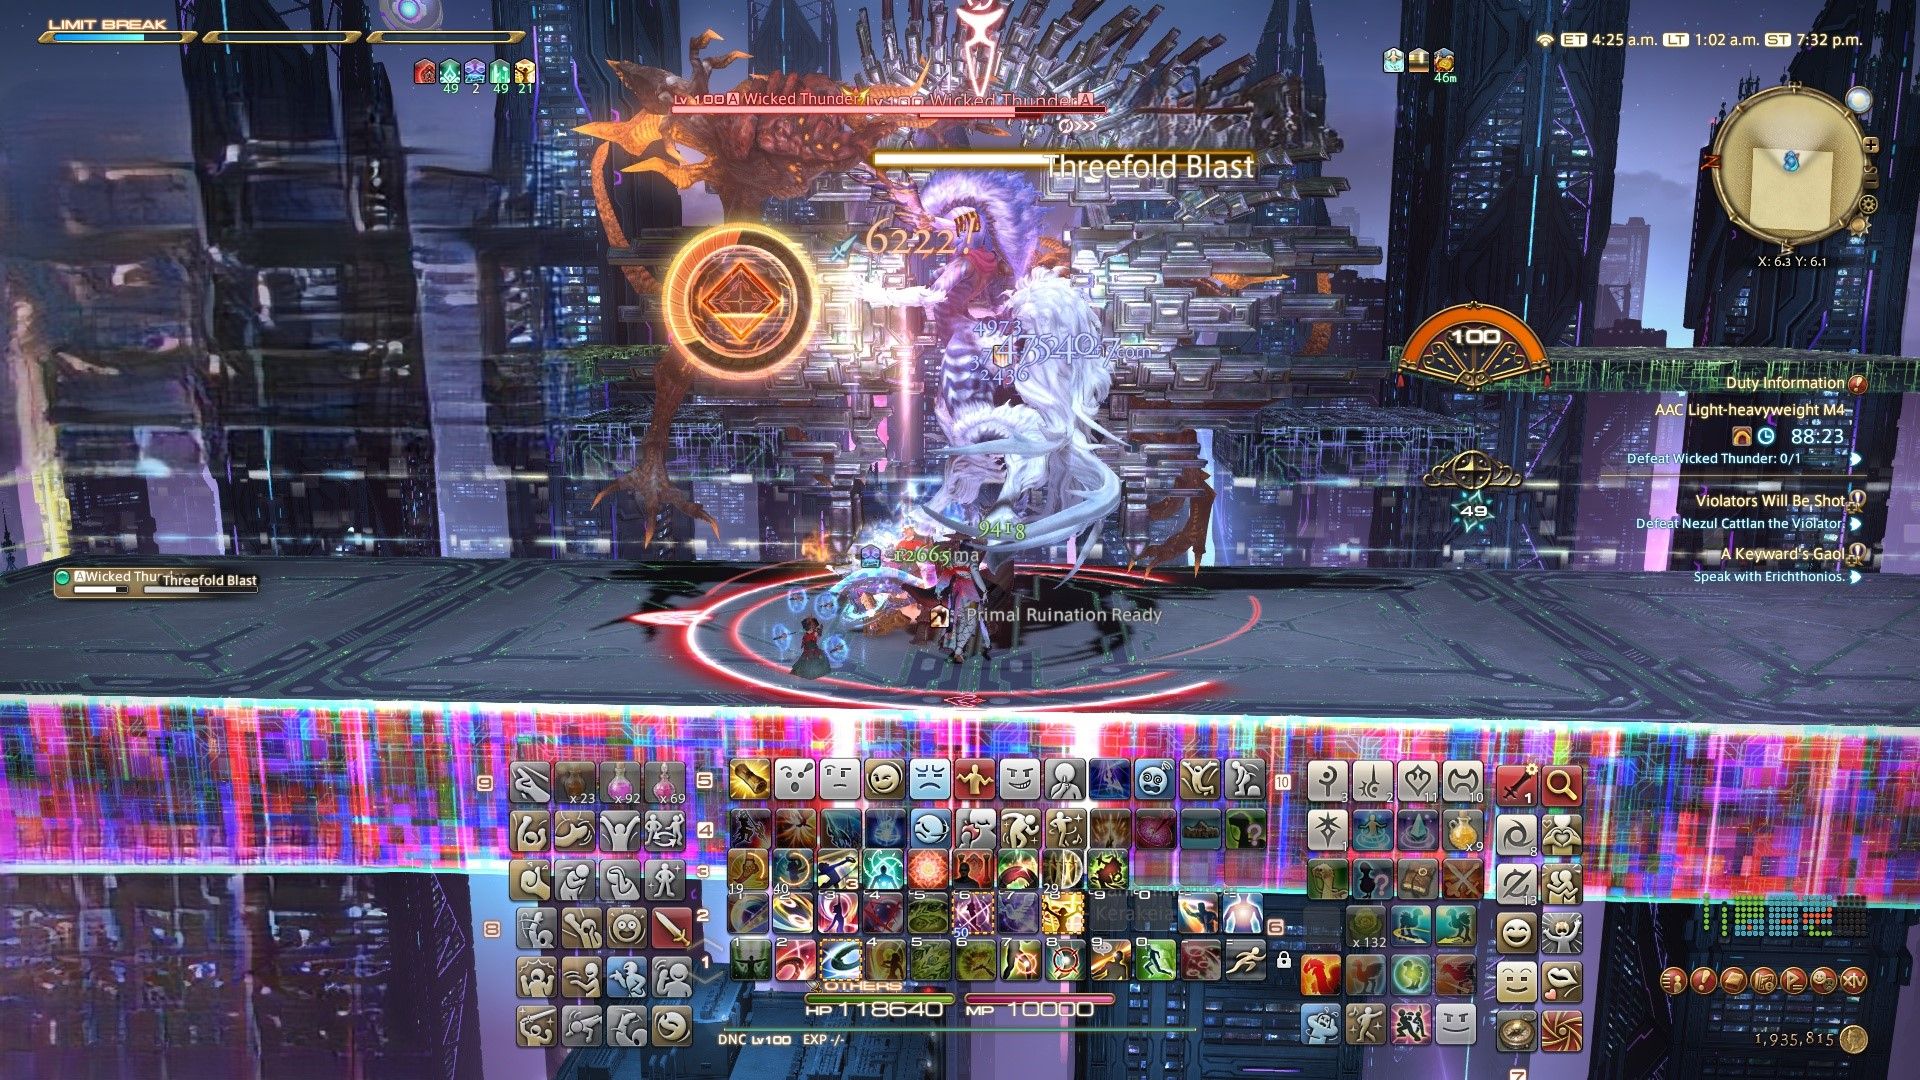
1. Follow the pattern of her lighting sequence and steer clear of the corresponding directions when she discharges her cannon.
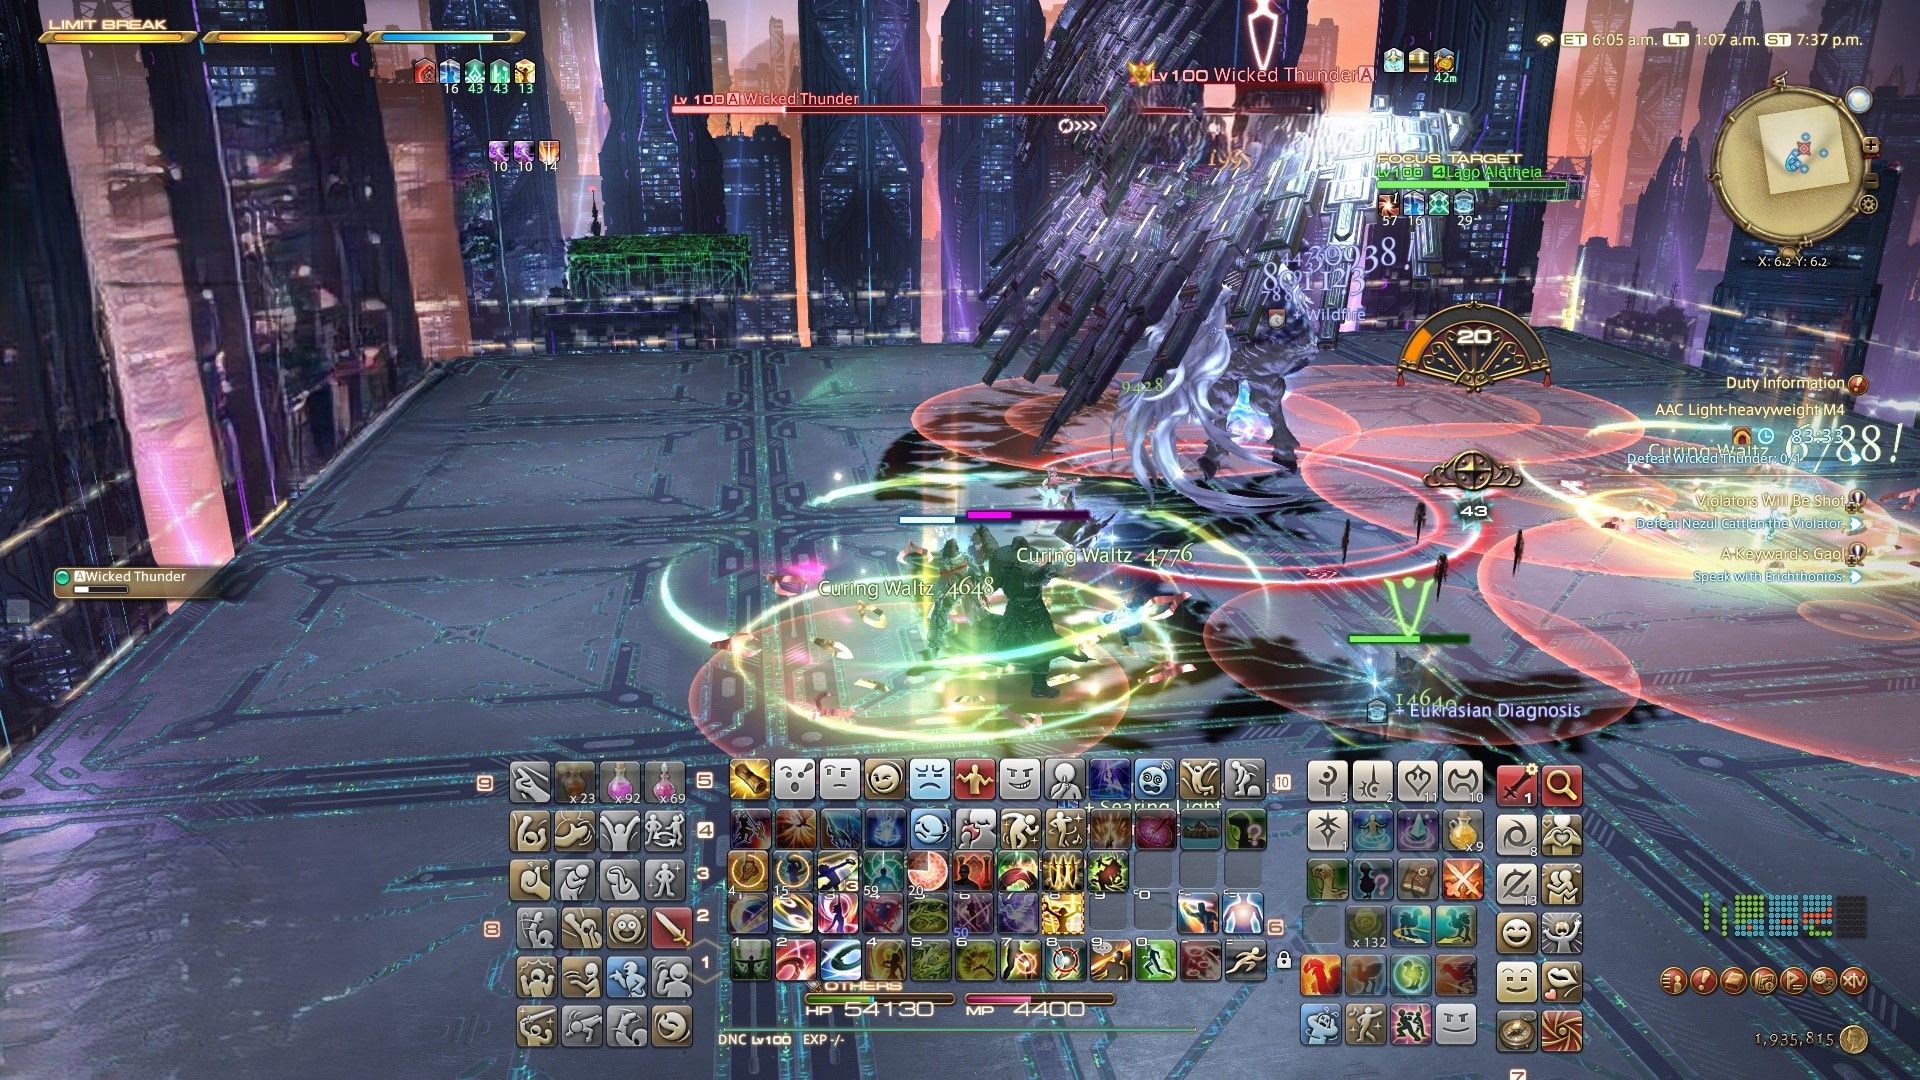
Winged Mode
Wicked Thunder becomes a winged beast- ready to hit.
Bewitching Flight
Position yourself carefully: Stay within the paths of the laser beams, but ensure you maintain a safe distance from the radiant lines to prevent area-of-effect lightning damage.
Shadows Sabbath 2
Sideways Flare from Clones – The scenario remains unchanged, but this time, you’ll notice that they are adorned with different outfits. Be cautious as you navigate through them, steer clear of their luminescent flanks.
Winged Mode 2+ Bewtitching Flight
Duplicate yourself with Enchanting Aerial Skills – Evil Thundercall will bring forth your winged duplicate, enabling you to both engage Enchanting Aerial Maneuvers. Opt for a secure zone situated among the laser beams for your safe position.
Keep moving to avoid double AoE lightning damage.
Witch Hunt
Pay attention to the ground to spot where her Area of Impact (AOE) indicators lie. Stay clear of the speedy red objective to dodge the consecutive AOE lines.
Wicked Hypercannon
To minimize harm from continuous Area of Effect (AoE) explosions and marketplace skirmishes, it’s wise to activate protective measures, always carry a healing potion, and aim for victory in the competition.
Boss Name | Armour Tokens | Random Rewards (Additional) | Guaranteed Rewards |
|---|---|---|---|
Wicked Thunder | 1* Holohelm 1* Hologauntlets 2* Holoarmor 1* Hologreaves 2* Holochausses 2* Holoearring | x1 Black Kitten minion x1 Give It All Orchestrion Roll | 20* Allagan Tomestones of Aesthetics |
Read More
- Gold Rate Forecast
- 10 Most Anticipated Anime of 2025
- Grimguard Tactics tier list – Ranking the main classes
- USD CNY PREDICTION
- Castle Duels tier list – Best Legendary and Epic cards
- Maiden Academy tier list
- PUBG Mobile heads back to Riyadh for EWC 2025
- Cookie Run Kingdom: Lemon Cookie Toppings and Beascuits guide
- Silver Rate Forecast
- Pi Network (PI) Price Prediction for 2025
2024-08-23 23:13