Summary
- Optional bosses in Elden Ring, like Ancient Hero of Zamor and Bayle the Dread, offer varied challenges and testing player skills.
- Bosses like Valiant Gargoyle and Putrescent Knight have unique mechanics, massive health bars, and great damage output.
- Malenia, Blade of Miquella, showcases intense combat prowess with rapid attacks, Scarlet Rot magic, and challenging phases.
In the realm of Elden Ring and its Shadow of the Erdtree expansion, both are celebrated for their tough battles with boss characters set against a backdrop of a mystical high-fantasy universe. These boss characters symbolize various elements of Elden Ring’s lore, with some being essential for advancing the storyline, while others offer extra challenges to test players’ abilities and determination.
In this game, the optional bosses come in all shapes and sizes, each one as challenging as it is unique – from the swift, blade-wielding nightmares to the colossal, electrically charged dragons. Here, we will list the most difficult optional bosses found in Elden Ring, even some formidable adversaries hailing from the Shadows of the Erdtree DLC. If you decide to engage them, be prepared for a fierce battle, but it’s not mandatory to do so.
The optional bosses in this game are as diverse and demanding as they come, ranging from terrifyingly fast blade-wielders to massive, electric dragons. This list will rank the hardest optional bosses in Elden Ring, including some formidable enemies from the Shadows of the Erdtree DLC. The Tarnished has the choice to face them, but be warned: if they do, they’re up against a tough challenge.
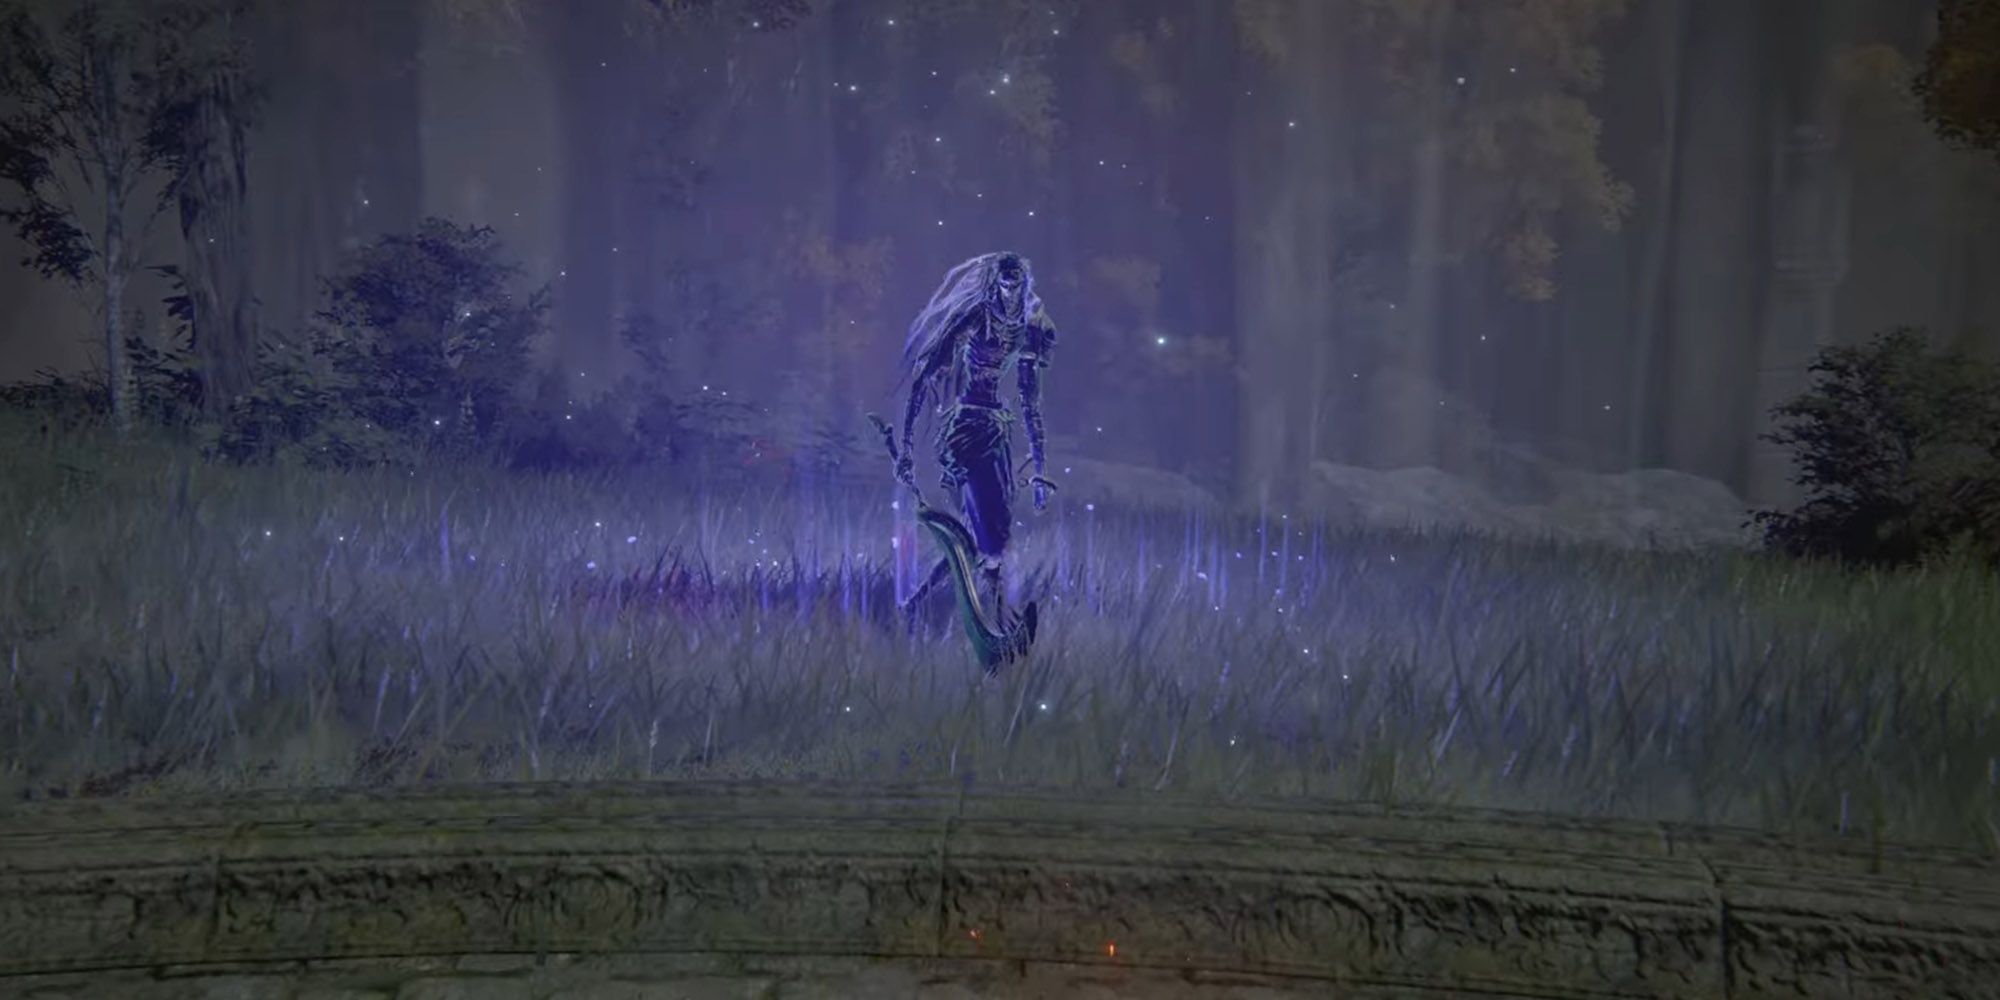
10. Ancient Hero of Zamor
Long-Lived Warrior of Freezing Winds
- Locations: Weeping Evergaol, Sainted Hero’s Grave, Giant-Conquering Hero’s Grave
In simpler terms, the Ancient Hero of Zamor is an agile warrior who moves under icy gusts. Despite appearing to advance gradually towards the player, its cunning tactics adjust to the strategies used by the Tarnished, making for a tough opponent with clever retaliations.
Approaching it at a distance, it may unleash a vast wave of frost magic or dash forward at top speed, whirling into a flurry of assaults. Every strike from its sword can cause Frostbite, potentially inflicting a sudden burst of damage and increasing the damage taken for a brief period on subsequent hits. As the battle continues, it enters a second phase, and its elegant yet unyielding ferocity makes for an exhilarating encounter.
9. Elemer of the Briar
The Bell Bearing Hunter

- Nearest Site of Grace: Shaded Castle Inner Gate
The character named Elemer from the Briar resides in a fortress called The Shaded Castle on Altus Plateau, a place where his execution was unsuccessful. He’s an exceptionally aggressive boss and uses the Marais Executioner’s Sword in combat. This sword is imbued with the skill Eochaid’s Dancing Blade, which allows him to hurl the weapon in a spiral motion.
In a broad sweep, Elemer wields his sword, forcing opponents to dodge and defend from various angles. The narrow confines of the battlefield amplify the potency of his long-range assaults.
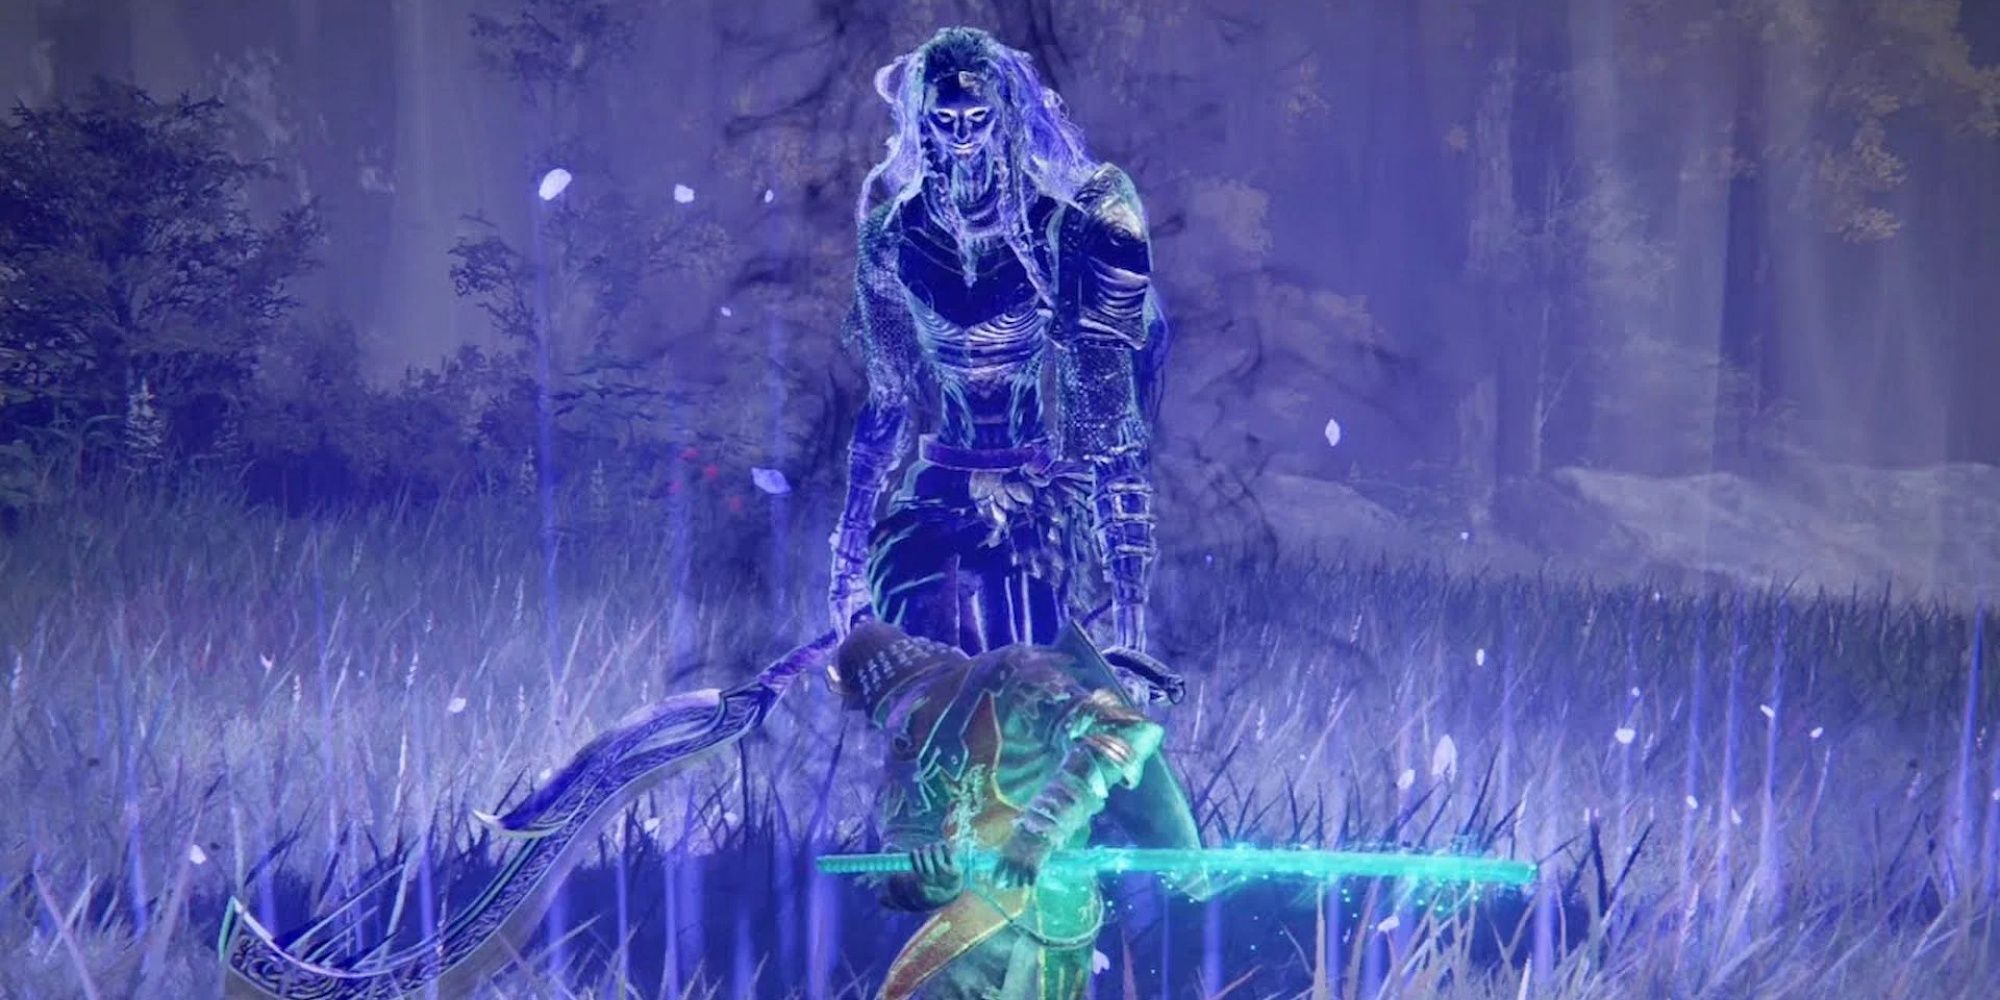
8. Knight of the Solitary Gaol
The Blackgaol Knight
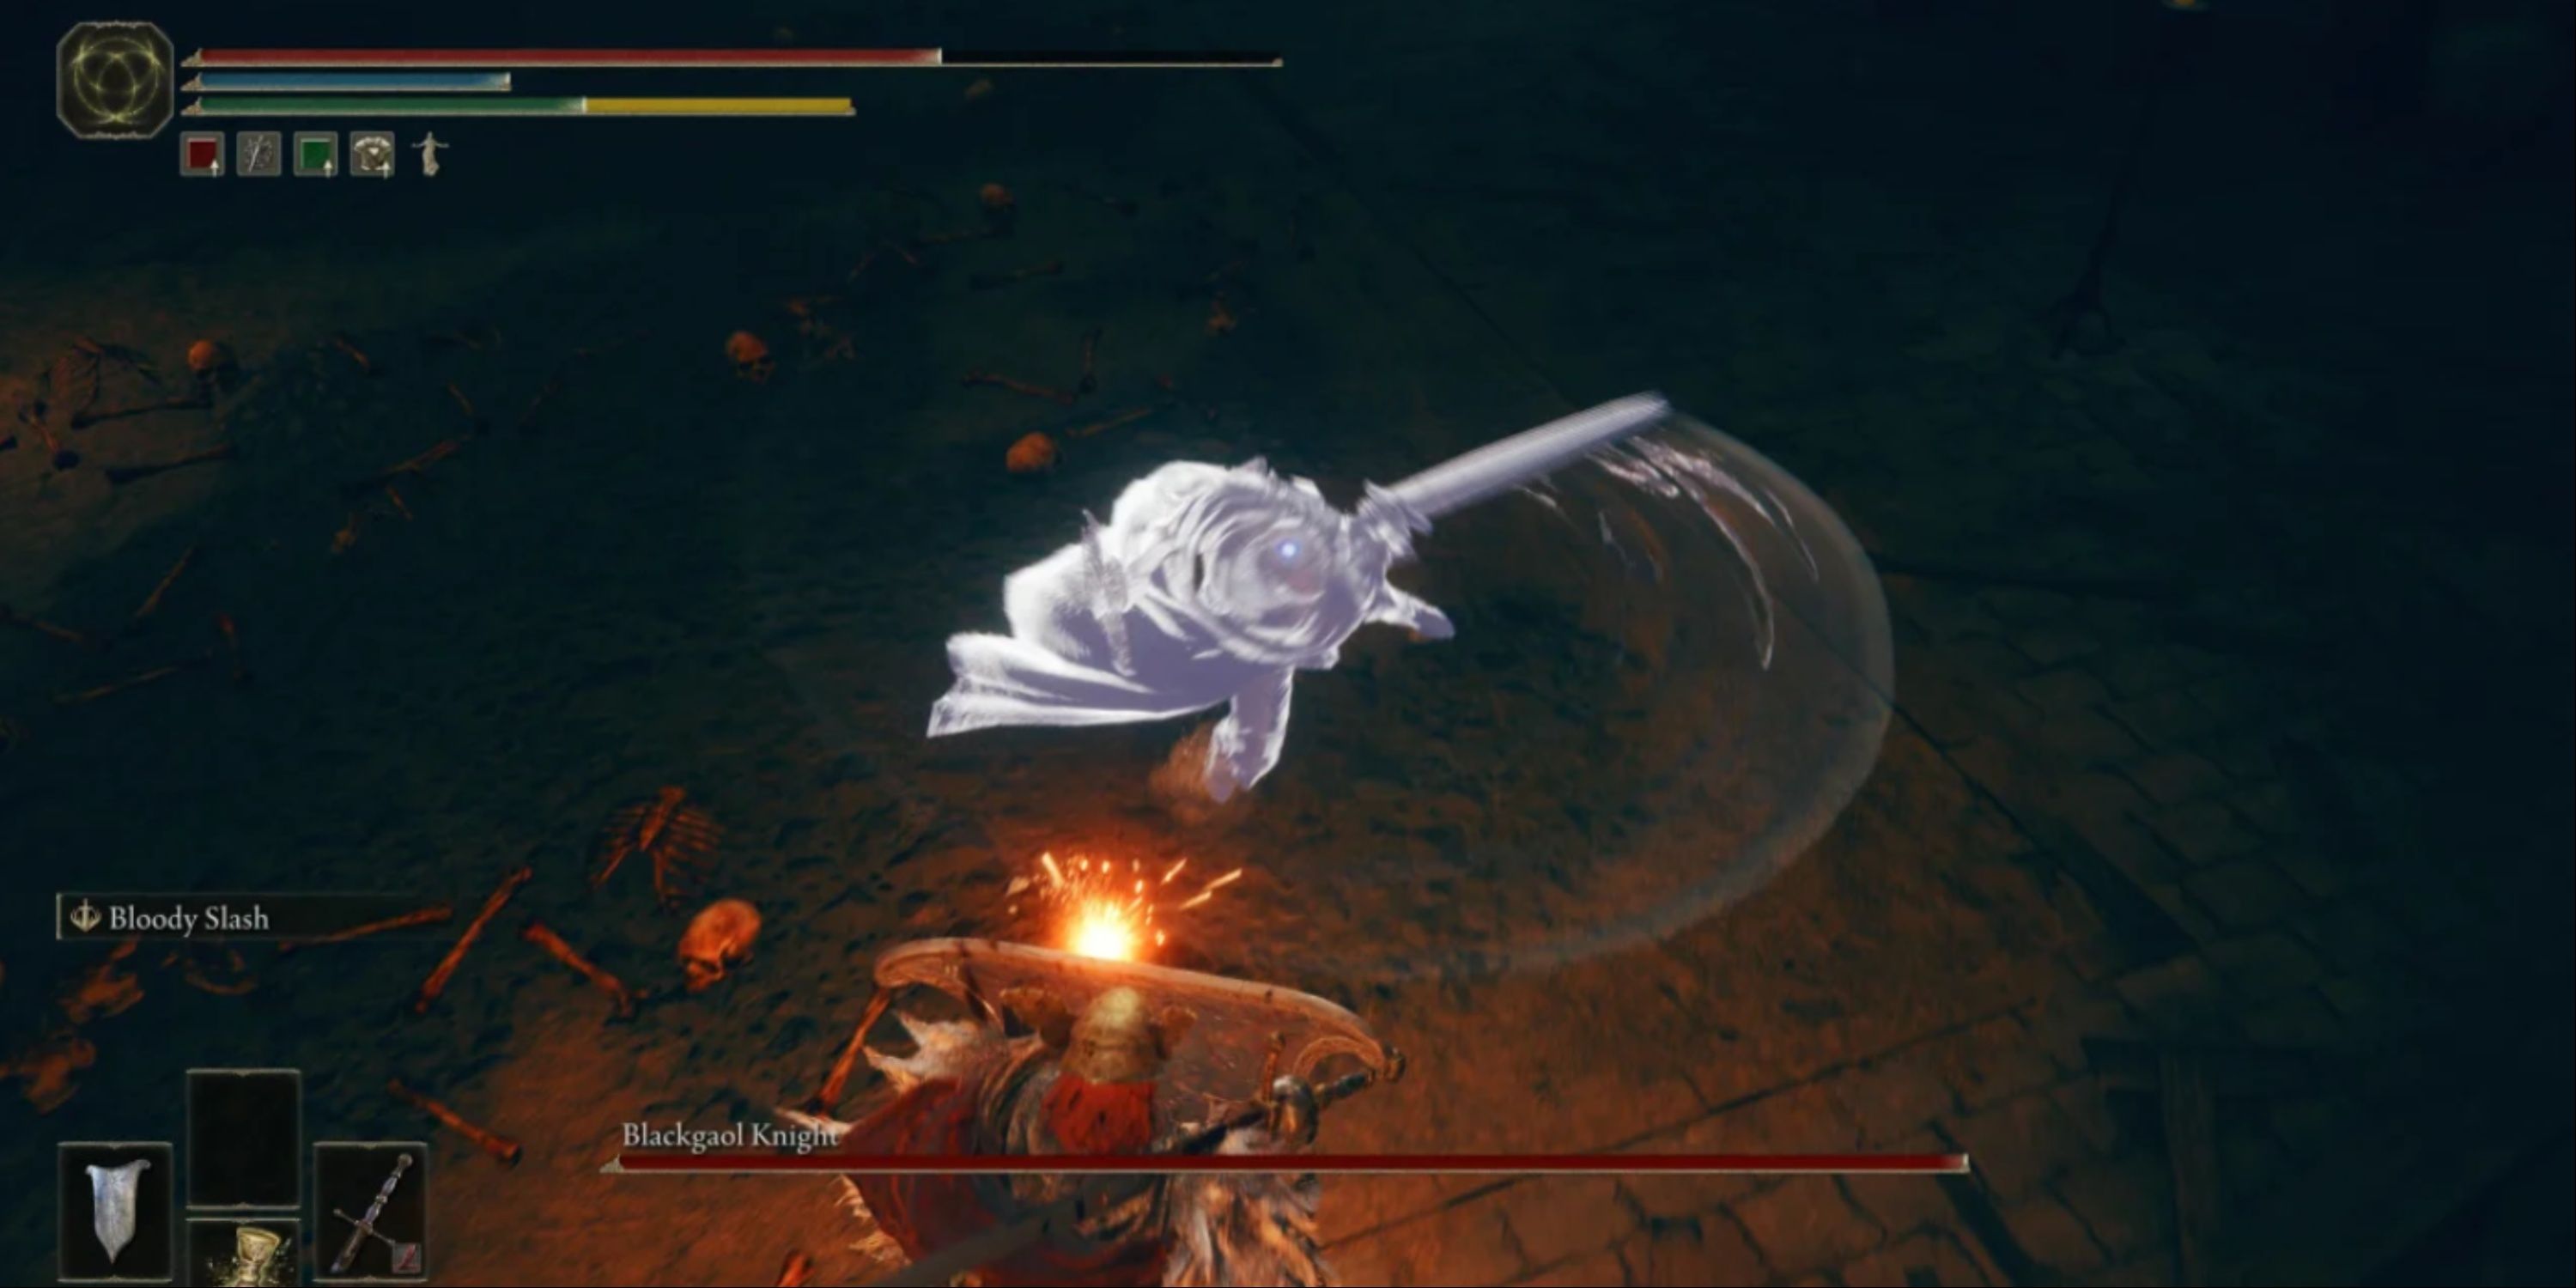
- Nearest Site of Grace: Scorched Ruins
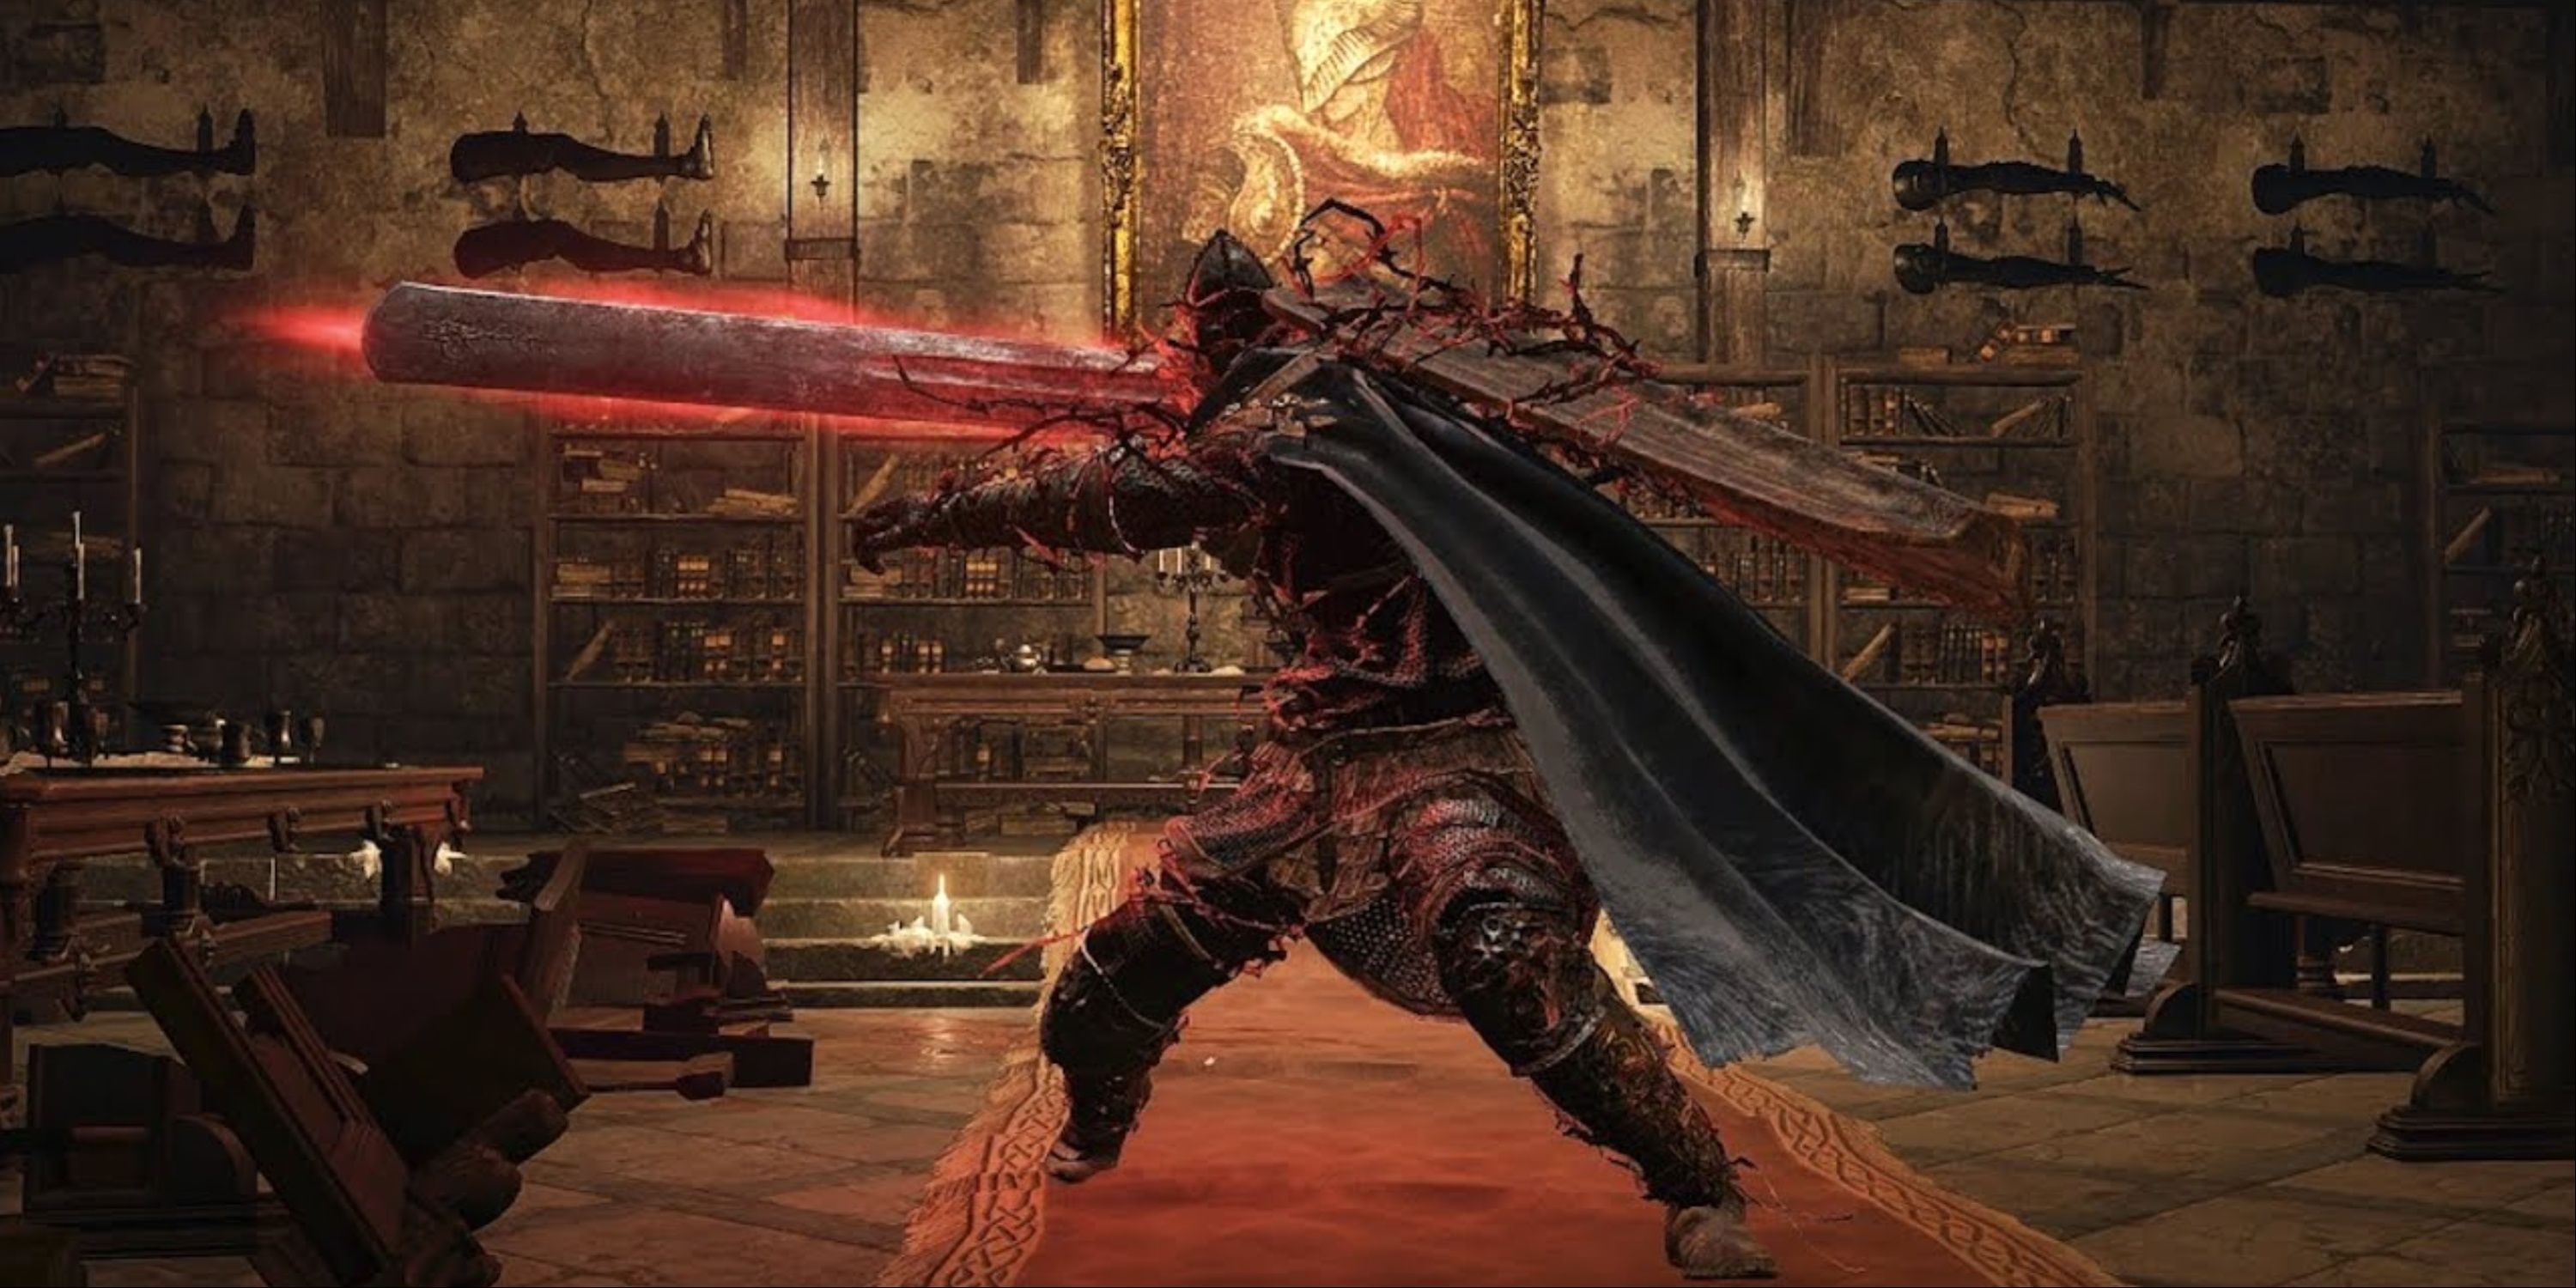
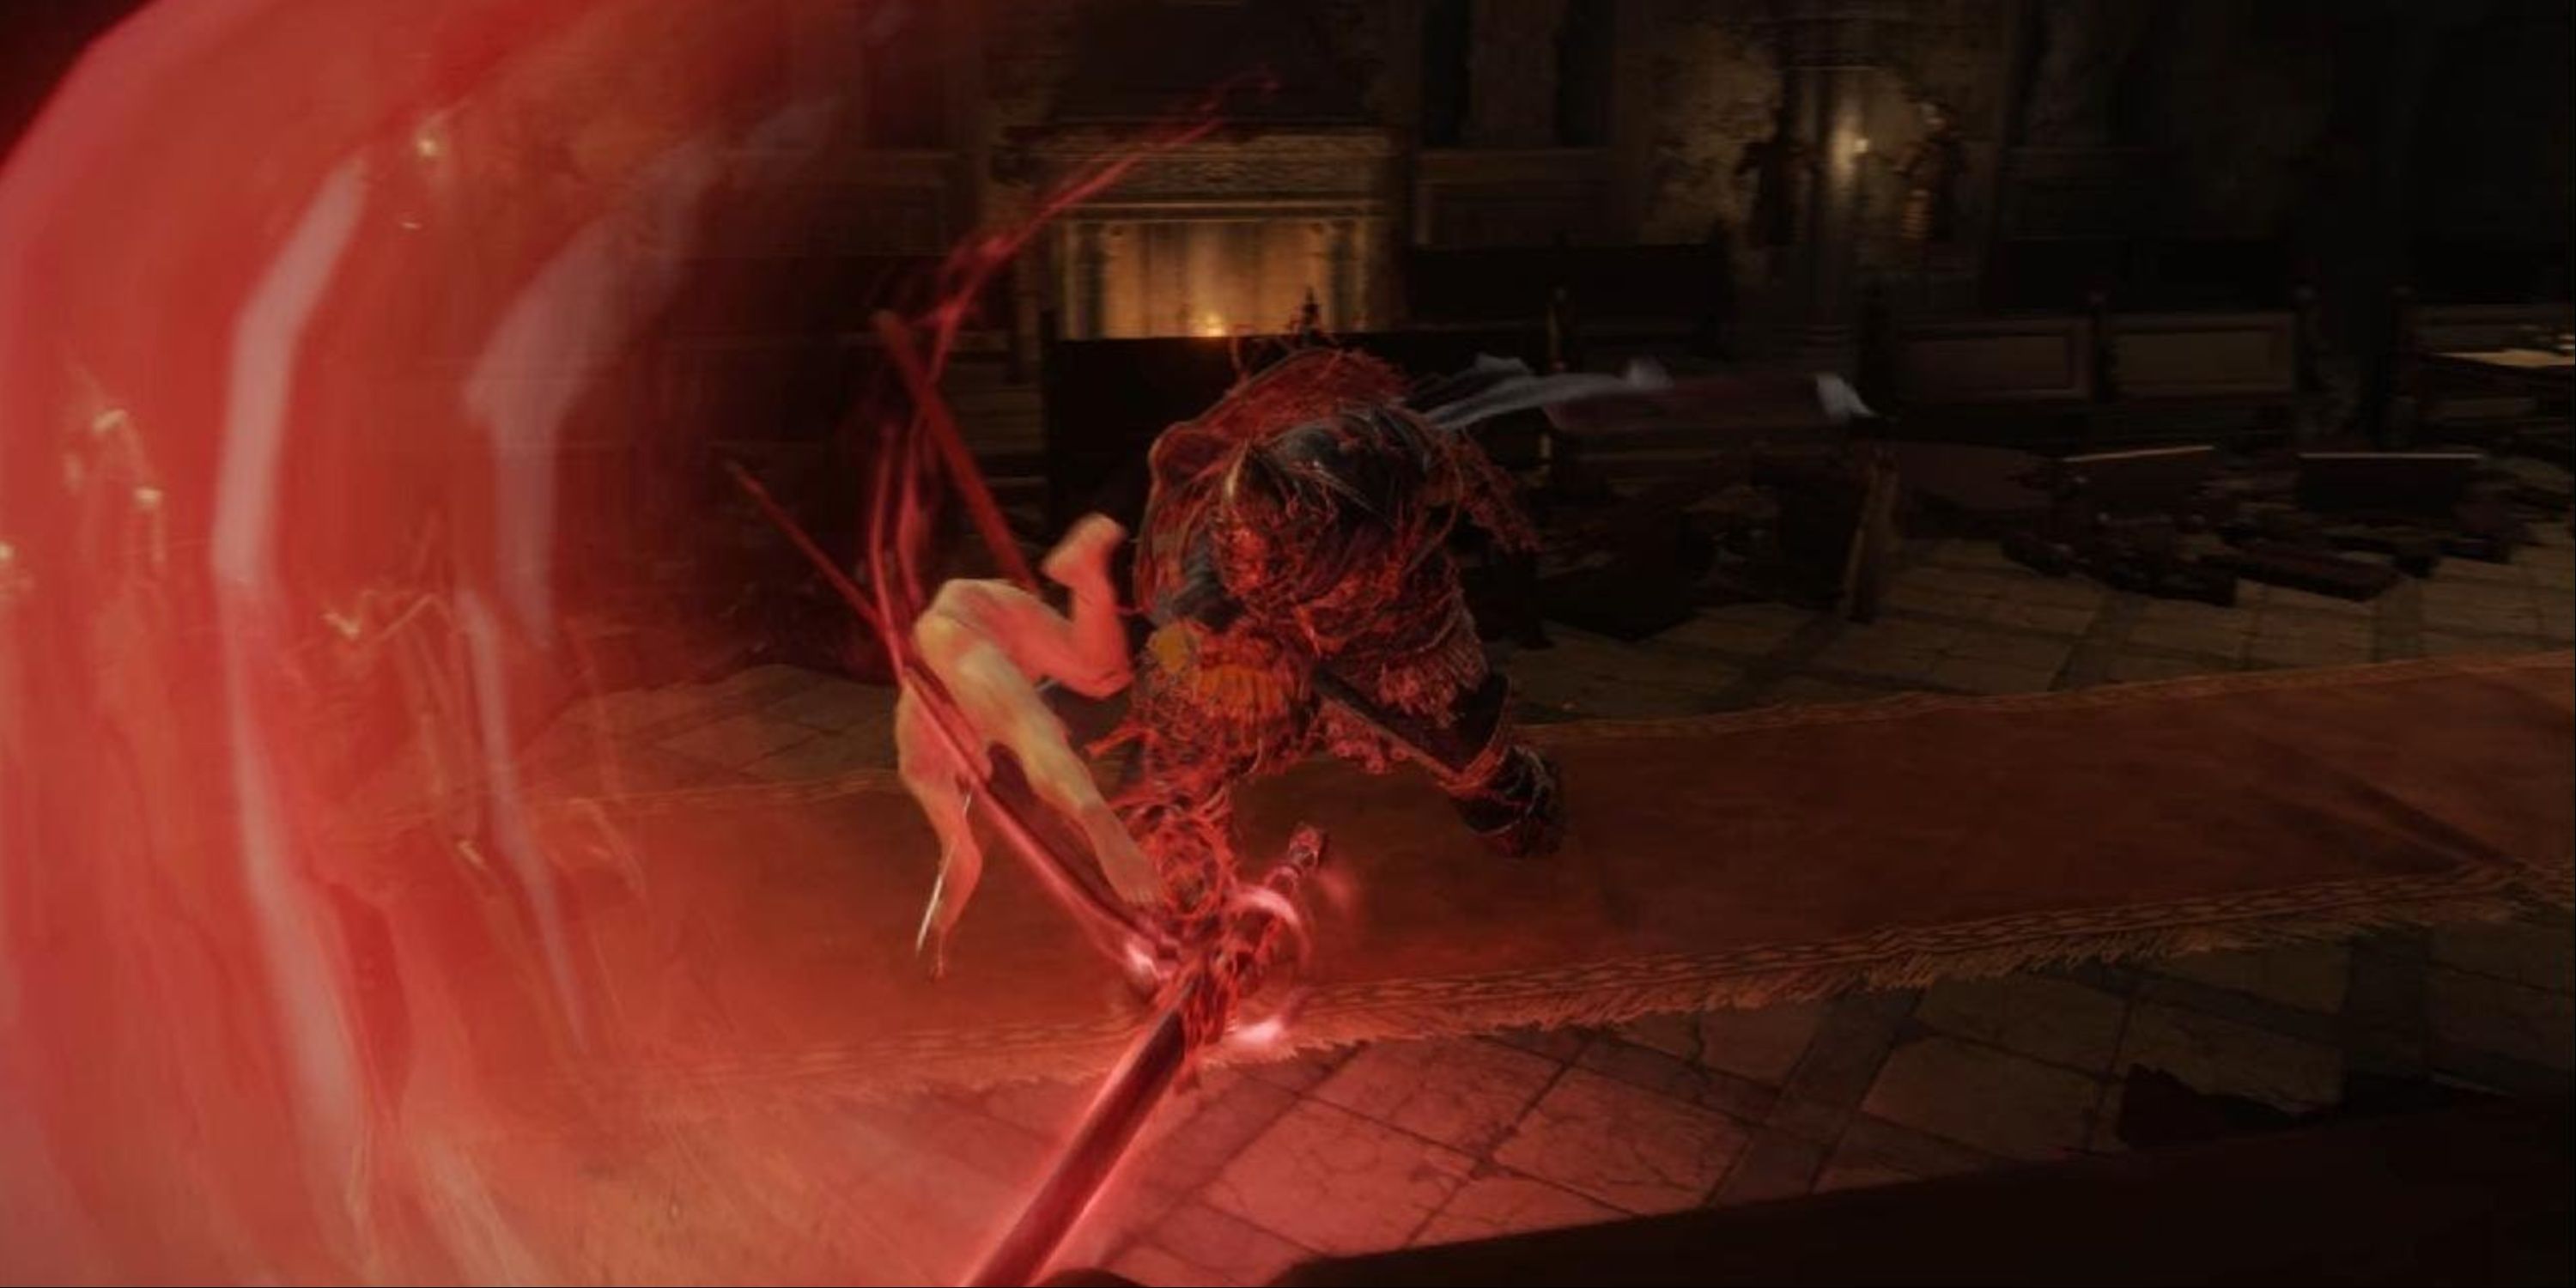
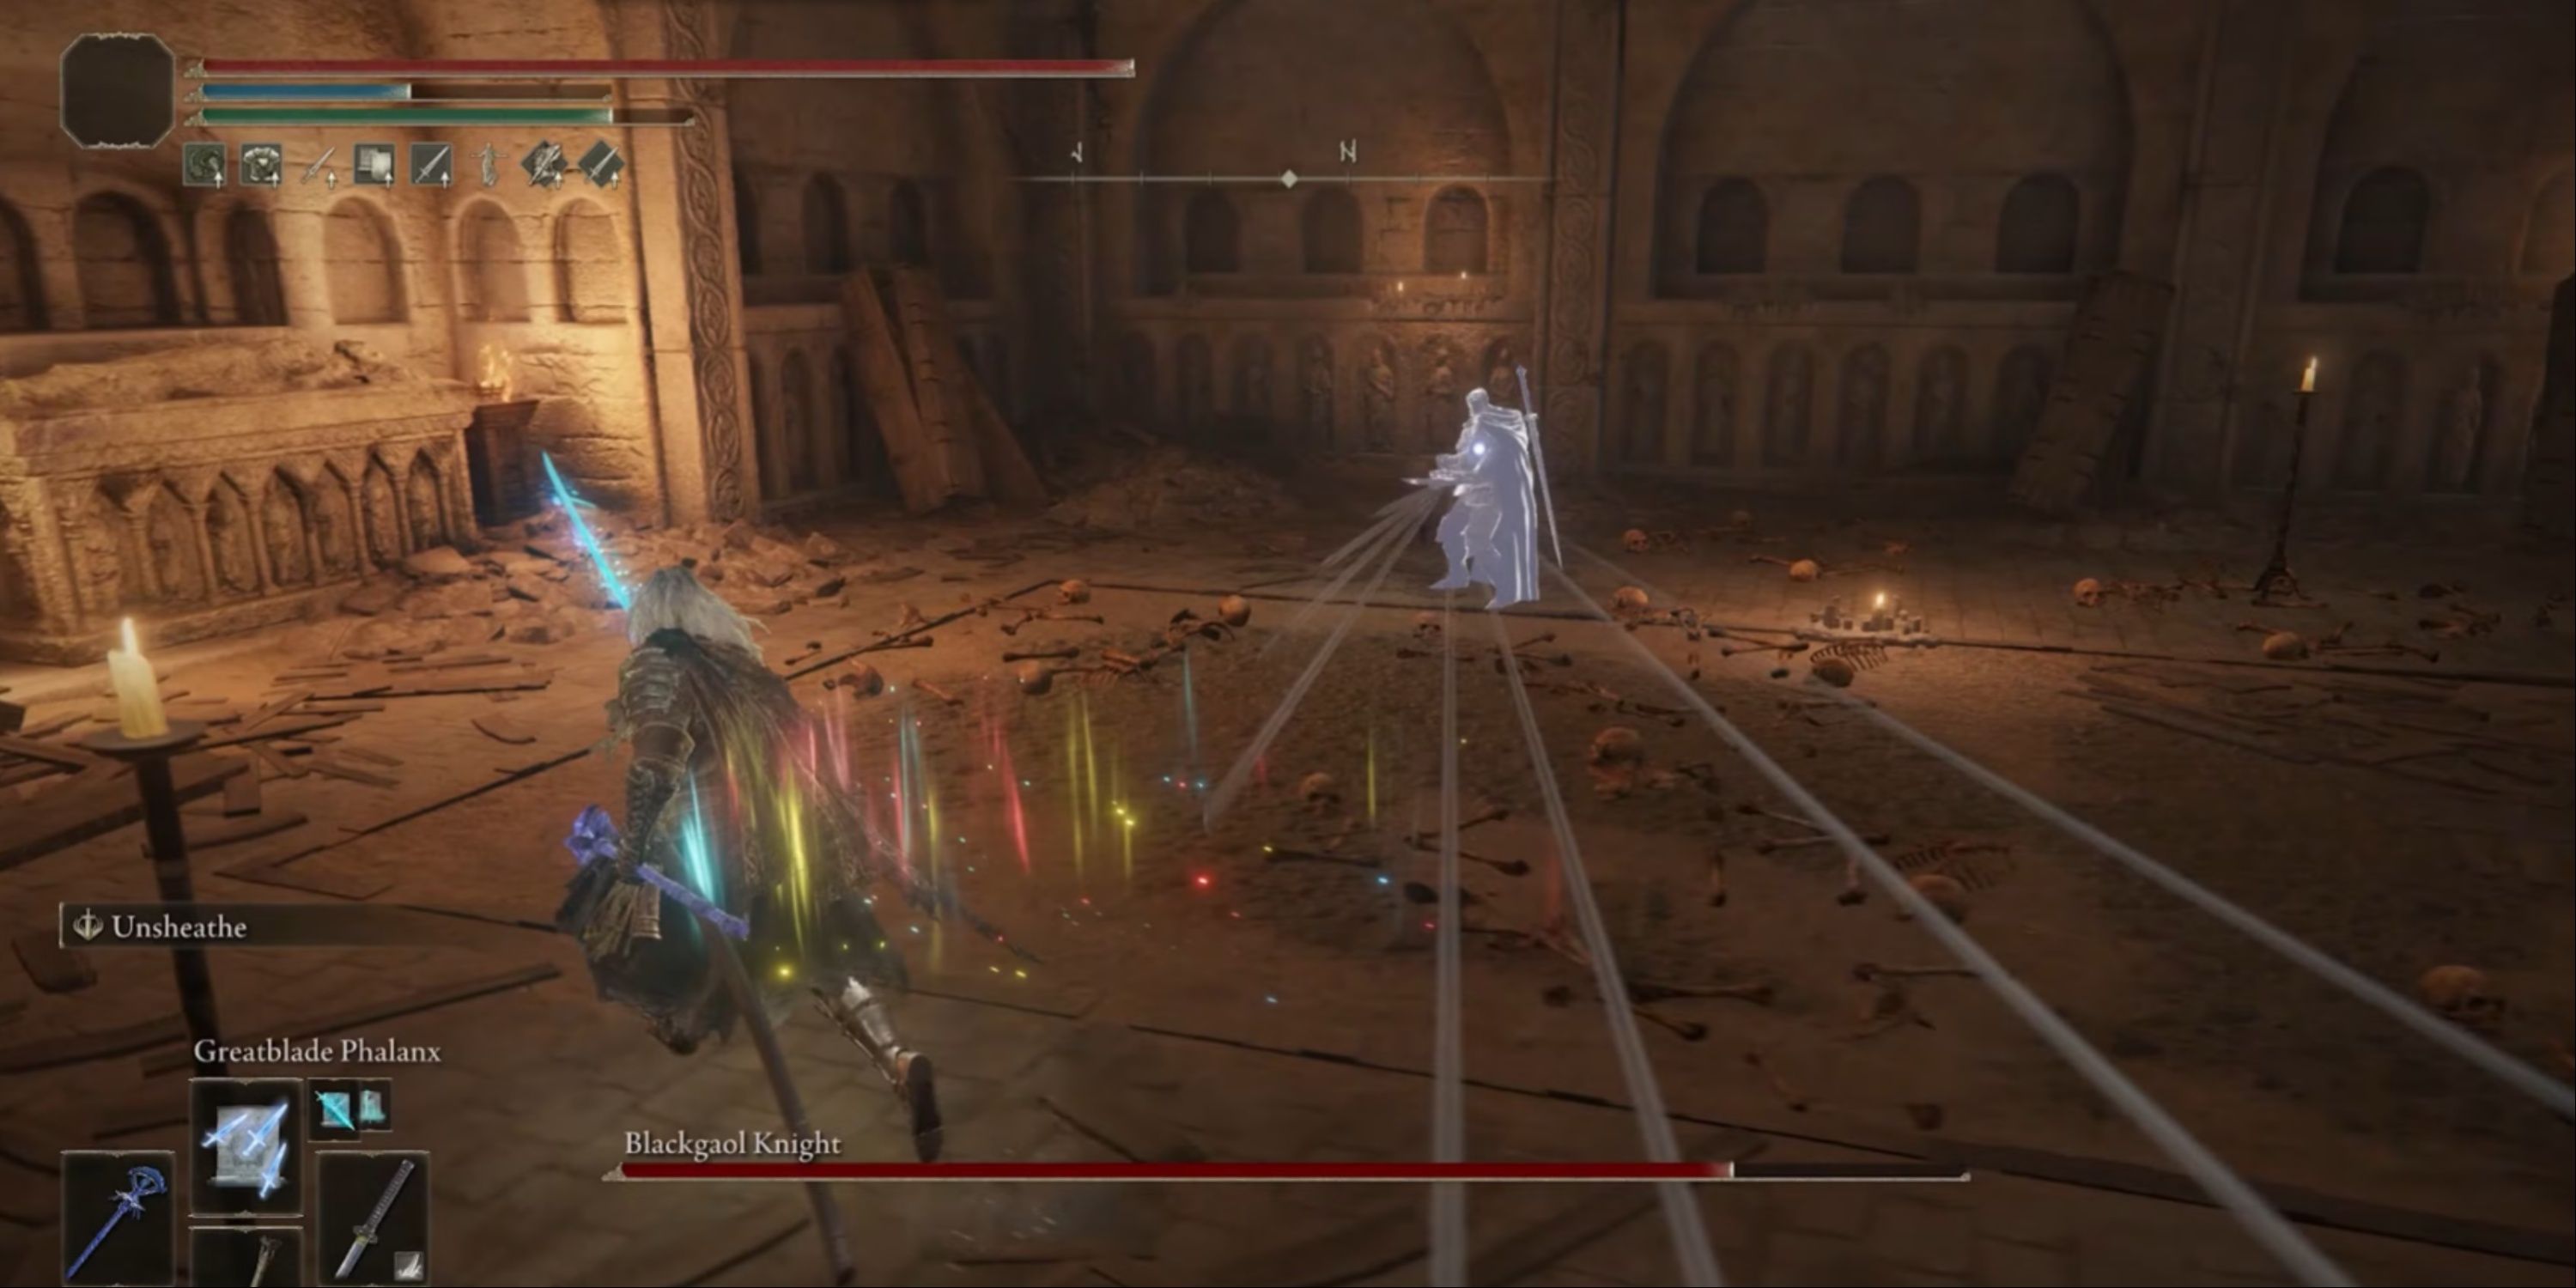
The Lone Jail Knight from the game “Shadow of the Erdtree” serves as a tough adversary in humanoid form. You can encounter him at the Western Nameless Mausoleum. Initially, he may seem ordinary, but his lightning-quick reflexes soon dispel that notion. He alternates between wielding a Greatsword and a Crossbow, responding with incredible speed.
The distinctive feature of his crossbow lies in its rapid-fire capability, resembling a machine gun’s wide spread, ensuring players stay alert. In combat, he often performs jumping attacks with his greatsword and has the ability to execute a swift, sprinting slash that catches opponents off guard.
7. Valiant Gargoyle
Classic Double Trouble

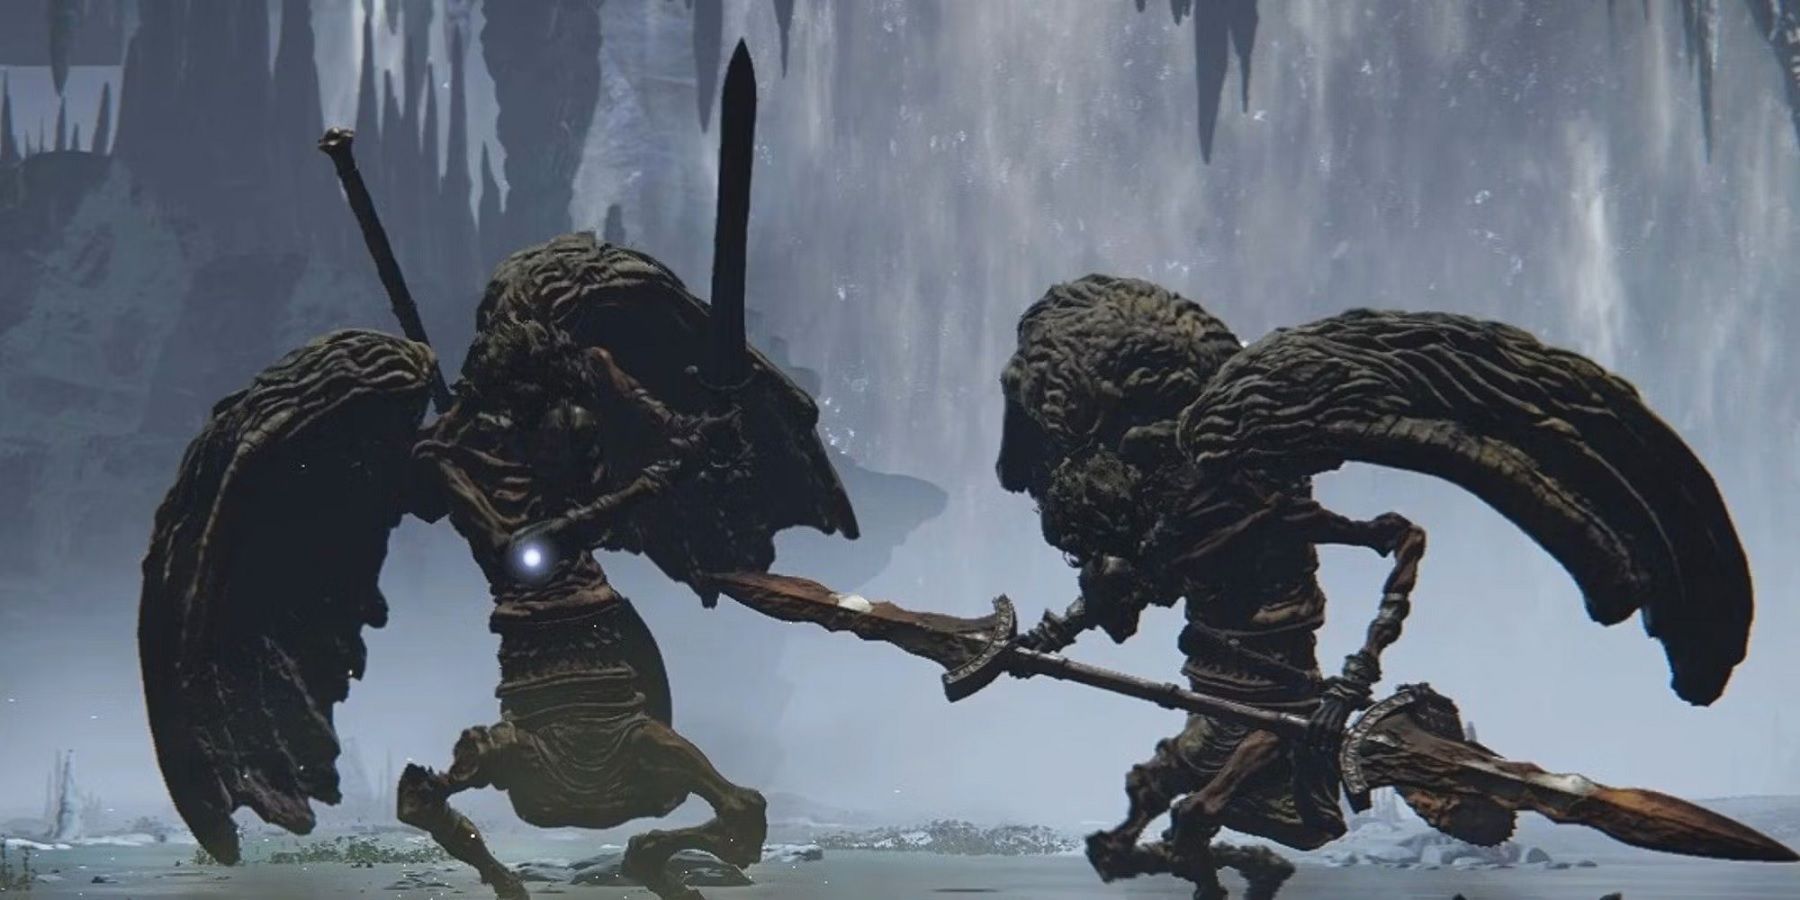
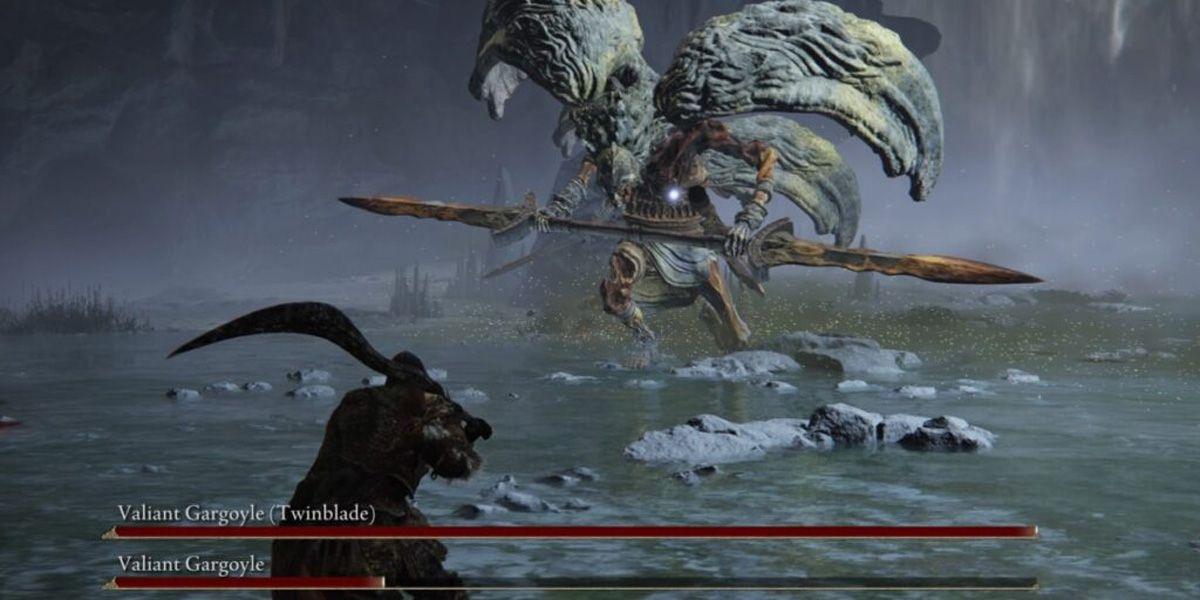
- Nearest Site of Grace: Siofra River
Inside the Siofra Aqueduct lies the resting place of the Brave Gargoyles, ready for the Tarnished intruder. The battle initiates when one Brave Gargoyle brandishes a greataxe and shortsword, inflicting massive damage. As its health decreases to about a third, another Gargoyle joins the combat, armed with a twinblade and greataxe, making the encounter much more difficult.
One gargoyle alone is a challenging encounter because its size doesn’t reflect its agility. These creatures look big and cumbersome, but they move swiftly. The Valiant Gargoyles, in particular, boast substantial health pools and can inflict significant damage with their wide-area attacks that can knock players off balance. In Leyndell, other gargoyles may be encountered, but none pose the lethal combination of the Valiant Gargoyles found along Siofra River.
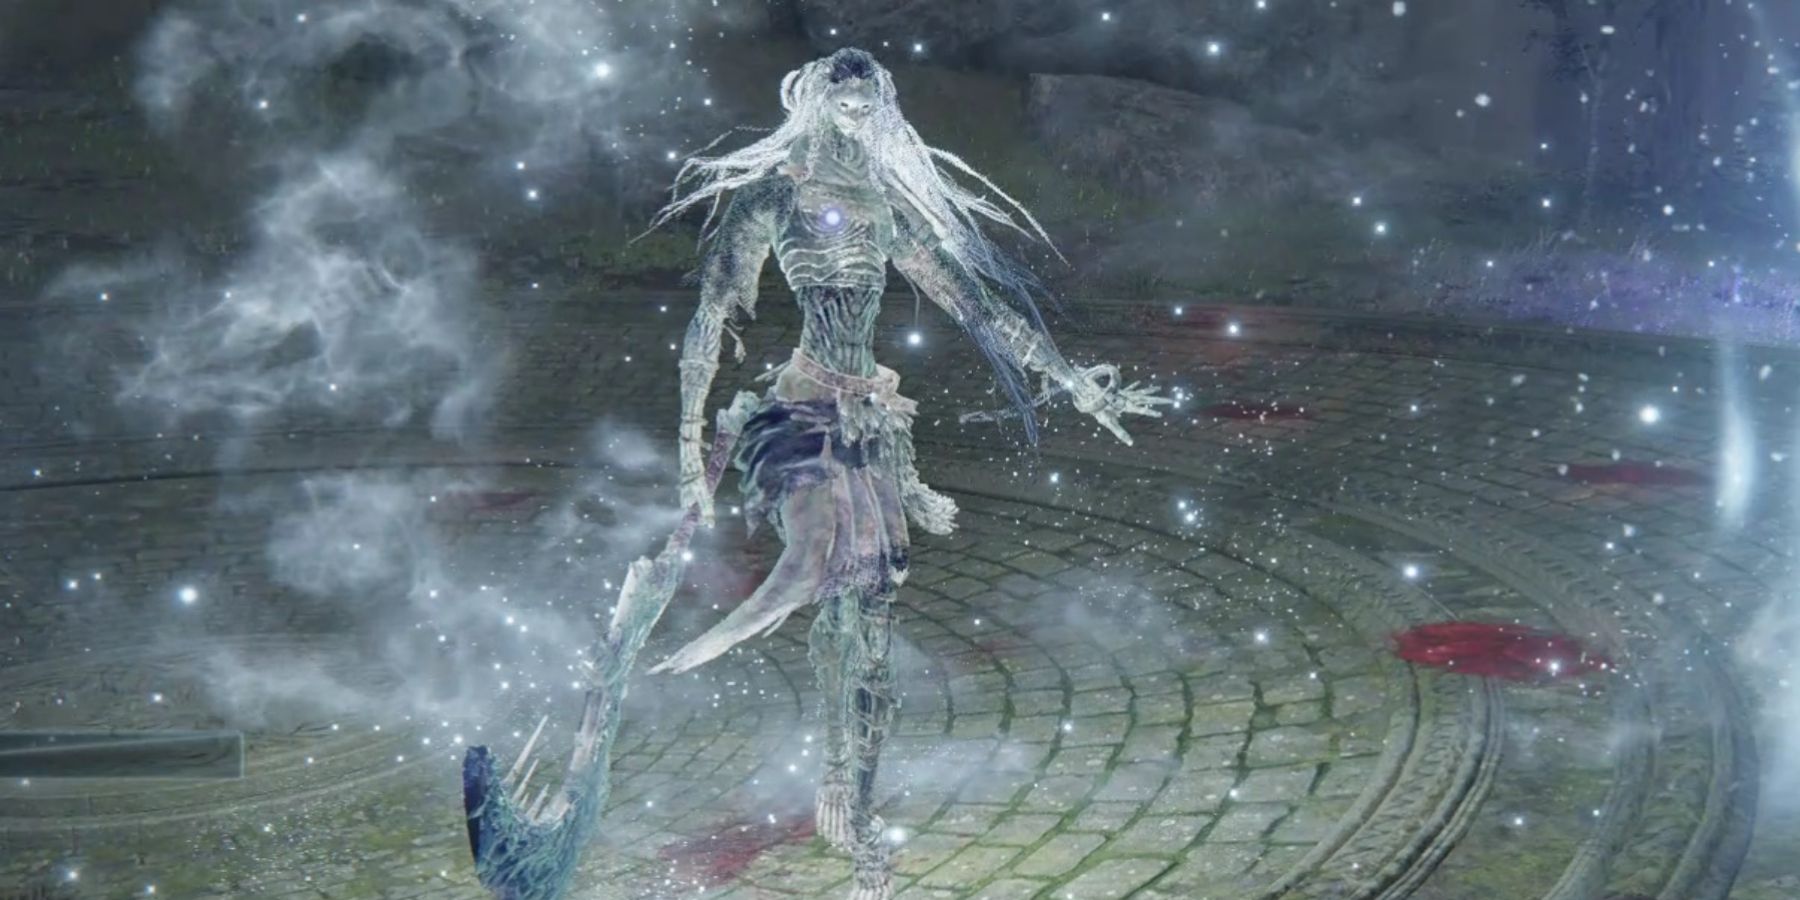
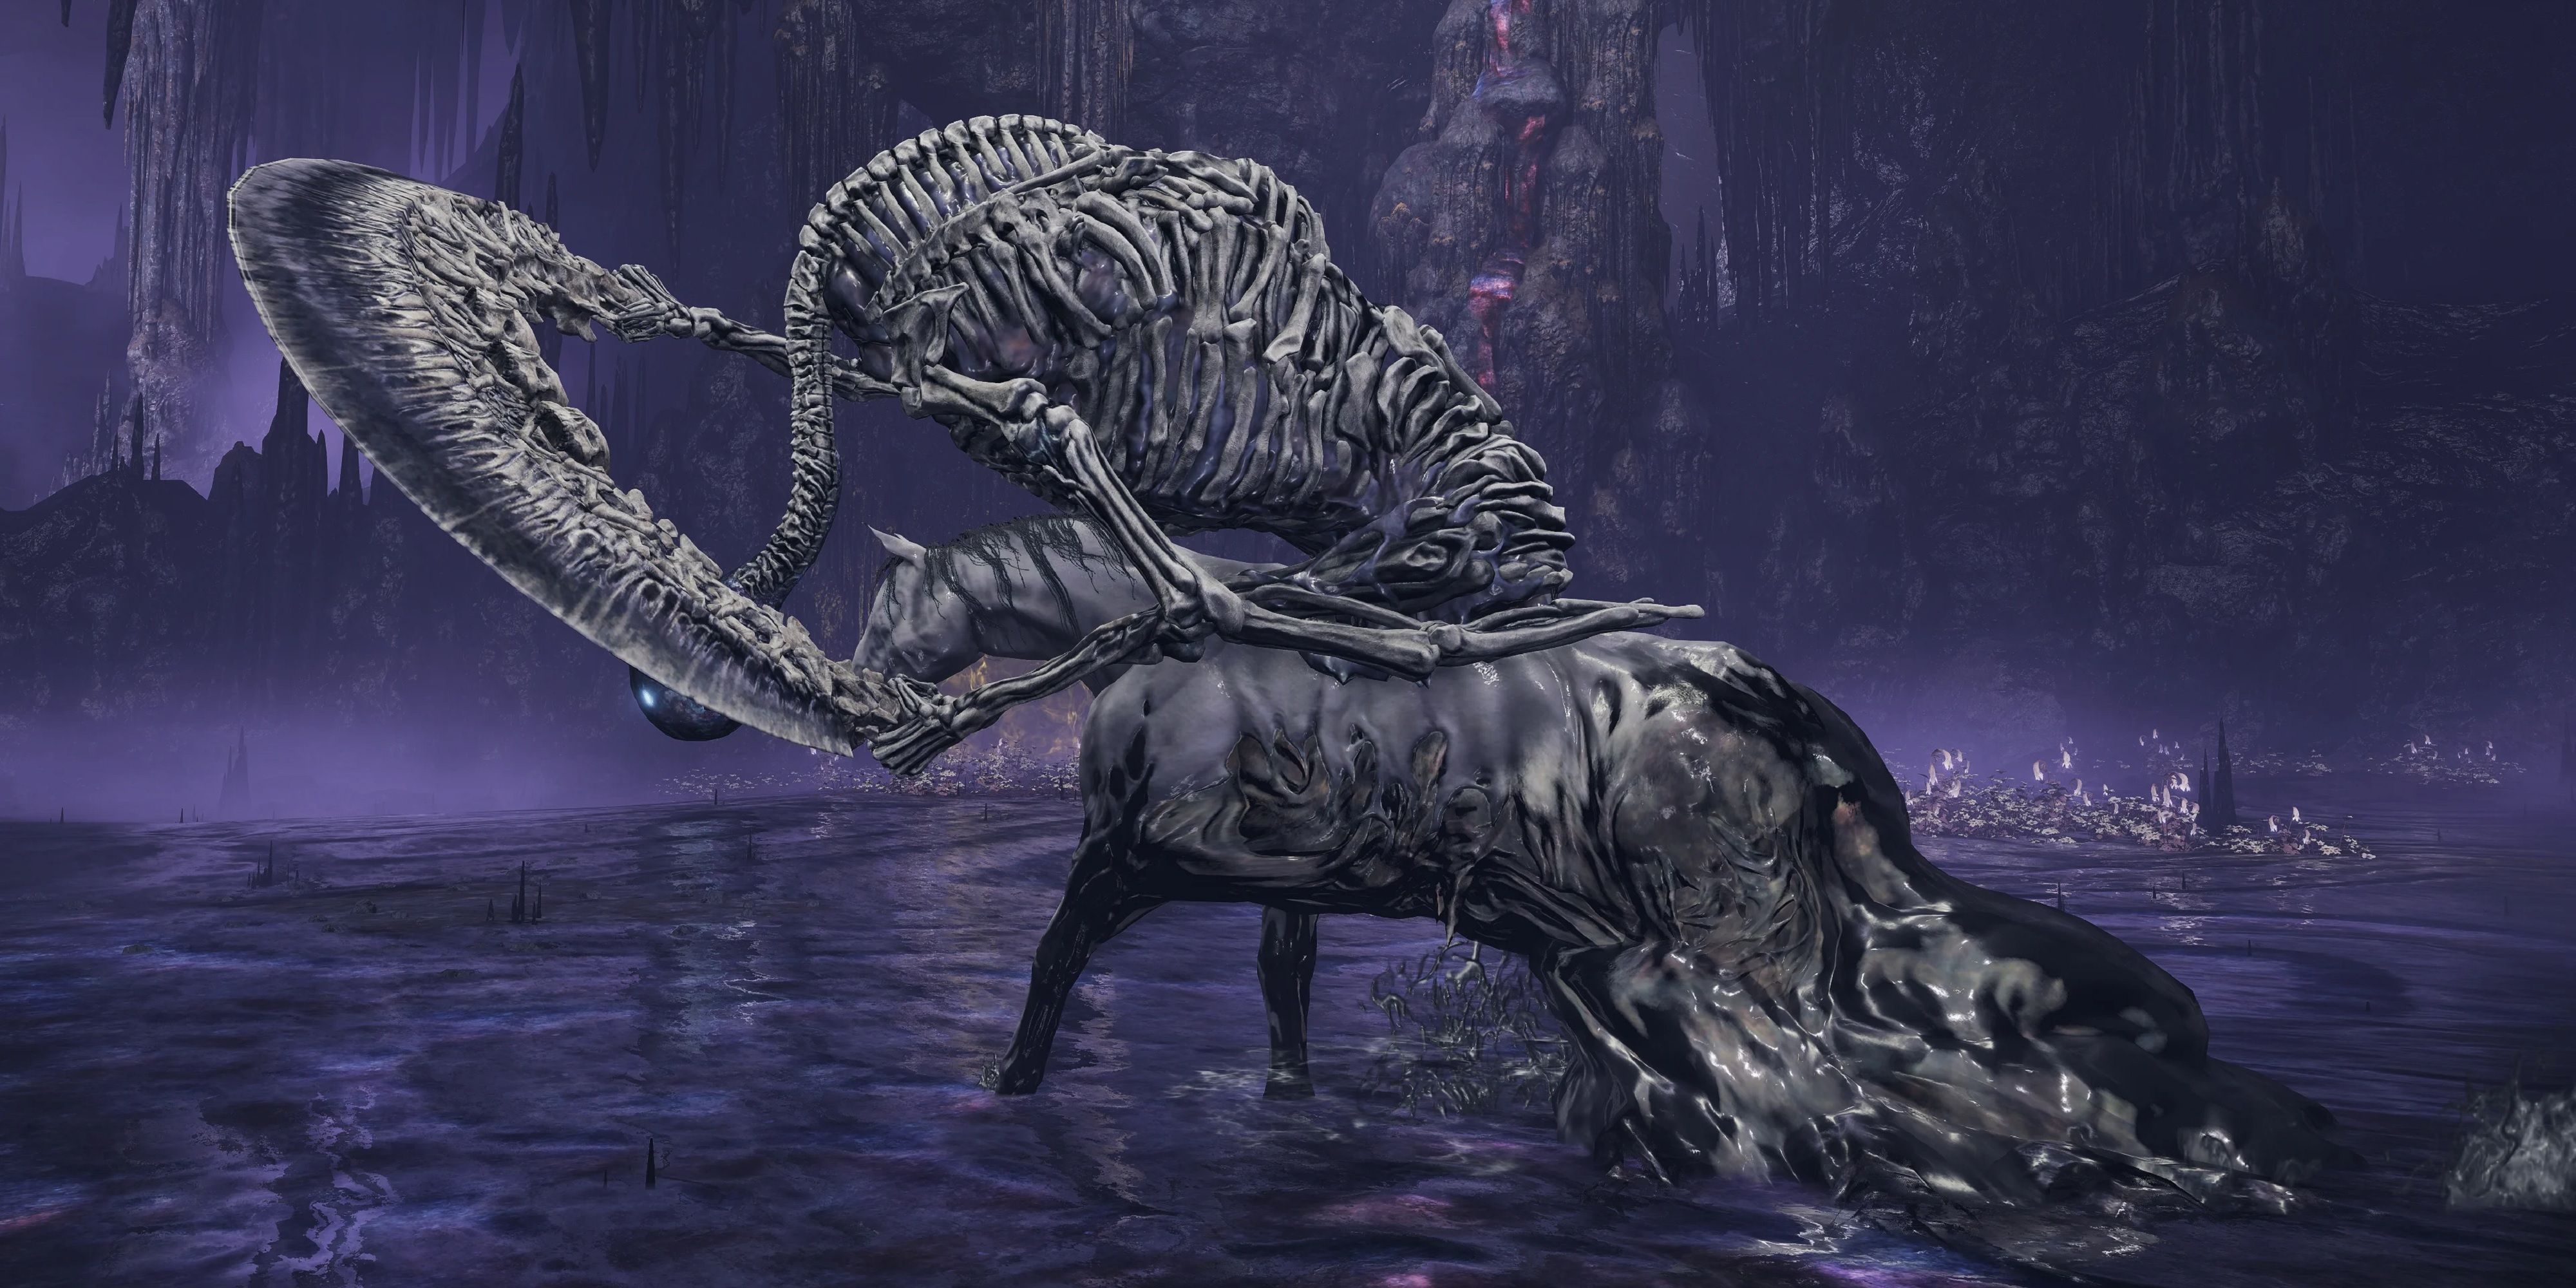
6. Putrescent Knight
The Decrepit Remains of Death
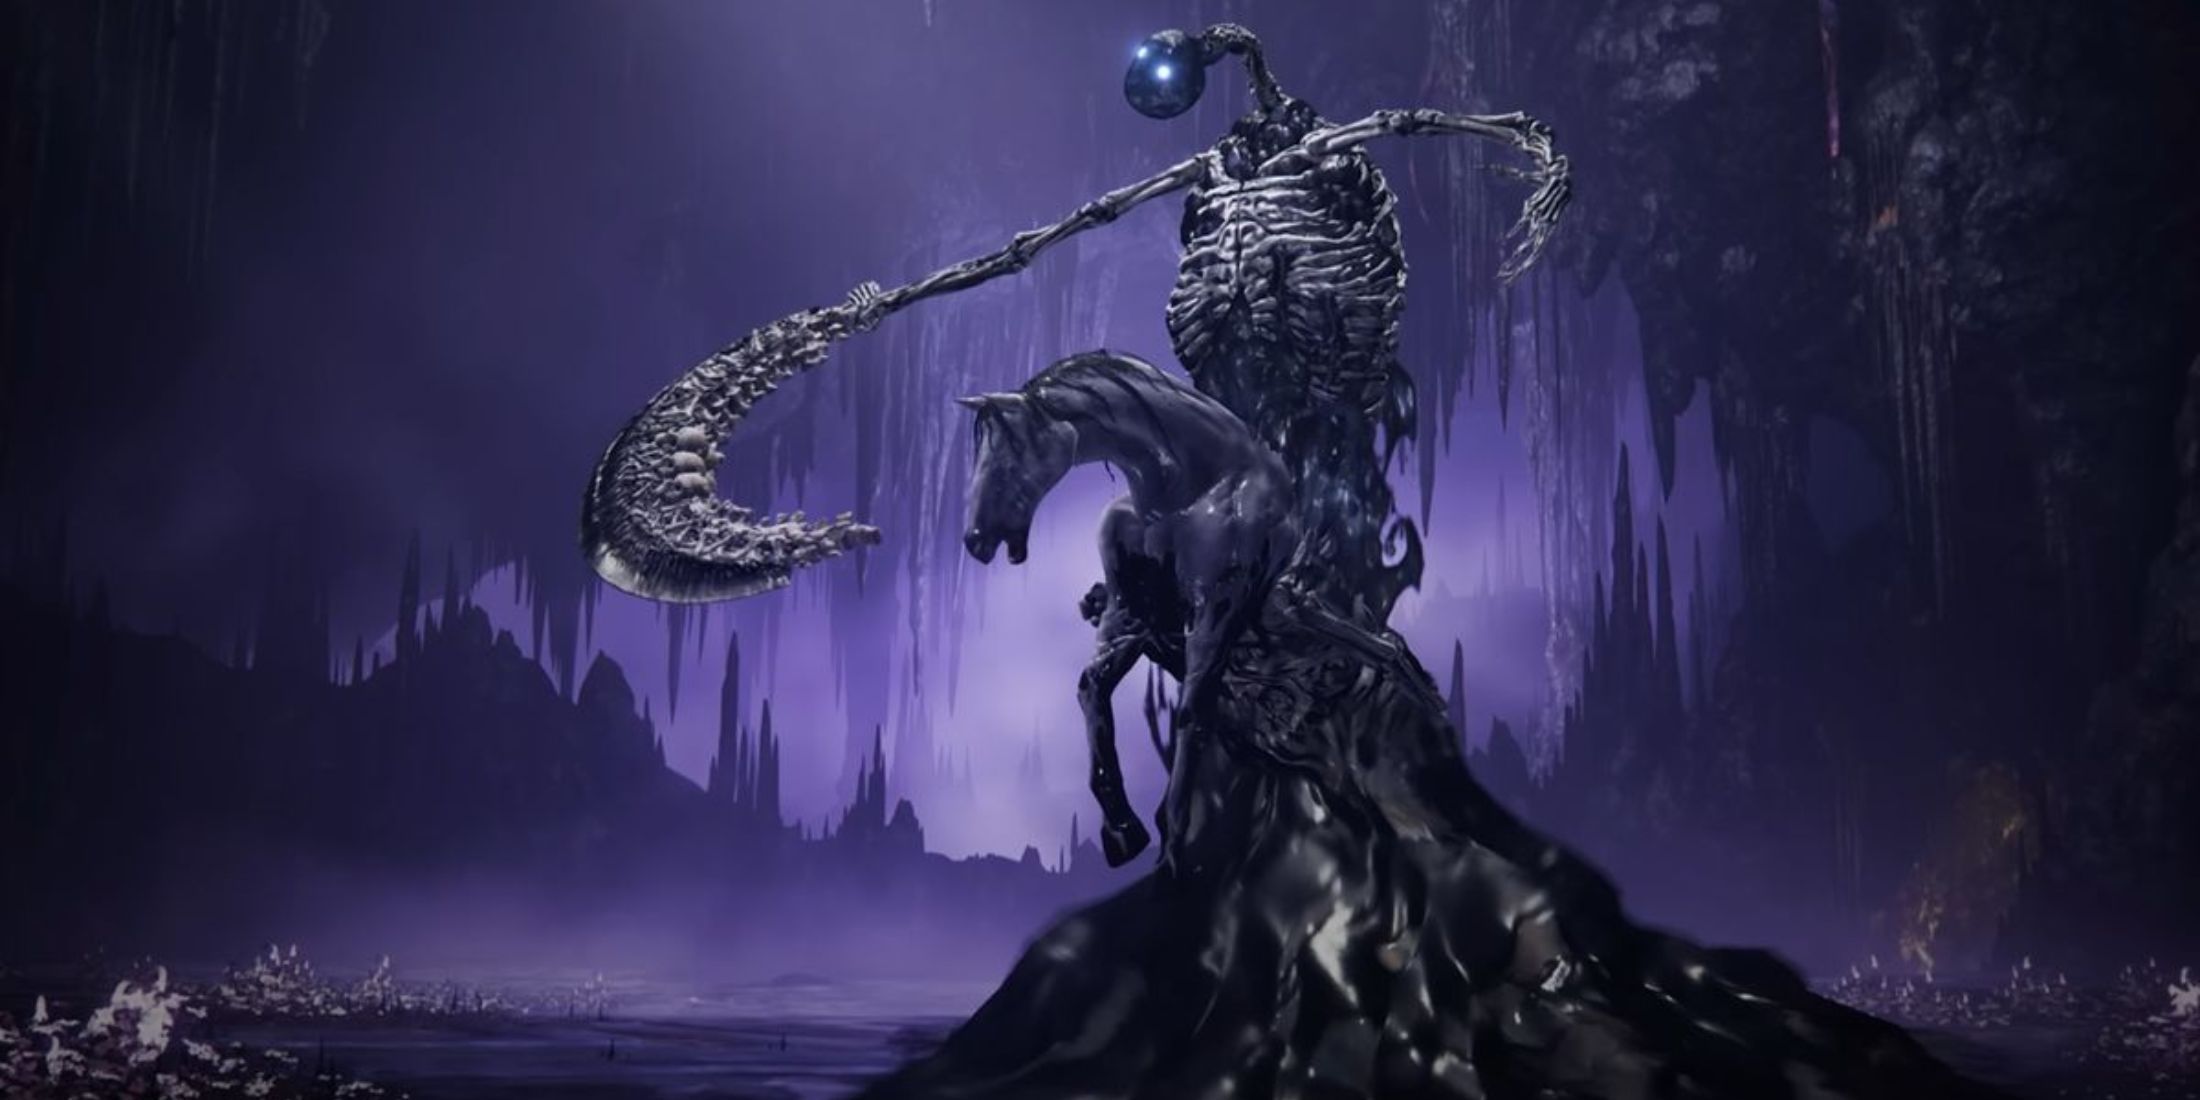

- Nearest Site of Grace: Fissure Depths
In simpler terms, the corrupted knight in “Shadow of the Erdtree” is essentially St. Trina’s decaying flesh-covered knight, a huge skeleton armed with a cleaver and riding a steed. This boss exudes a sense of disorder due to its unsteady stance and wild swipes from its cleaver. It often jumps off its horse, slamming the cleaver down hard and then following up with a sequence of spinning attacks, which makes it challenging to retaliate against effectively.
In the second stage, the Decaying Knight unleashes a Rotting Vortex, signaling this by gradually ascending while gathering mass beneath it. It then releases multiple gobs of decay, which ignite into spectral fire upon impact, inflicting Frostbite. This boss exhibits immense area-of-effect power and its persistent assault makes for a particularly tough test.
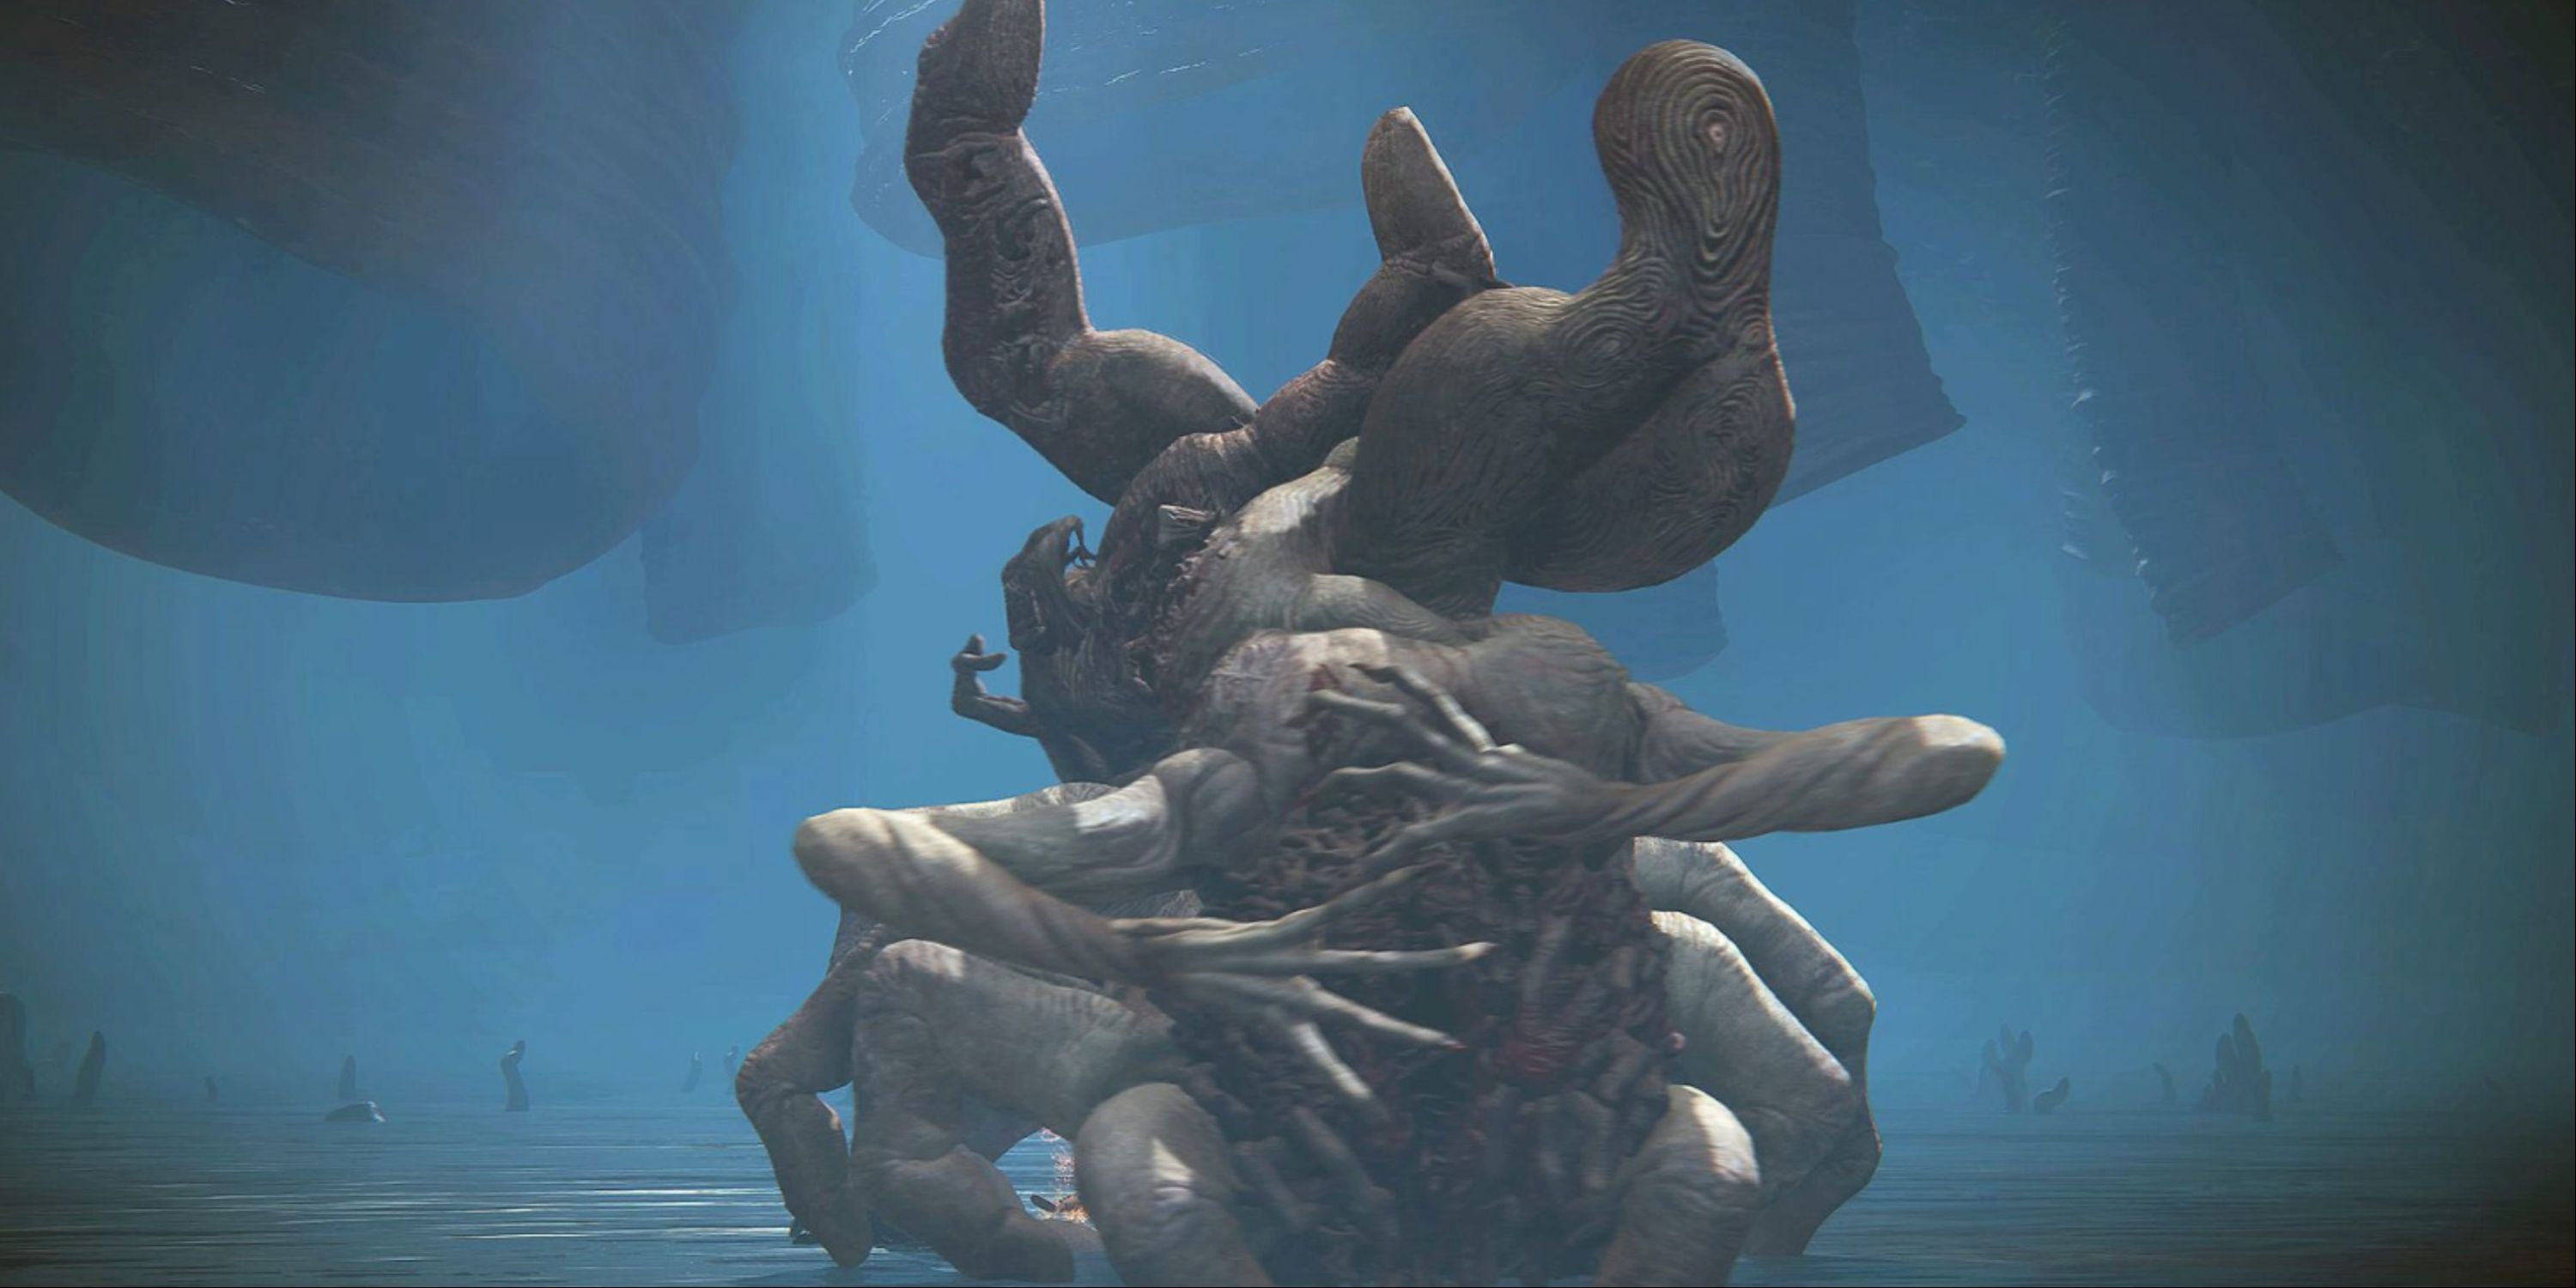
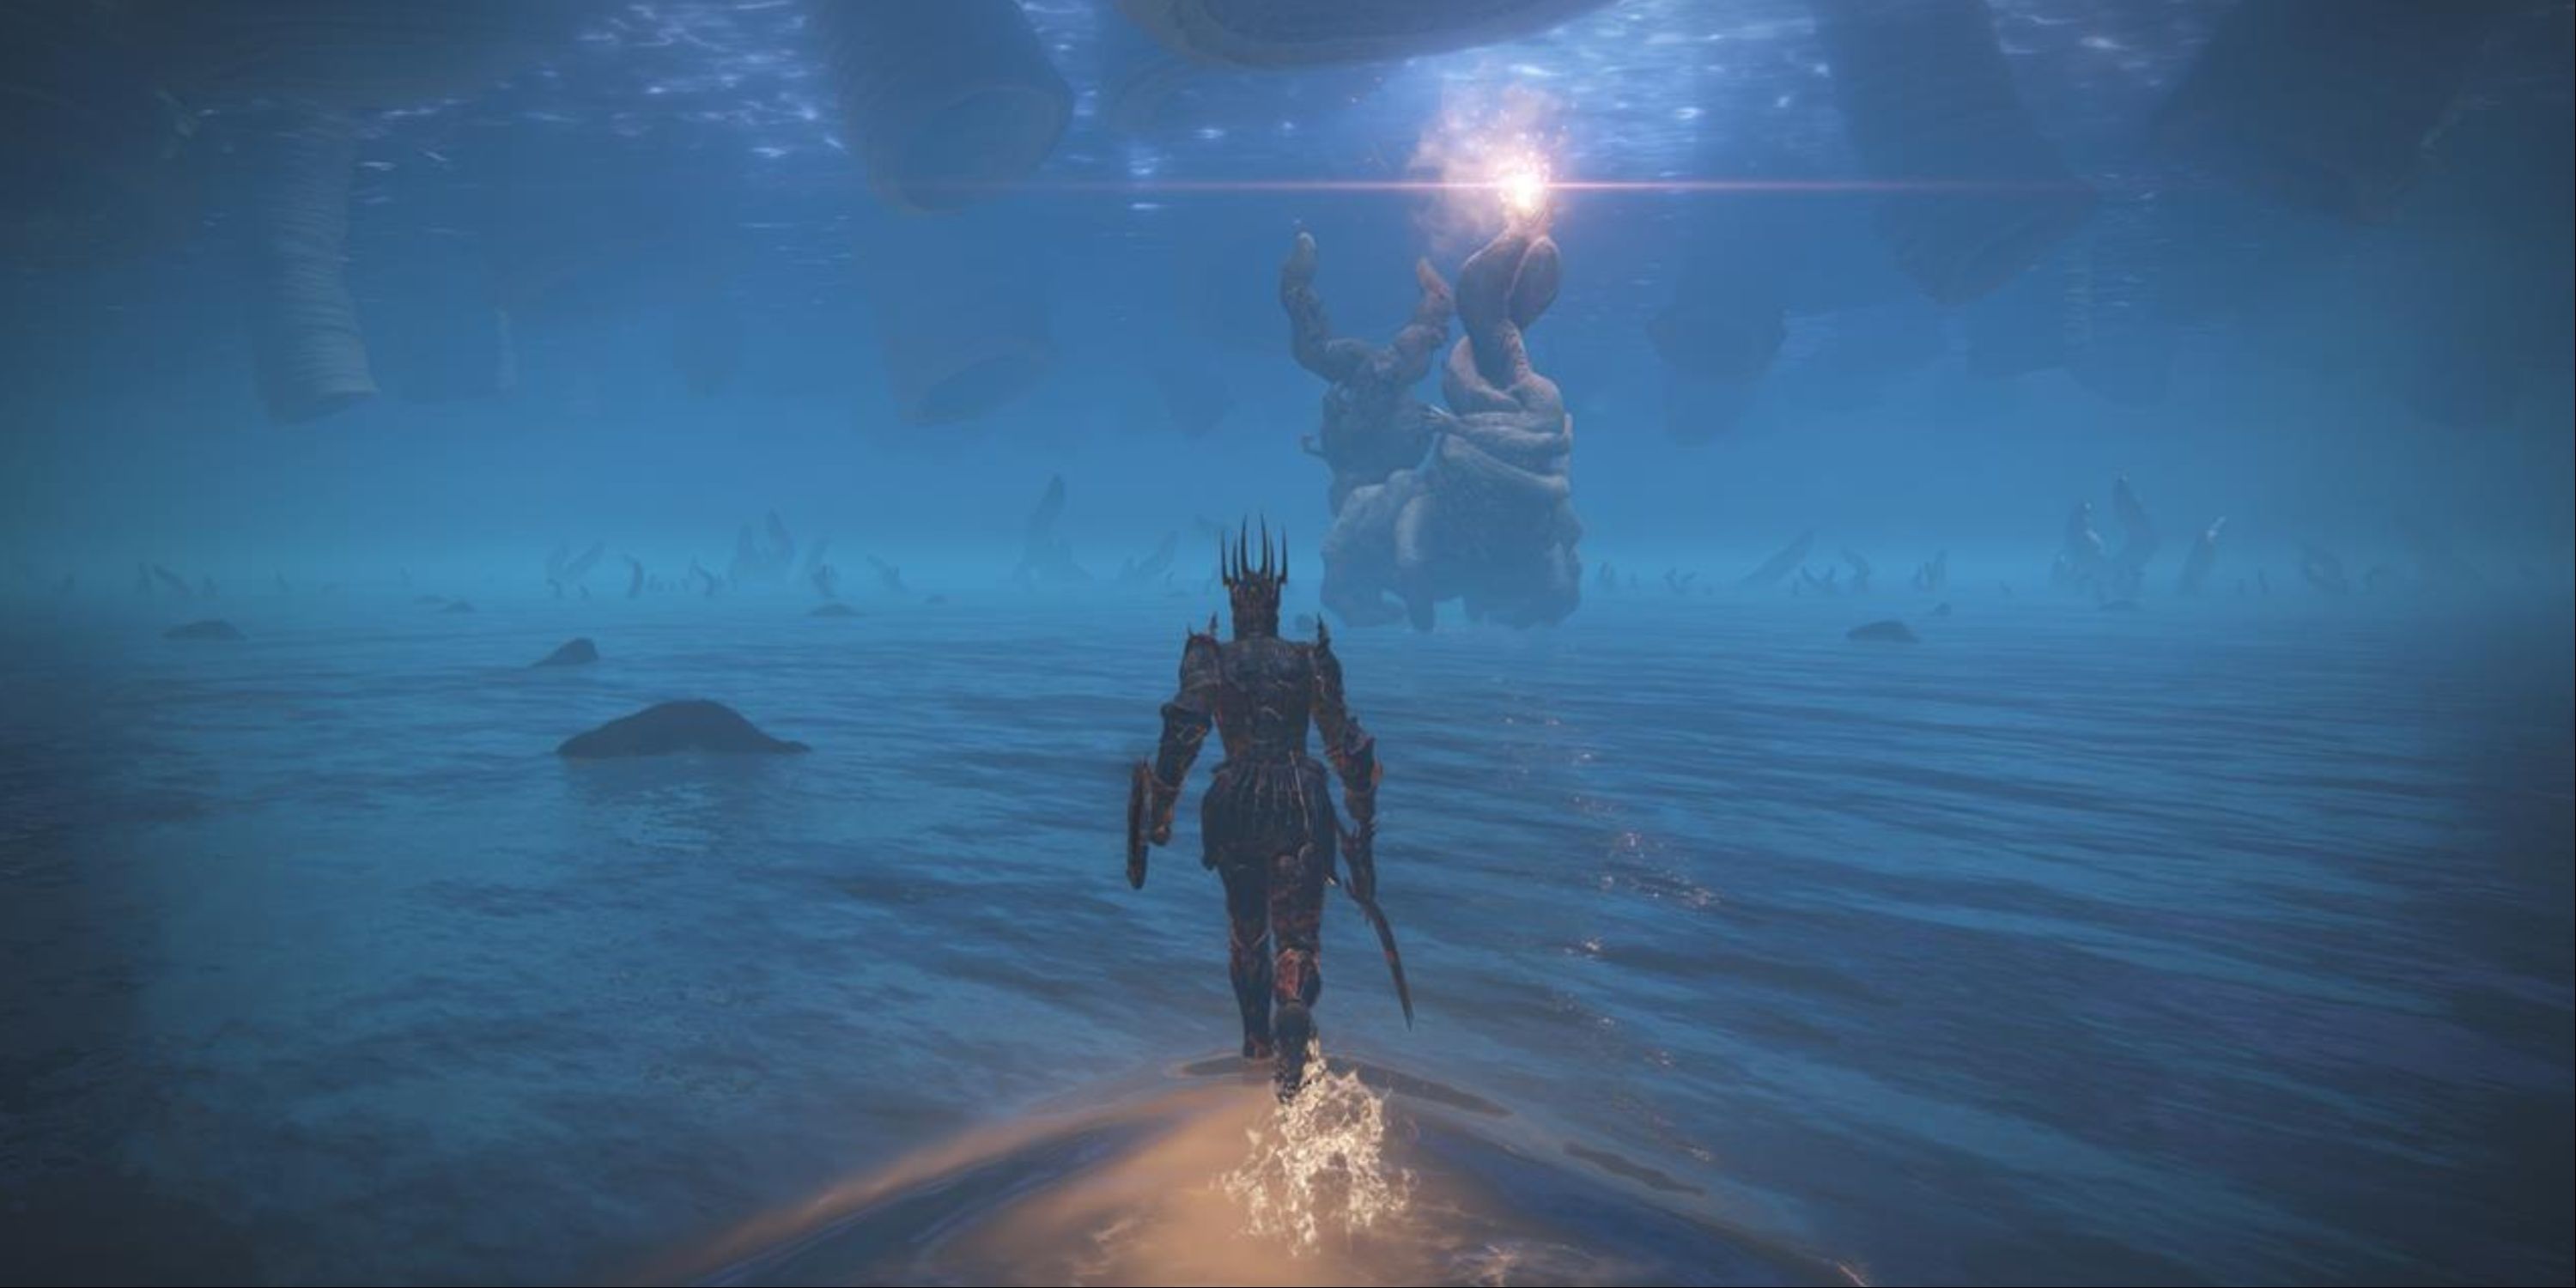
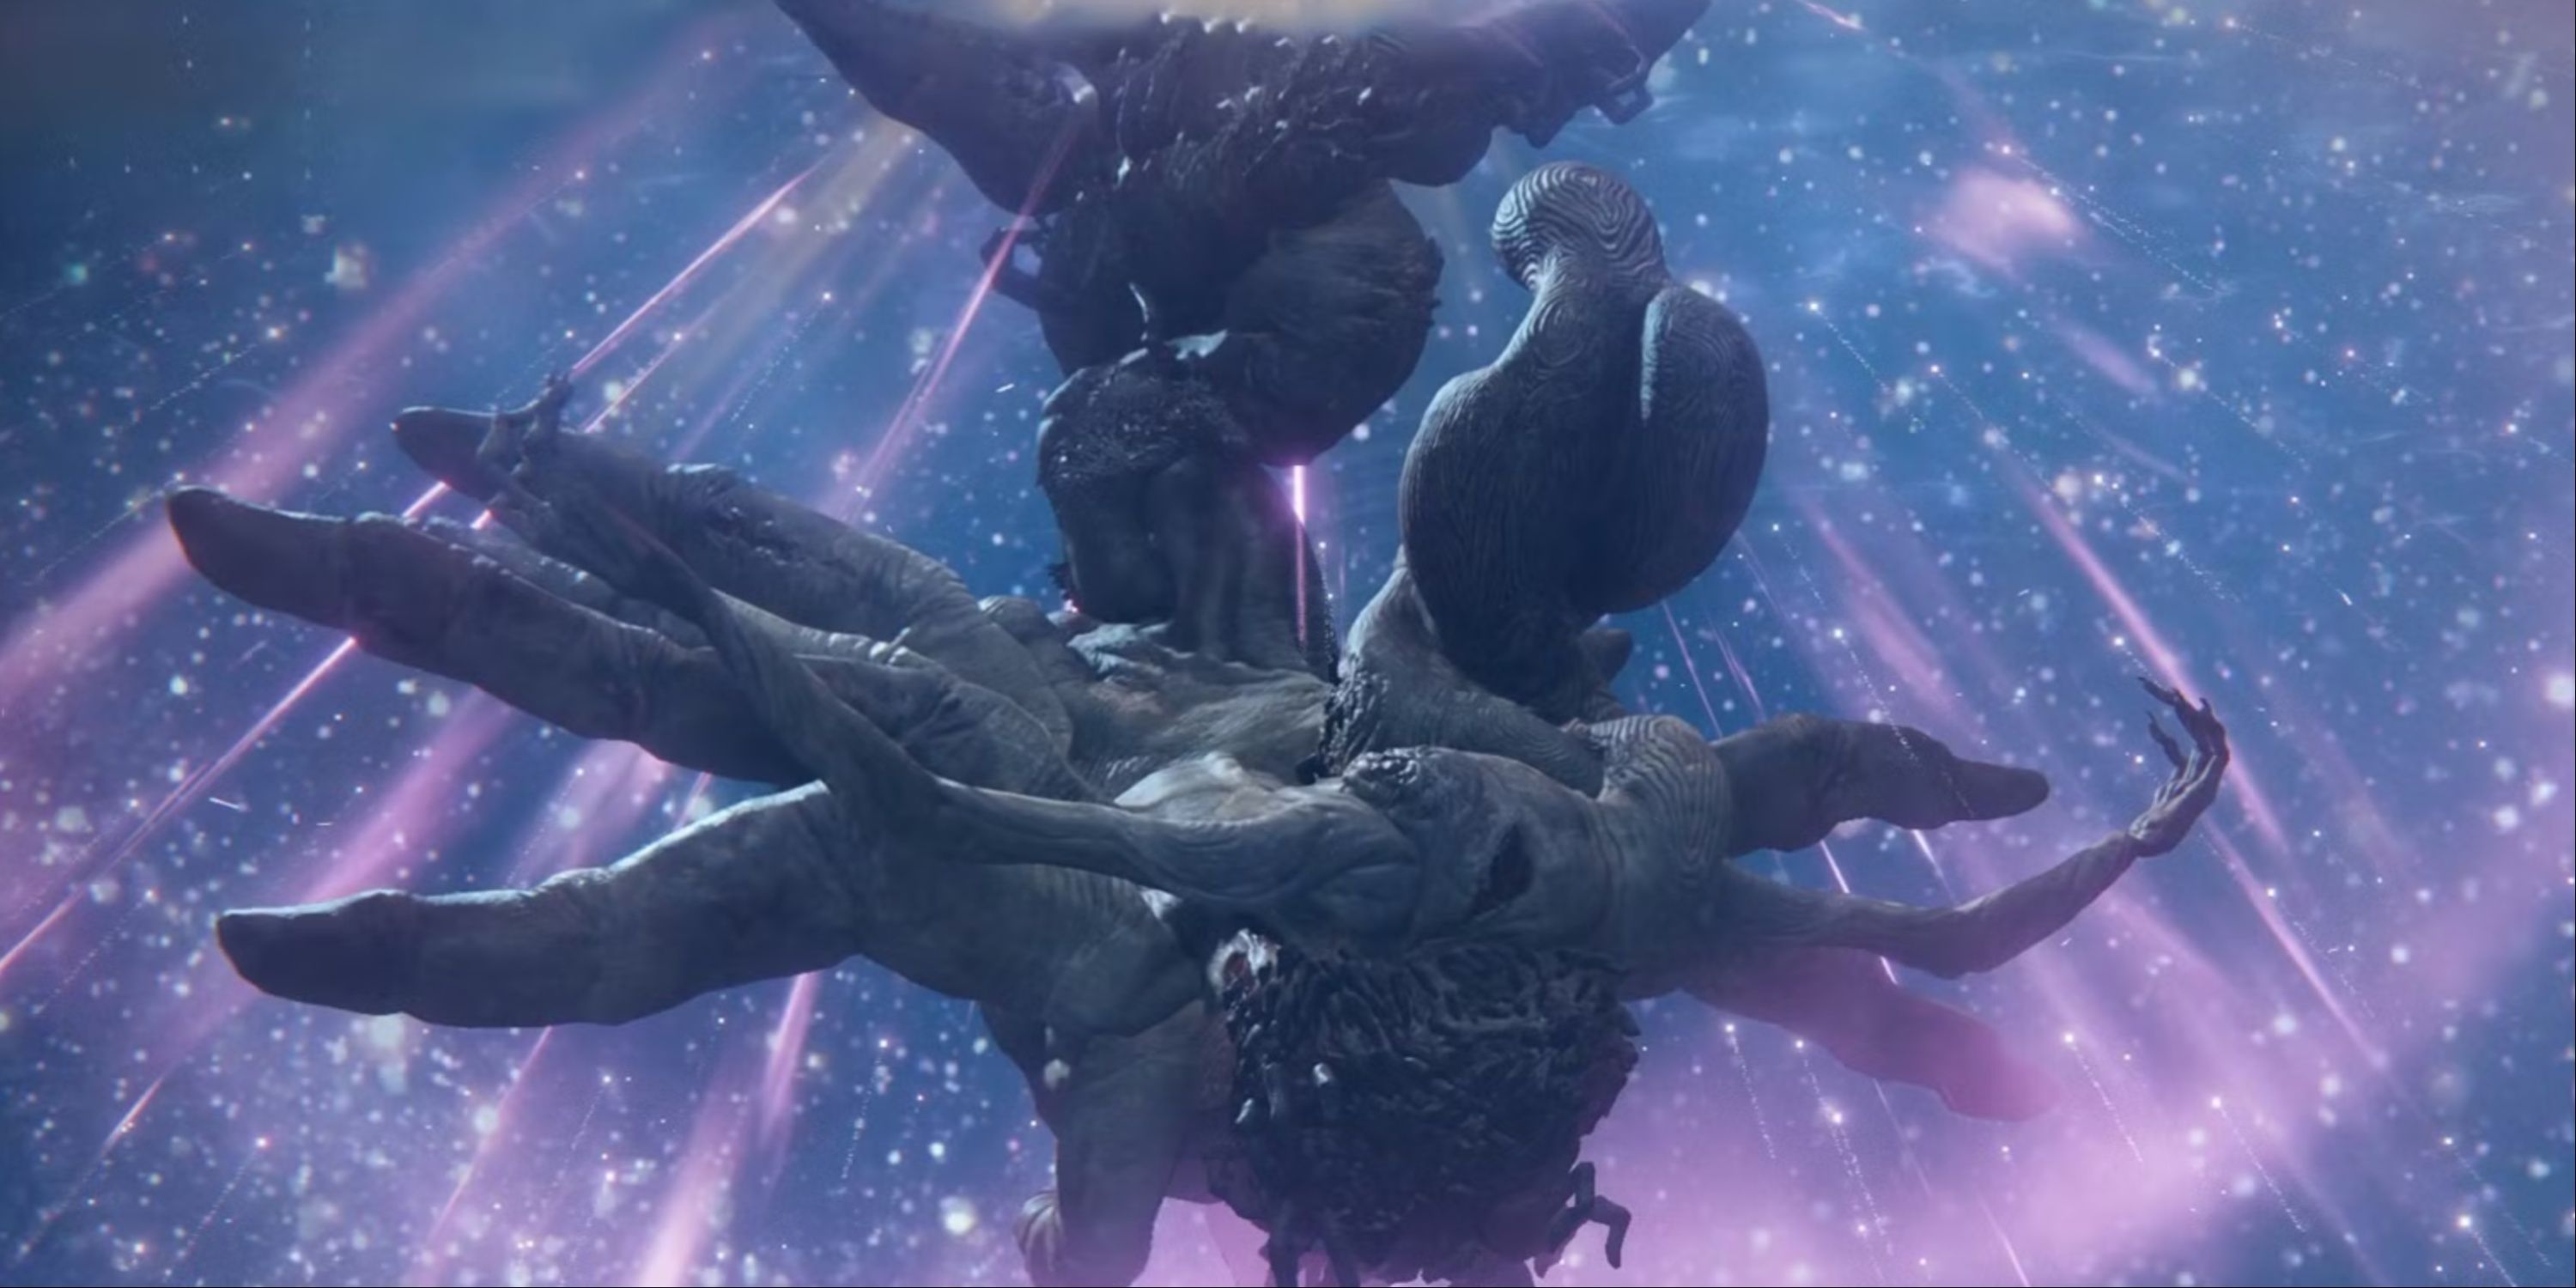
5. Metyr, Mother of Fingers
Gleaming Daughter of the Greater Will
- Nearest Site of Grace: Cathedral of Manus Metyr
The colossal creature known as “The Giant of Fingers” resembles a massive scorpion, its legs and arms constructed from fingers, possessing two prominent front arms and an abdomen made up of smaller digits. This terrifying beast is infamous for its potent magical abilities, which release Magic Damage over vast expanses and amplify certain head-crushing attacks. When Metyr keeps his distance, this entity can target players with a laser-like gaze. In phase two, this laser attack multiplies by three.
As a devoted admirer, I’d say I may move at a leisurely pace, but when it comes to combat, I make quite an impression. My tail becomes a formidable weapon, capable of bringing battles to a swift end. When engaged, my Tail Orb emits a vibrant purple glow, signaling the impending impact of my powerful descent from mid-air. In the heat of battle, I command the field with a diverse array of abilities, earning me a reputation as one of the toughest optional bosses to conquer.
4. Dragonlord Placidusax
Heart of the Storm
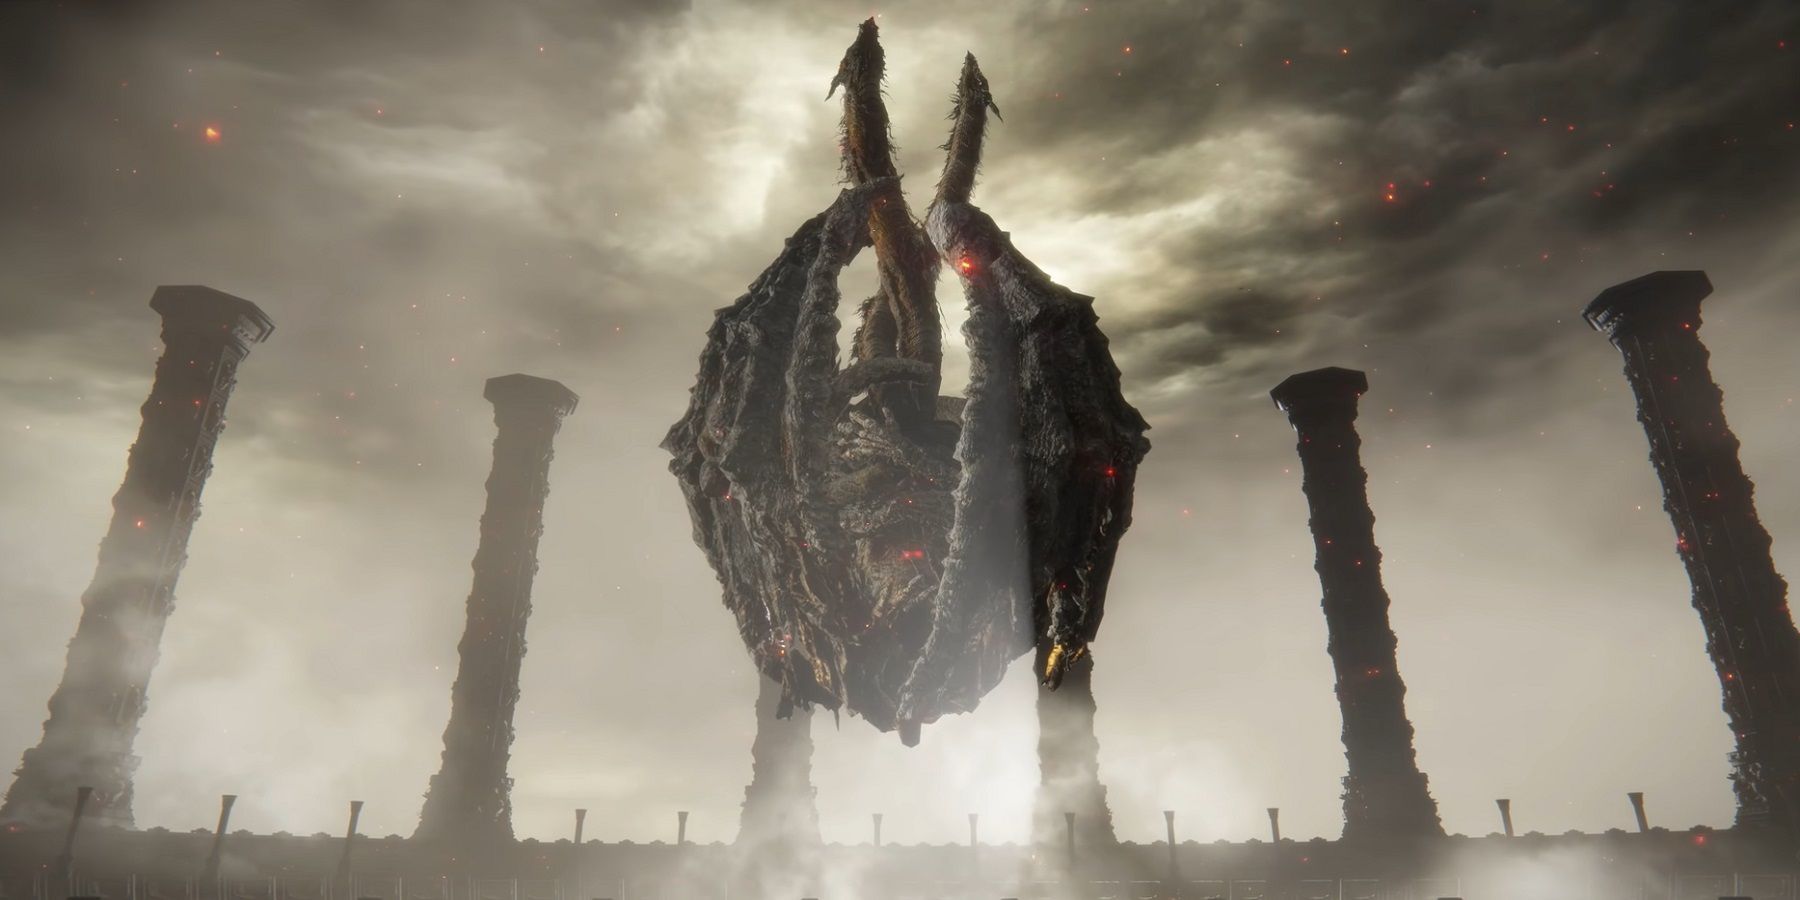
- Nearest Site of Grace: Beside the Great Bridge
In the core of Crumbling Farum Azula’s tempest lies a two-headed dragon, timelessly resting. Upon encounter, this ethereal creature unfurls its heart-shaped visage and engages in fierce combat, spewing flames and sharpening its talons for attack. Dragonlord Placidusax is renowned for his colossal bolt of lightning that strikes the ground, generating ripples of red lightning throughout the surroundings.
As a gamer, I find myself constantly trying to keep my distance from Placidusax – he’s just as dangerous up close as he is from afar. In phase two, he transforms into a misty form, vanishing only to reappear as a towering red lightning cloud. He swoops down mercilessly, unleashing more of that destructive red lightning on me. This fight tests my reflexes and requires me to dodge his wide-reaching attacks while staying vigilant against every move he makes.
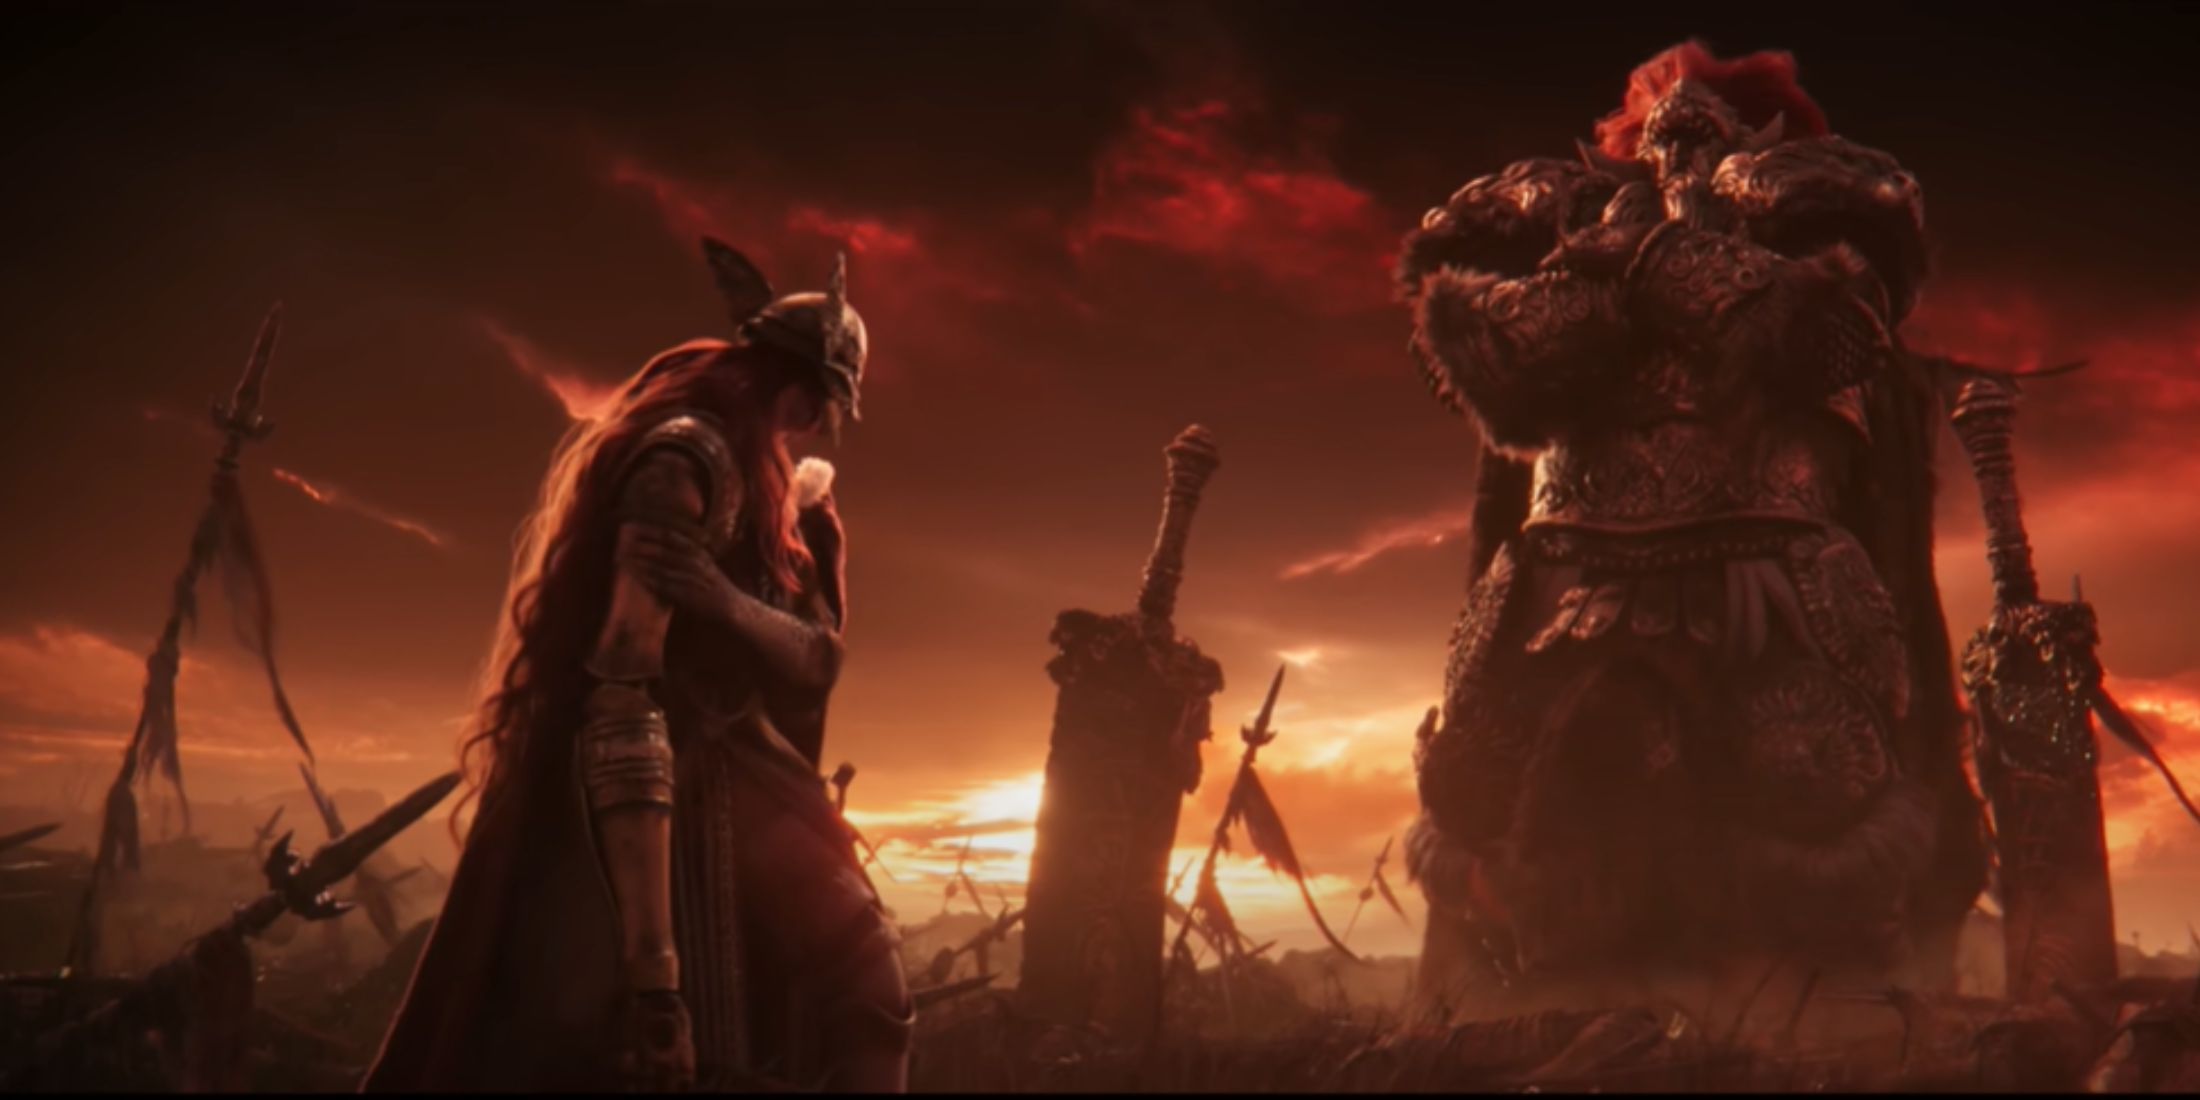
3. Starscourge Radahn
The Red Lion General
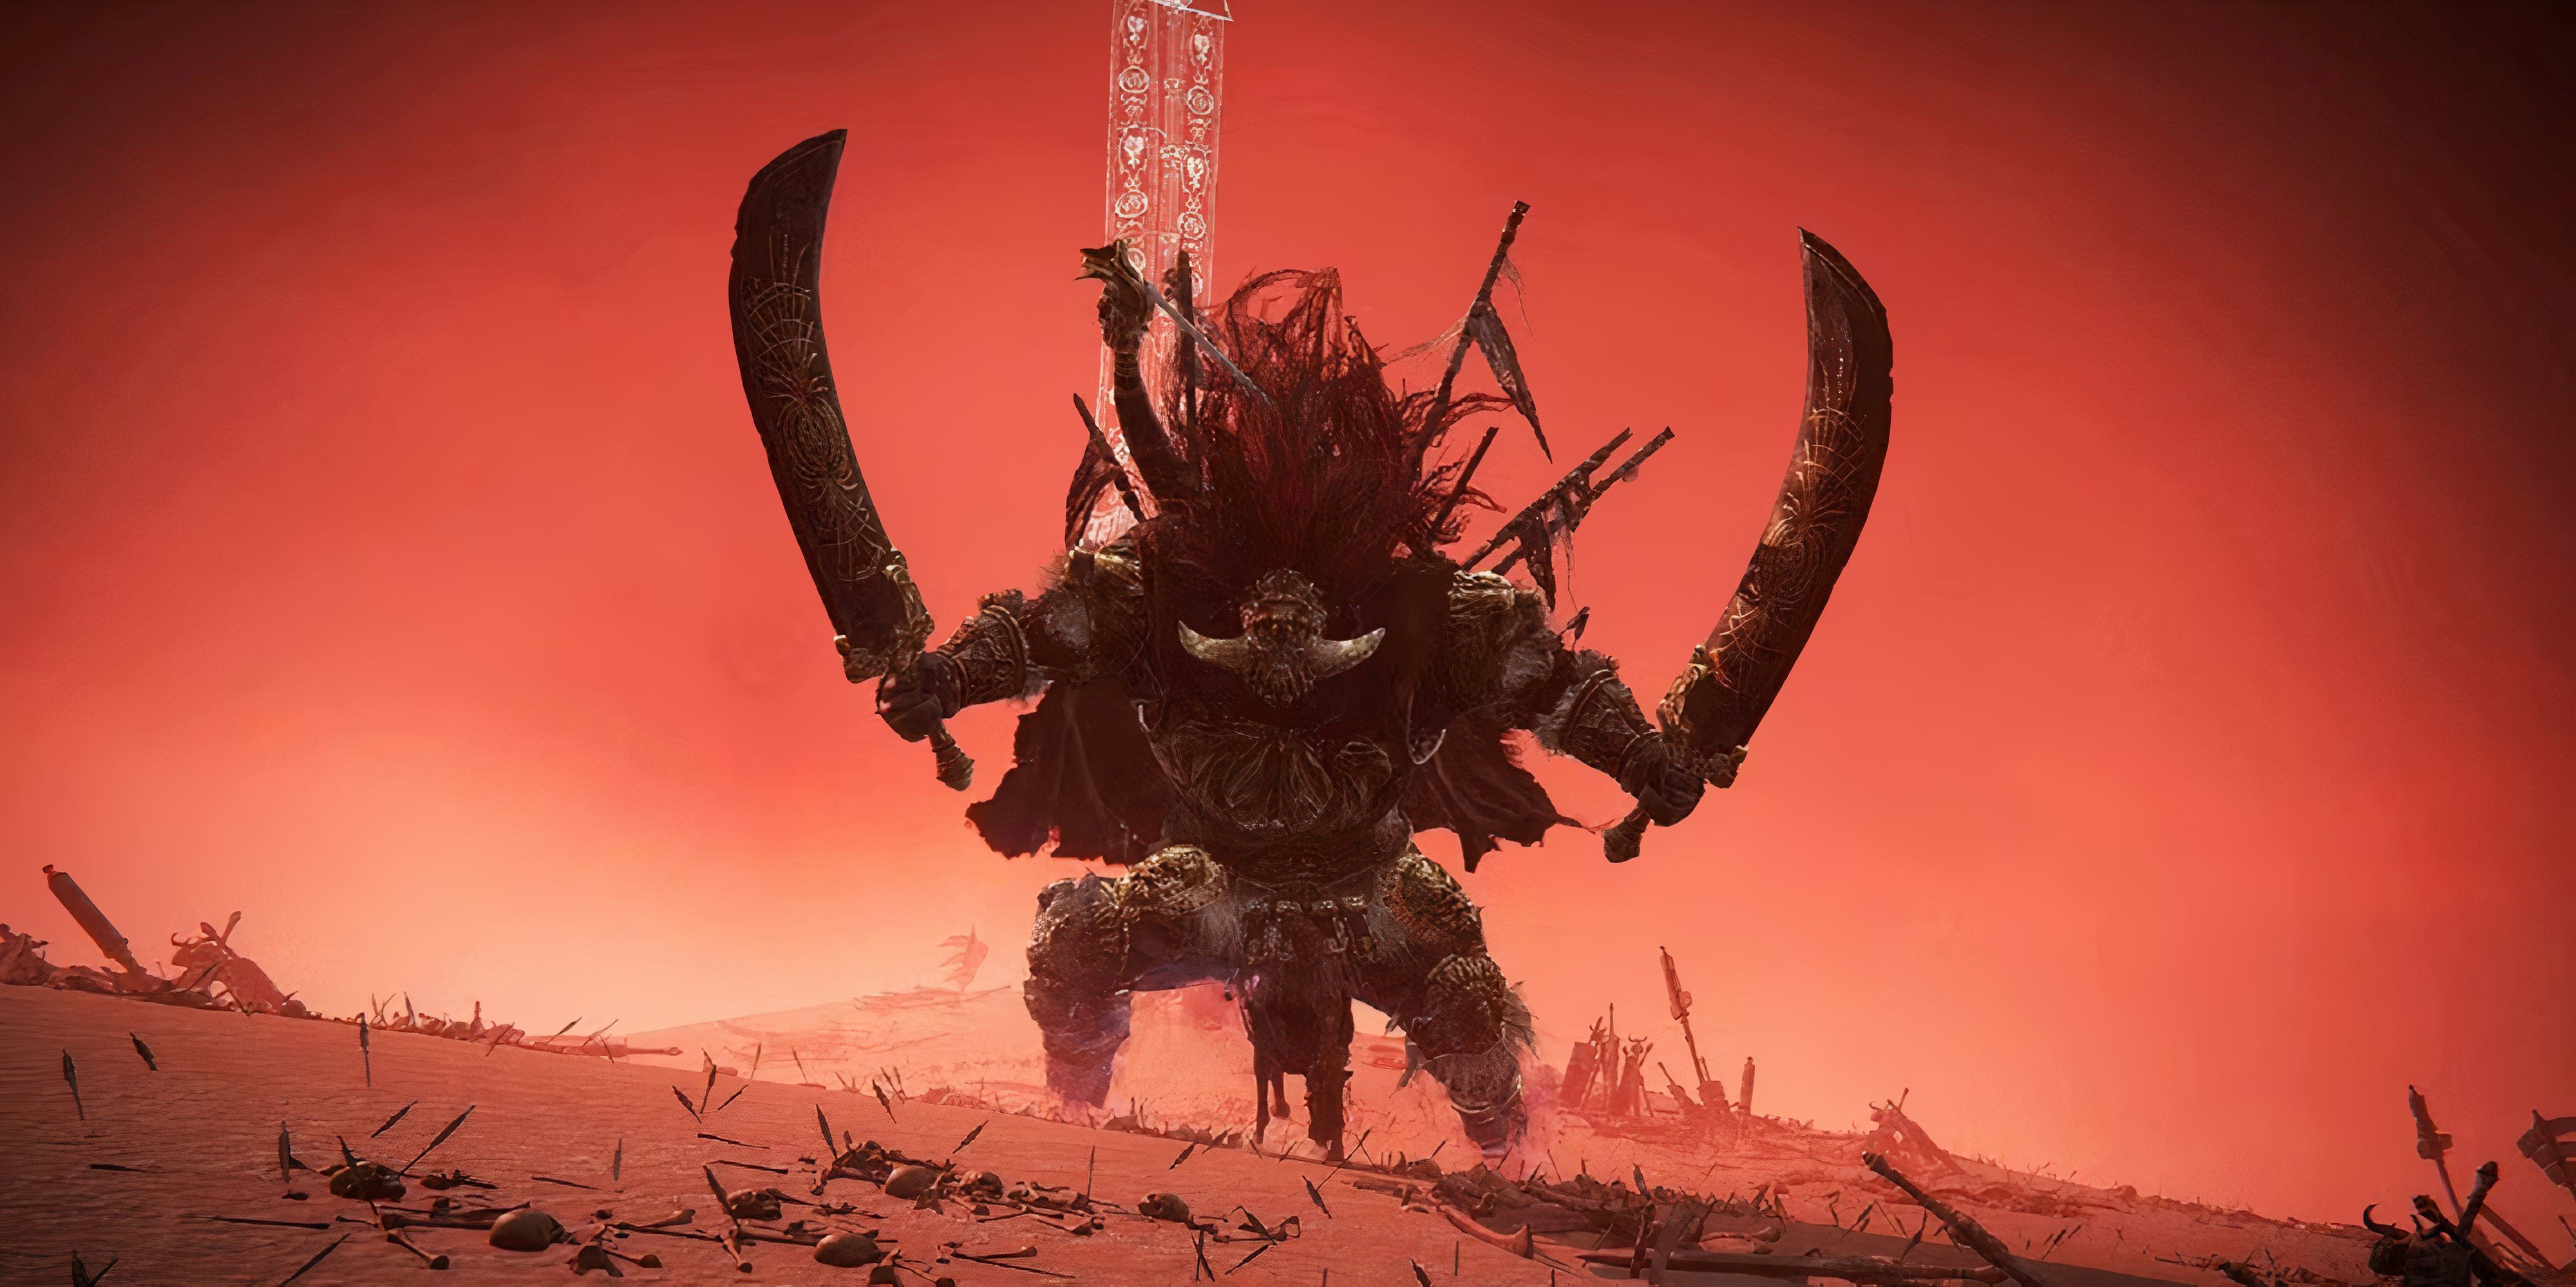

- Nearest Site of Grace: Chamber Outside the Plaza
Known as one of the most powerful semi-divine figures still alive and currently plagued by the Scarlet Rot corruption, General Starscourge Radahn wanders the expansive Caelid desert on his steed. With his expertise in gravity magic, Radahn is able to ride his horse despite his immense stature, summon meteors from the heavens, and even hurl himself like a celestial body.
Winning this battle on your own is an option, but recruiting allies using summoning symbols will make the encounter less daunting. This specific battle stands out not just for its challenging nature, but also due to the numerous NPC summons involved and the extensive territory that Radahn can traverse with his abilities.
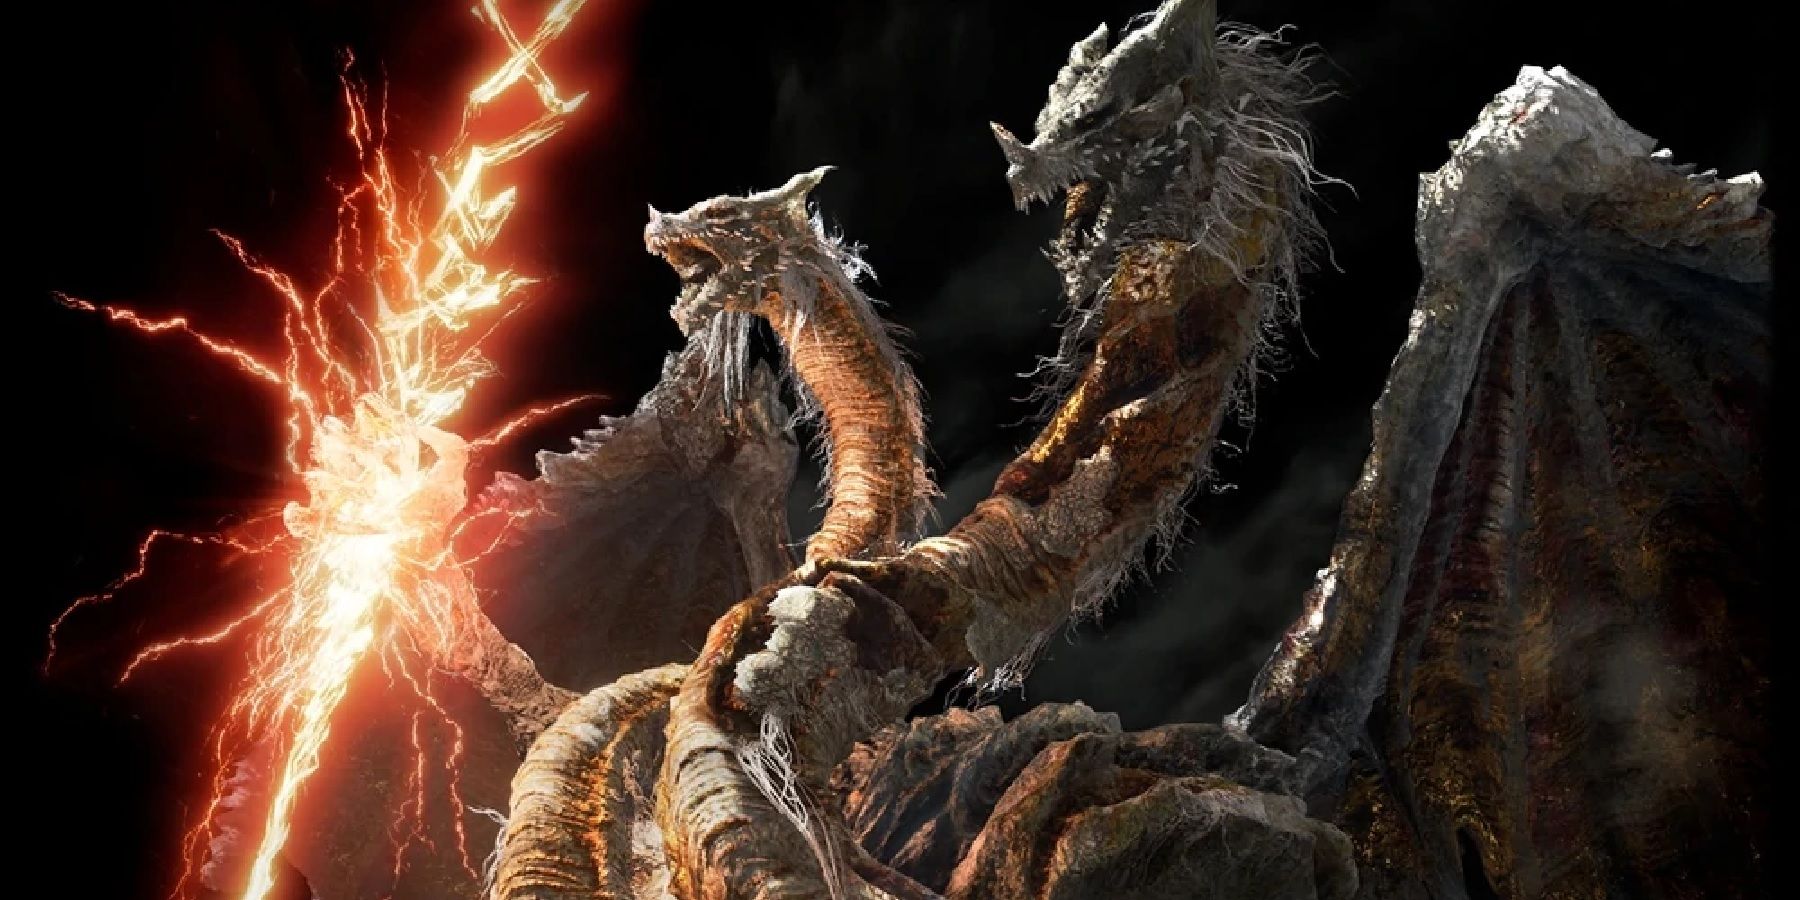
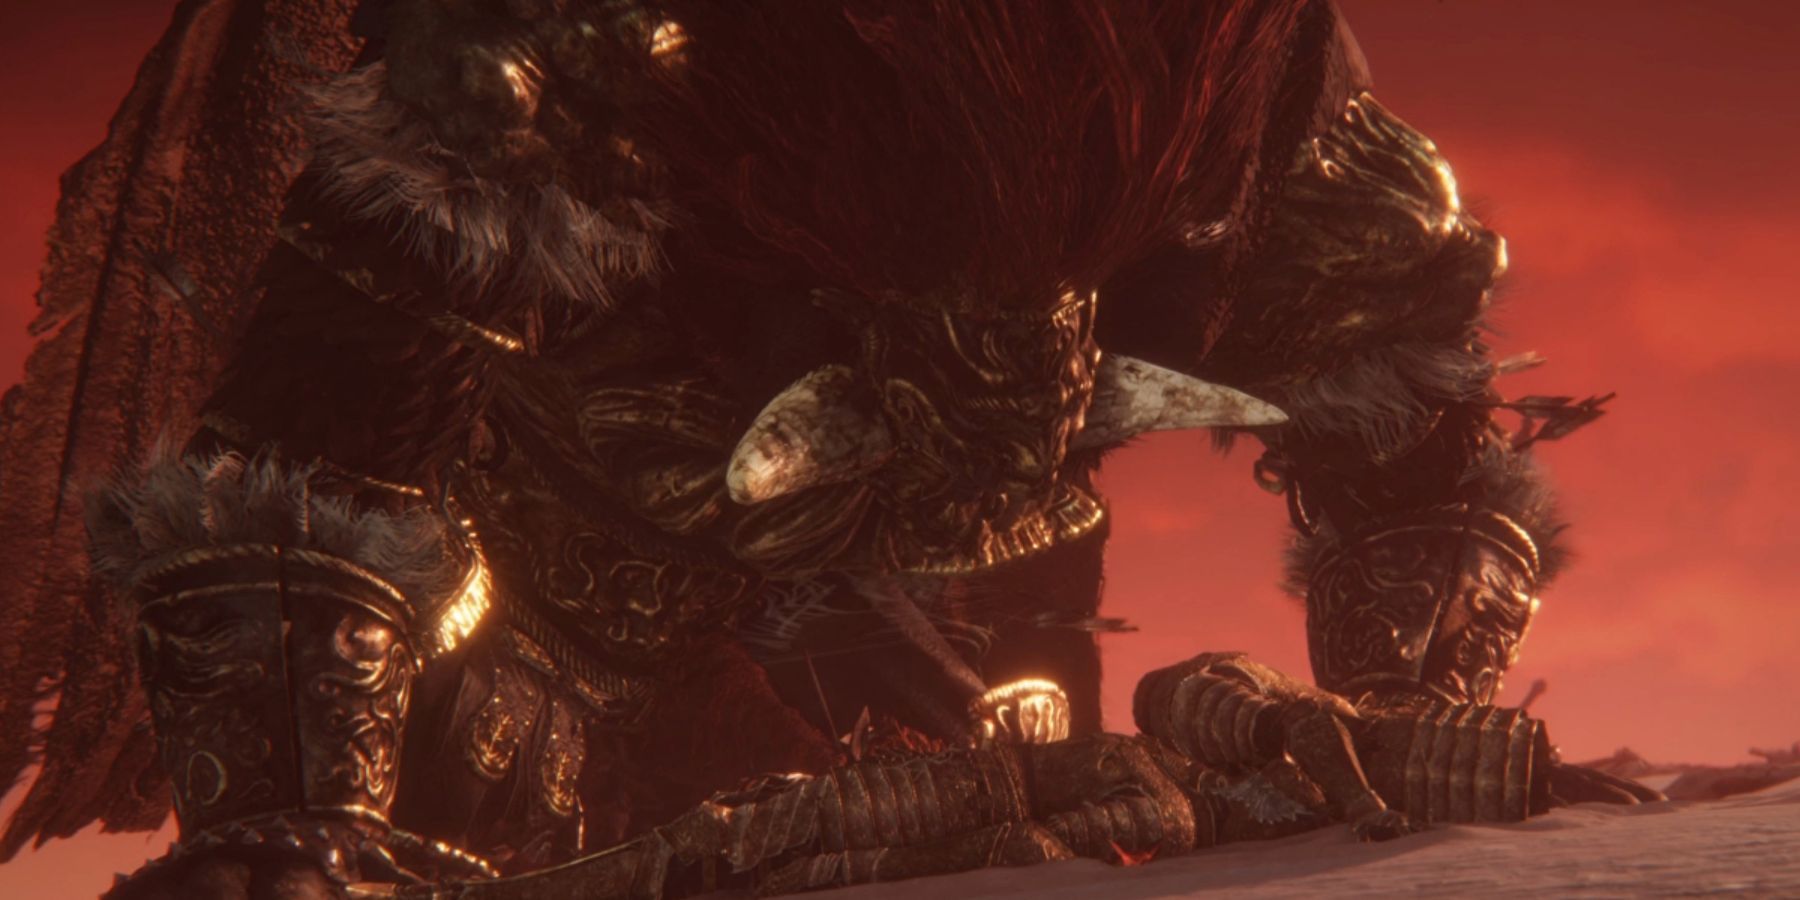
2. Bayle the Dread
Forefather of the Drakes

- Nearest Site of Grace: Jagged Peak Summit
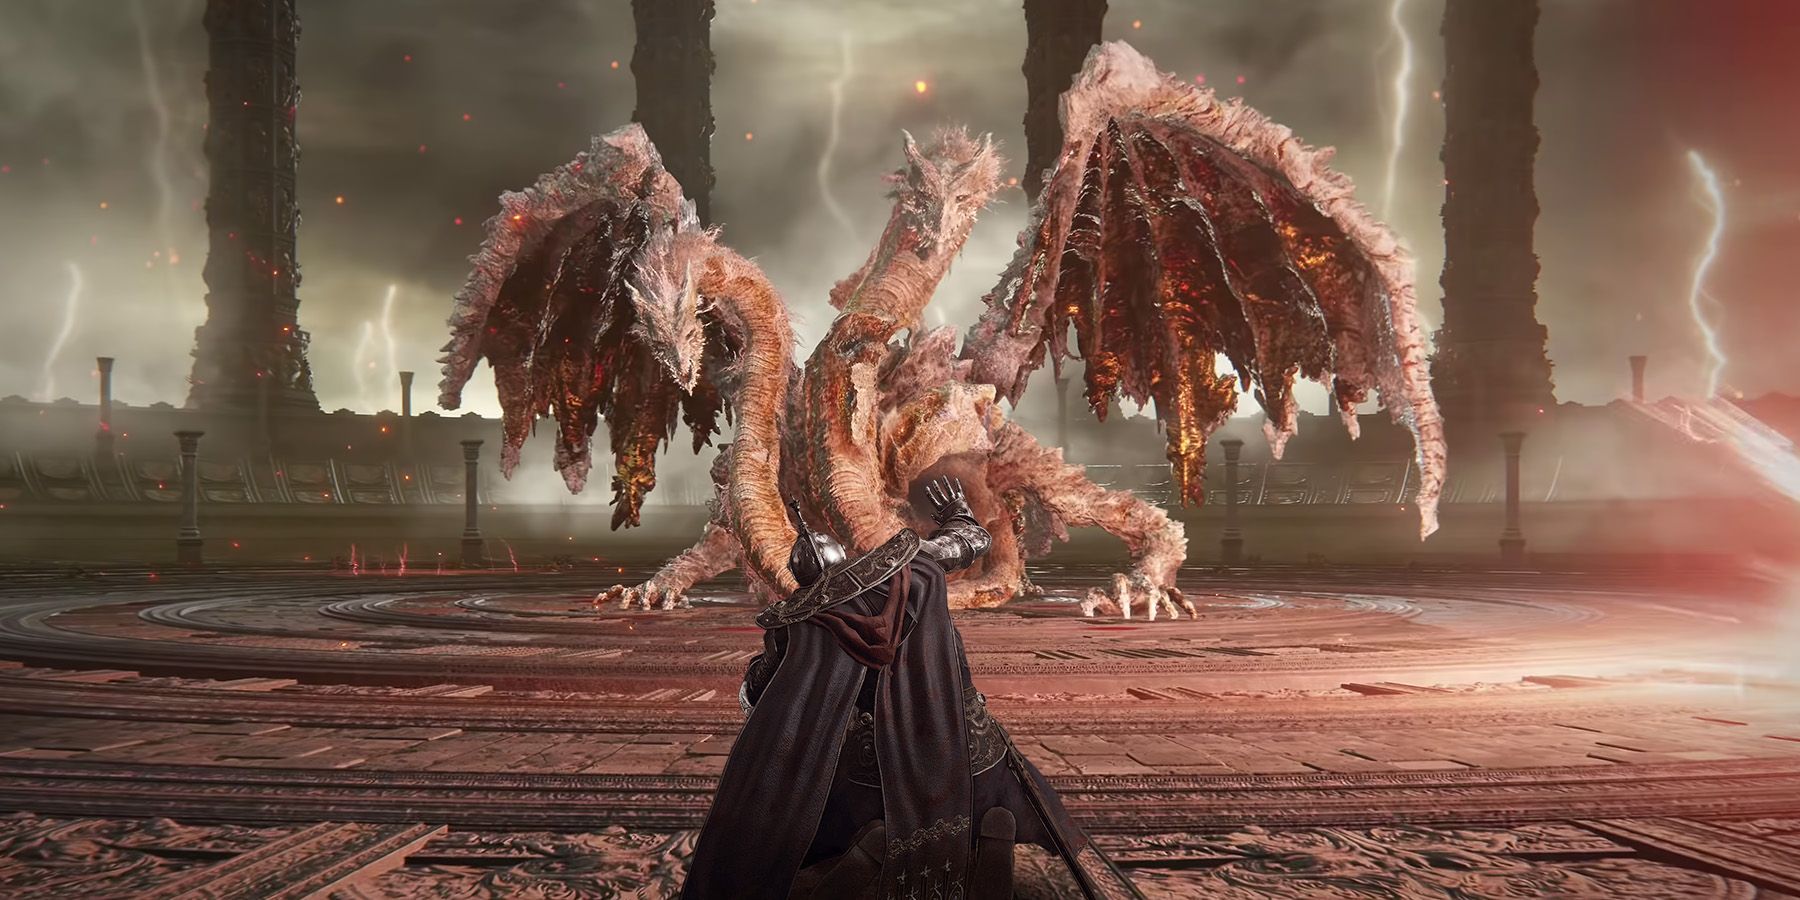
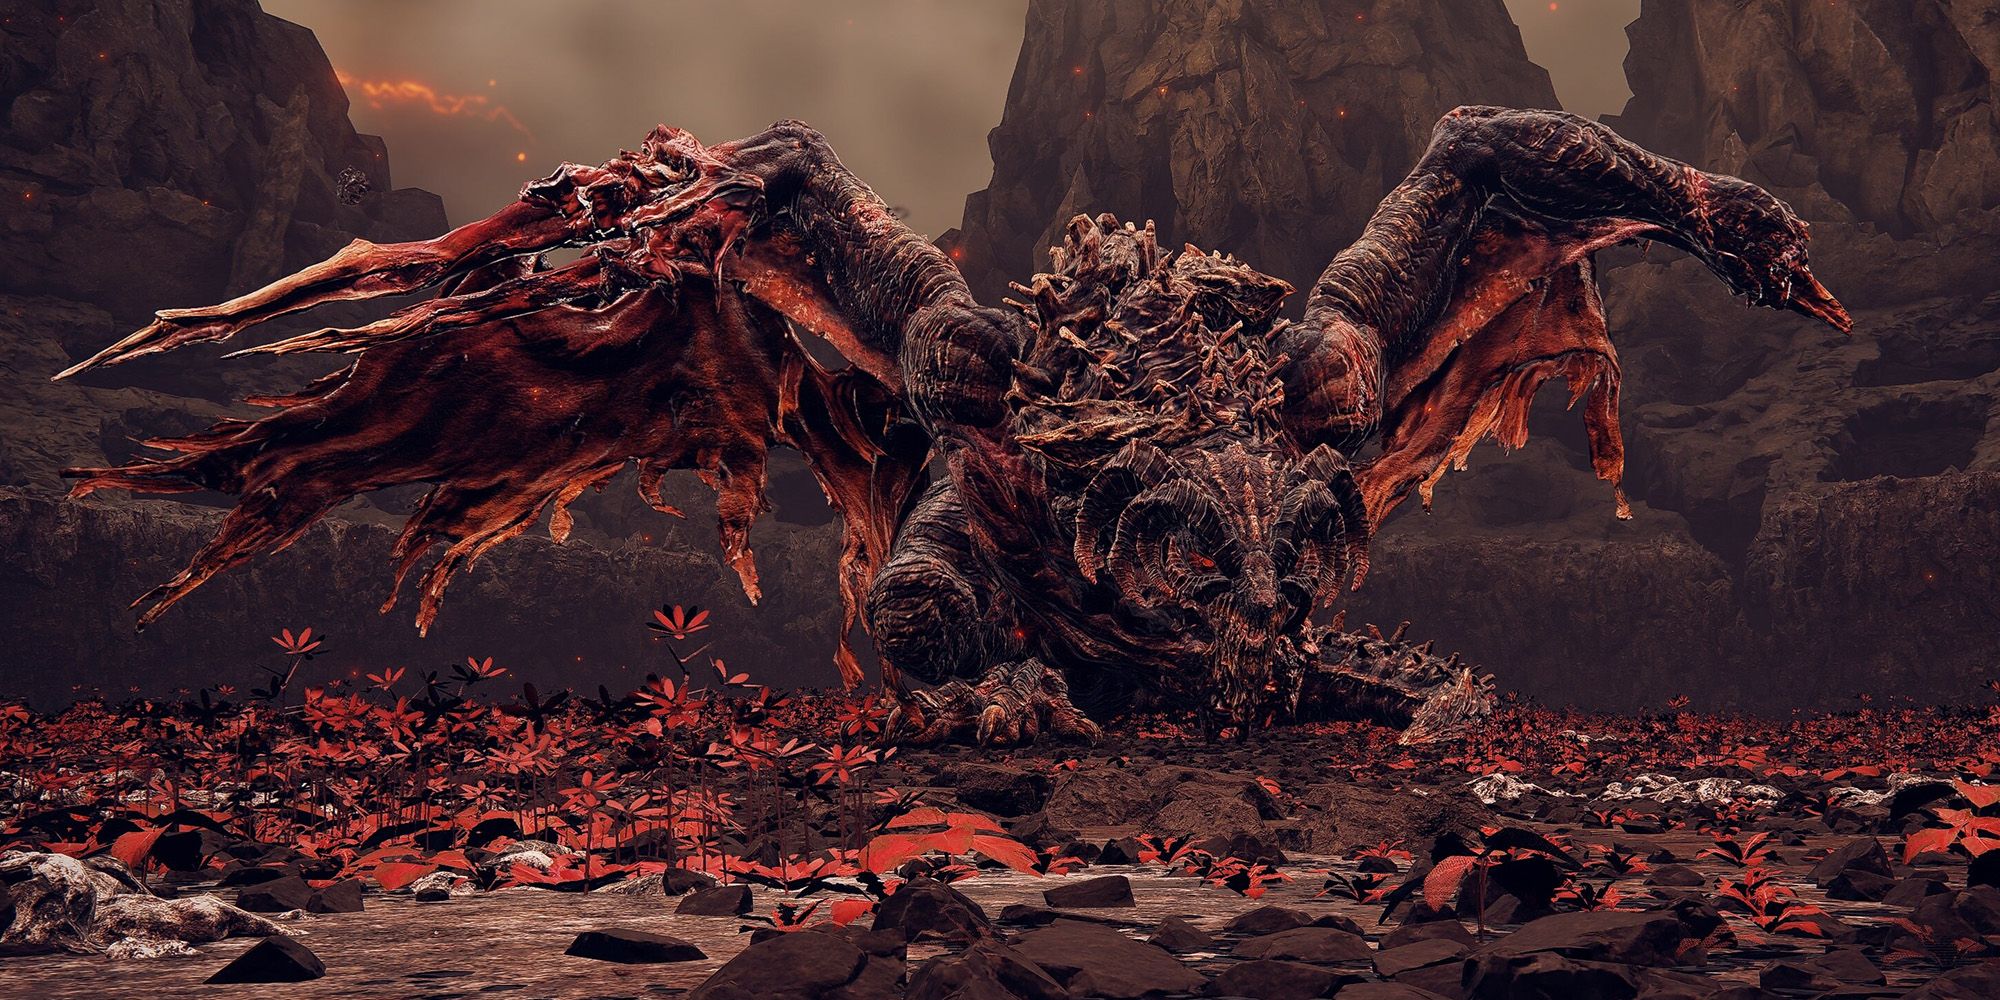
In the lofty heights of Jagged Peak, where tales whisper of a drake ancestor, lies my sought-after hero. Known for his extraordinary power, this horned titan is said to wield flame-lightning. Unlike other ancient dragons, he deftly employs his wings, using them not just for flight but also as a means of escaping and raining down a storm of fire-lightning bolts.
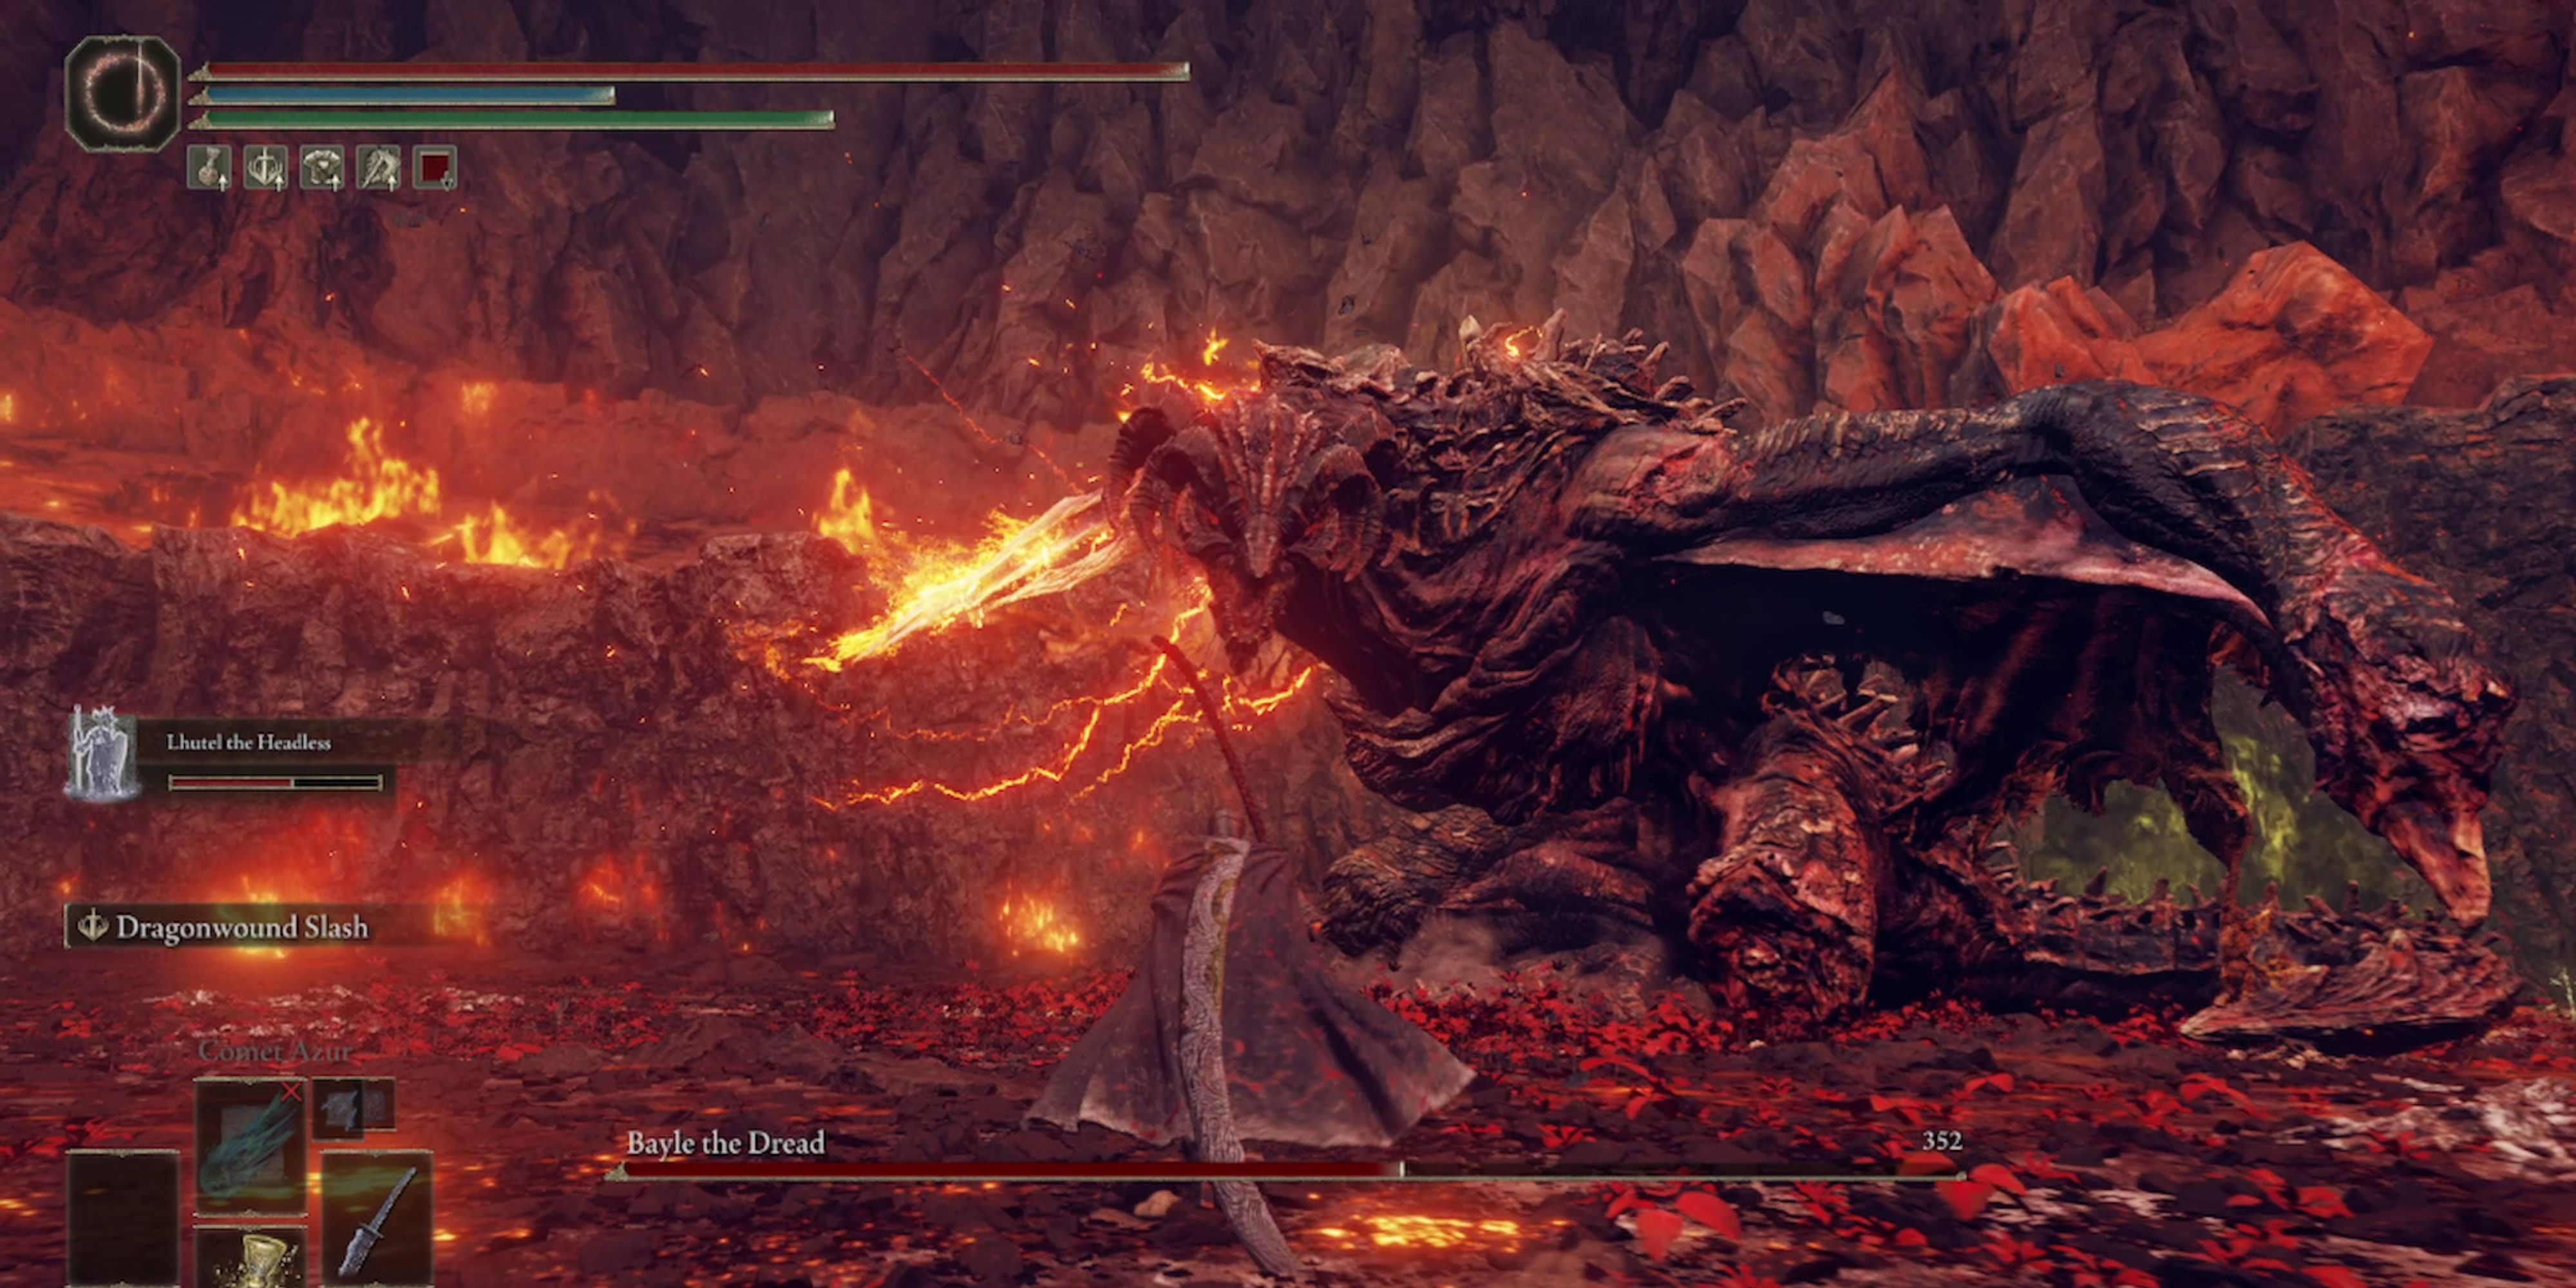
In battle, this dragon, Bayle, can encase himself in a blend of flame and lightning, detonating upon impact with the ground, and during phase two, nearly every attack he launches will trigger additional explosions. As the fight progresses, the arena becomes engulfed in flames, making it challenging to find solid footing or a break to strike back at him, hidden within the flask. Bayle’s dragon boss fight is arguably the most visually stunning and formidable, living up to his ominous title, The Dread.
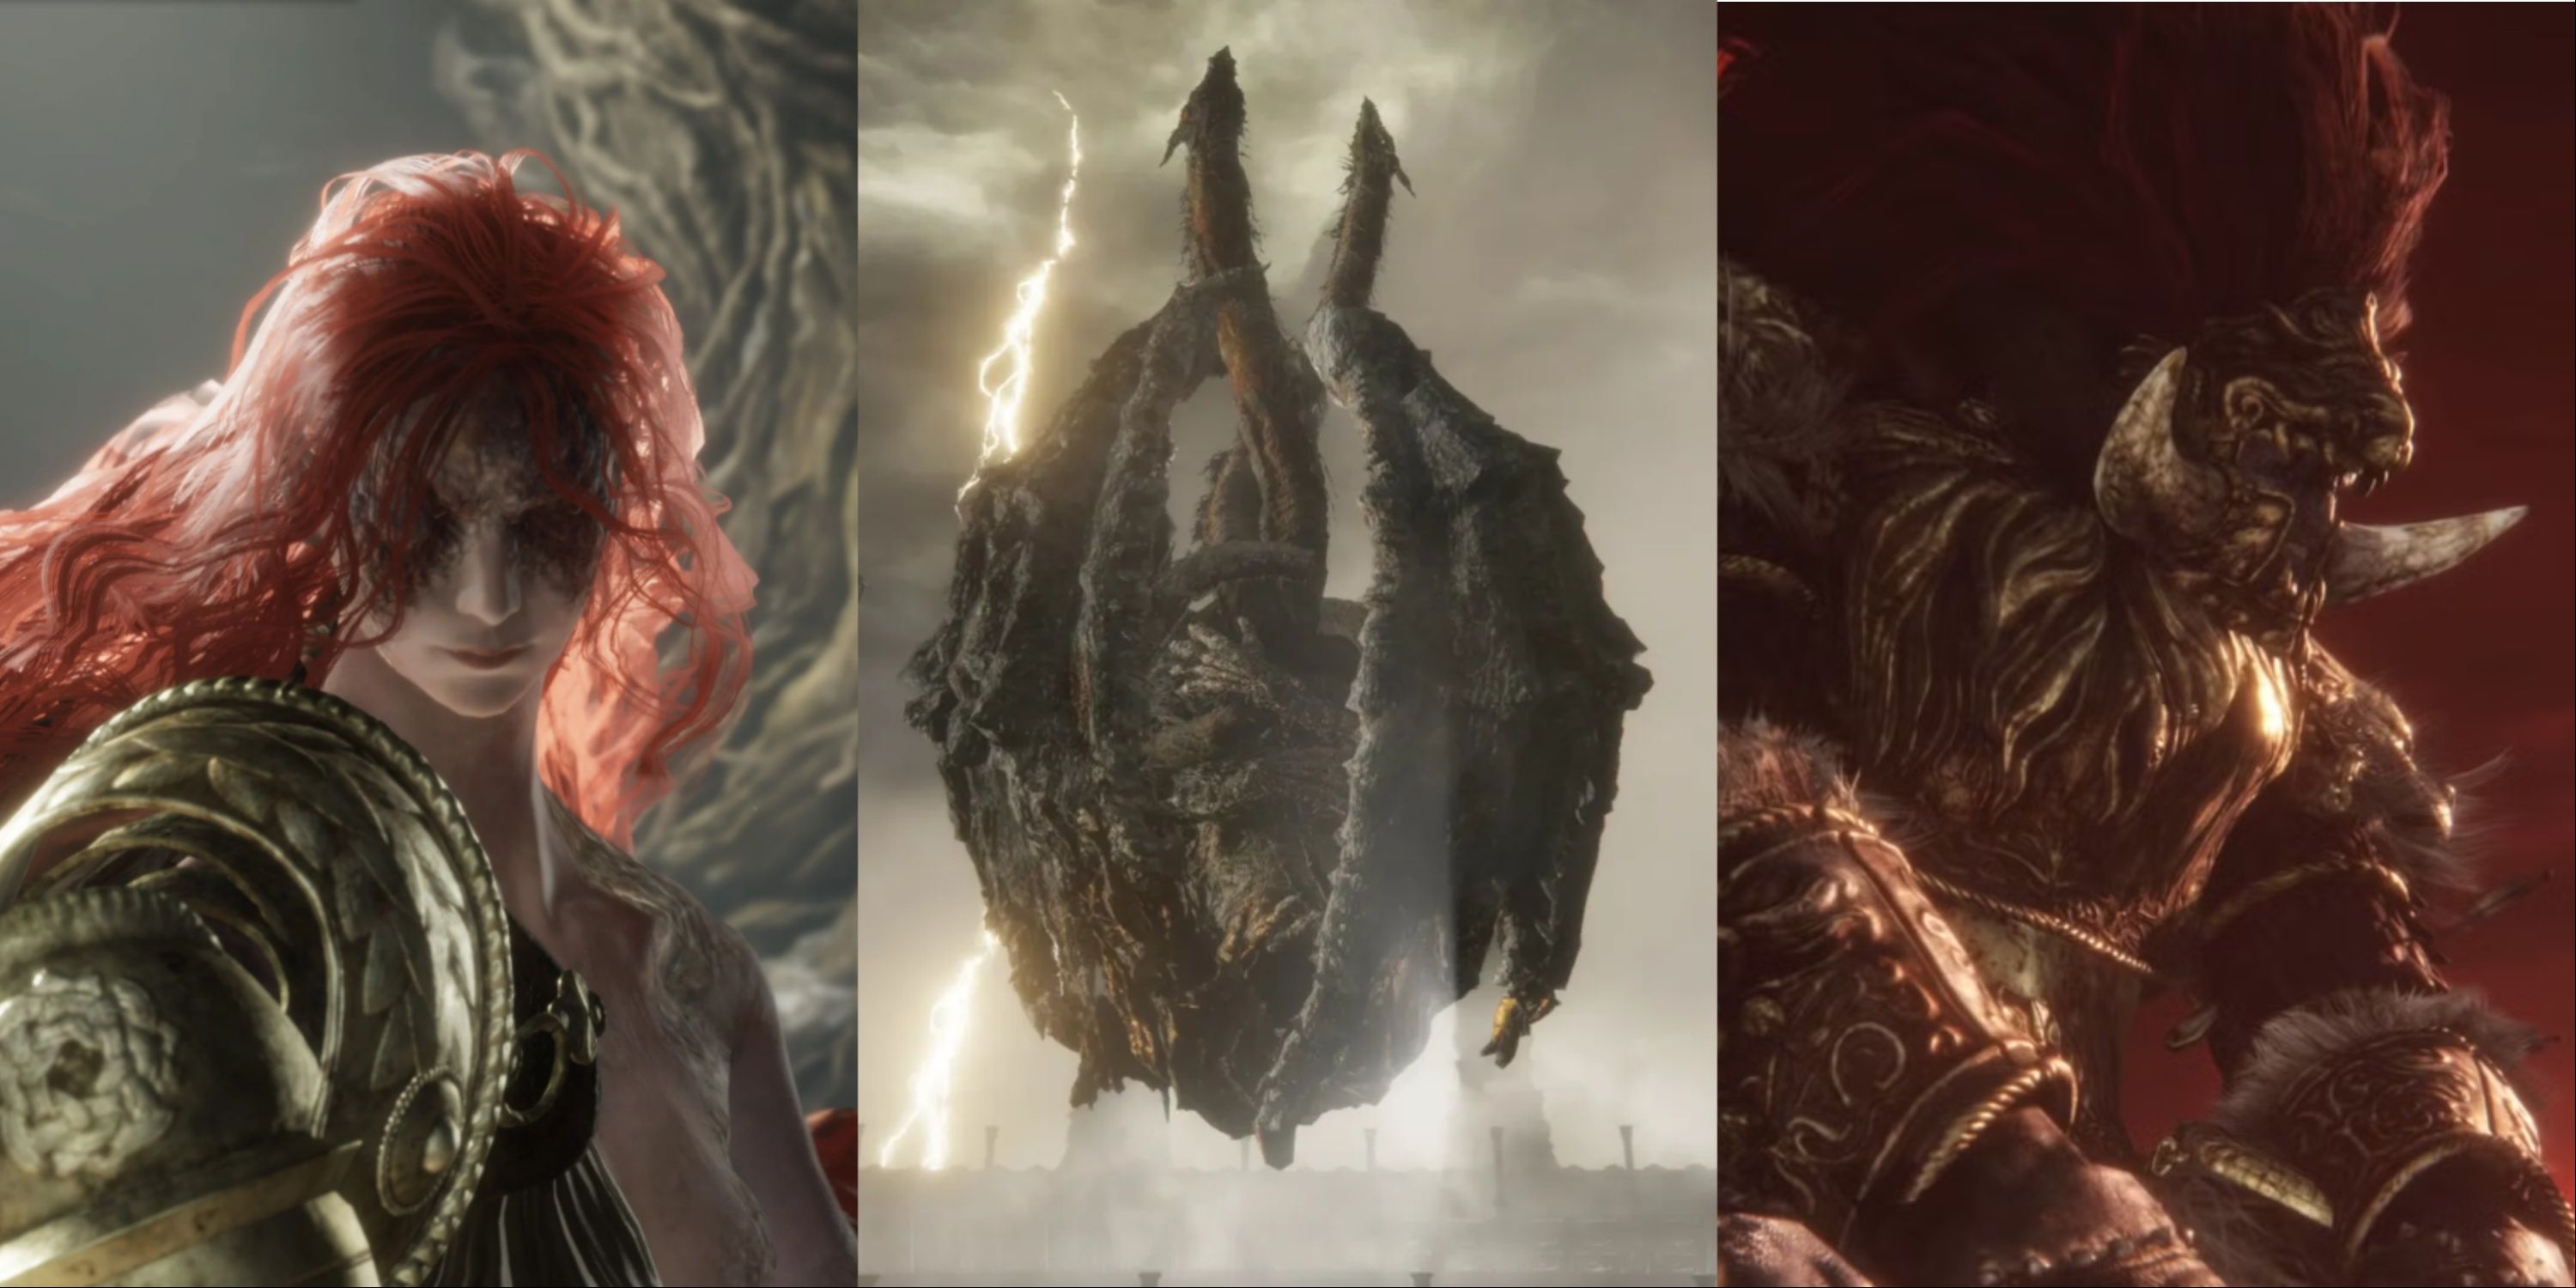
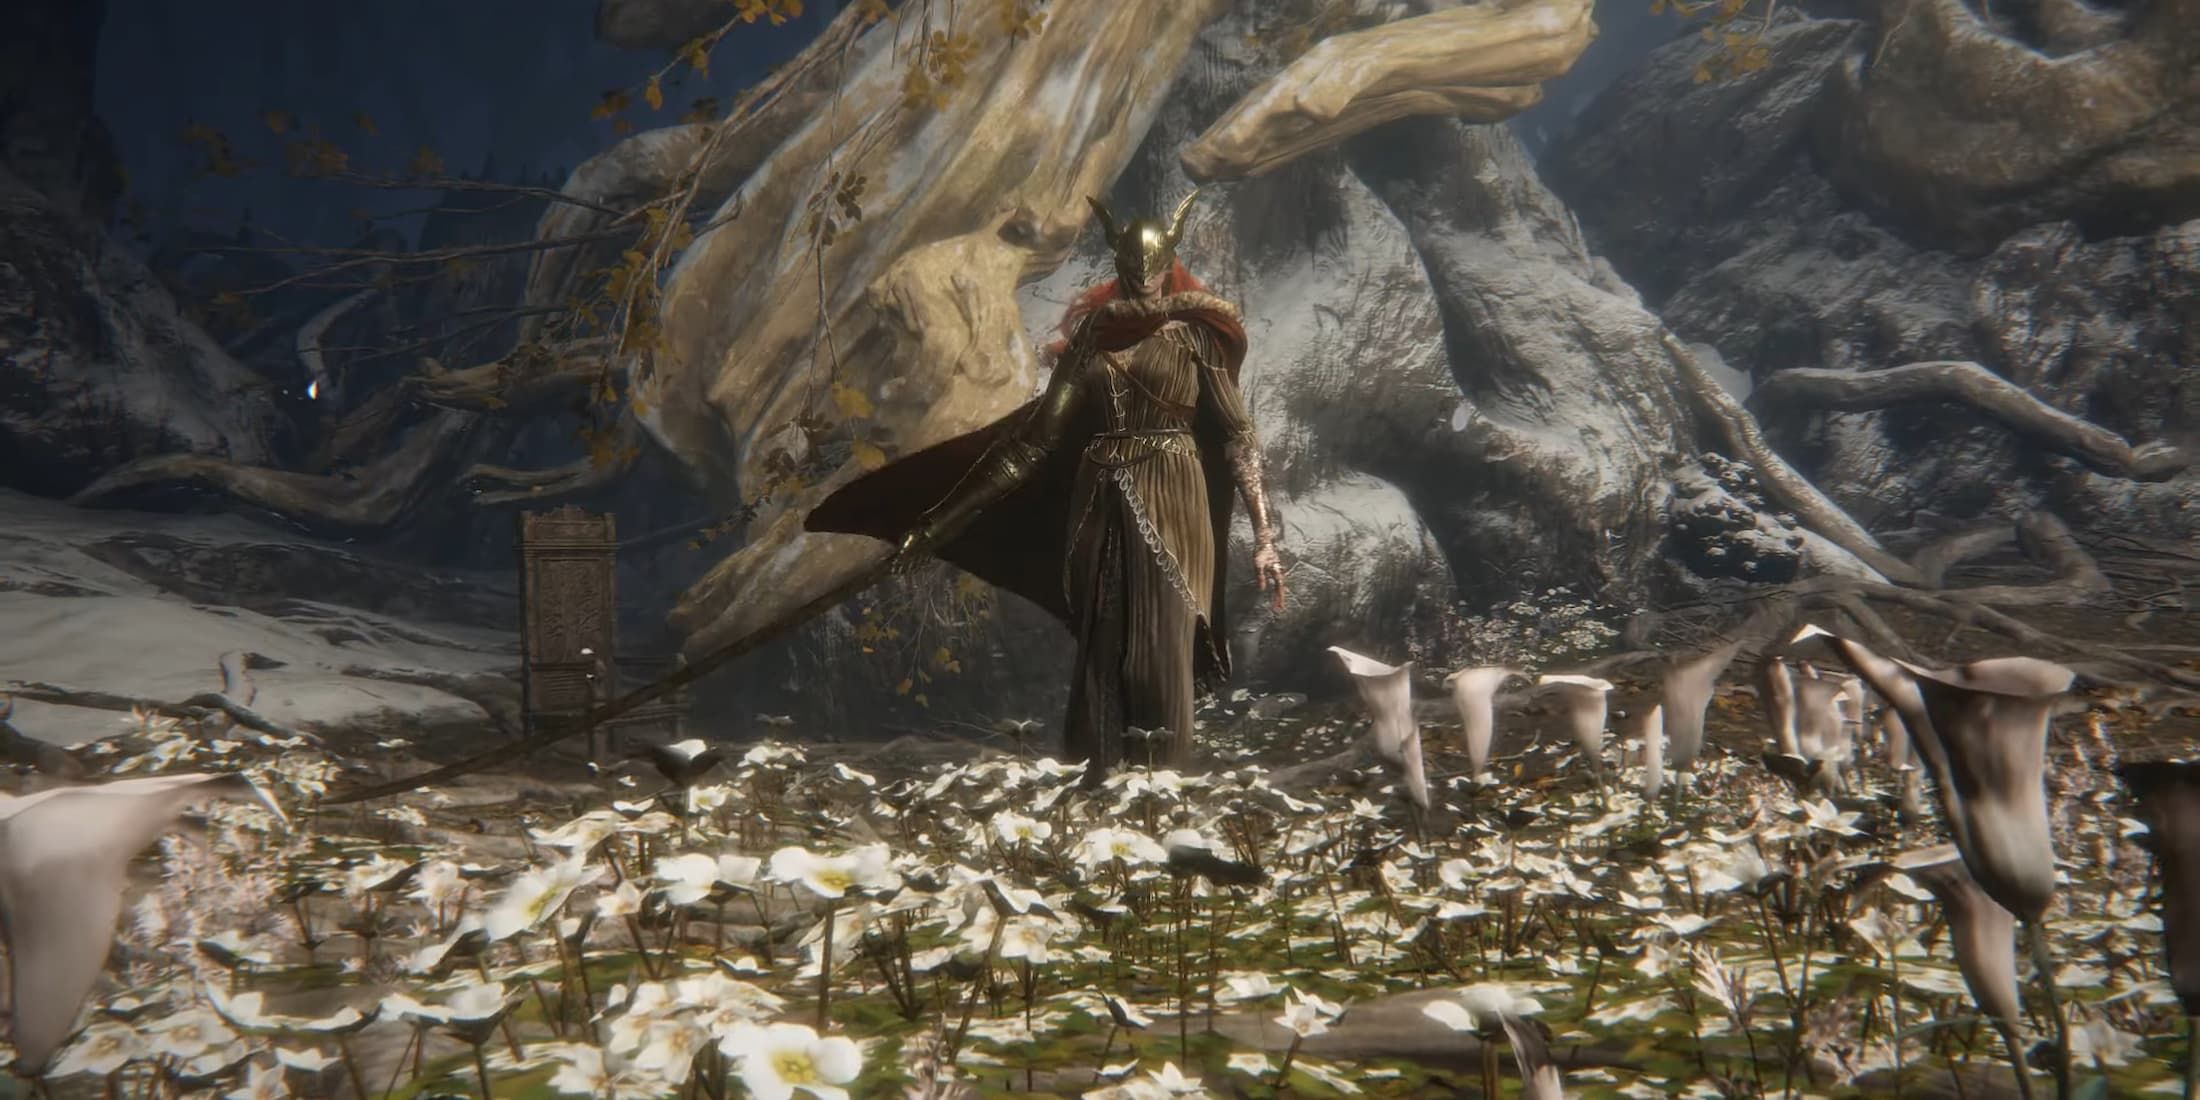
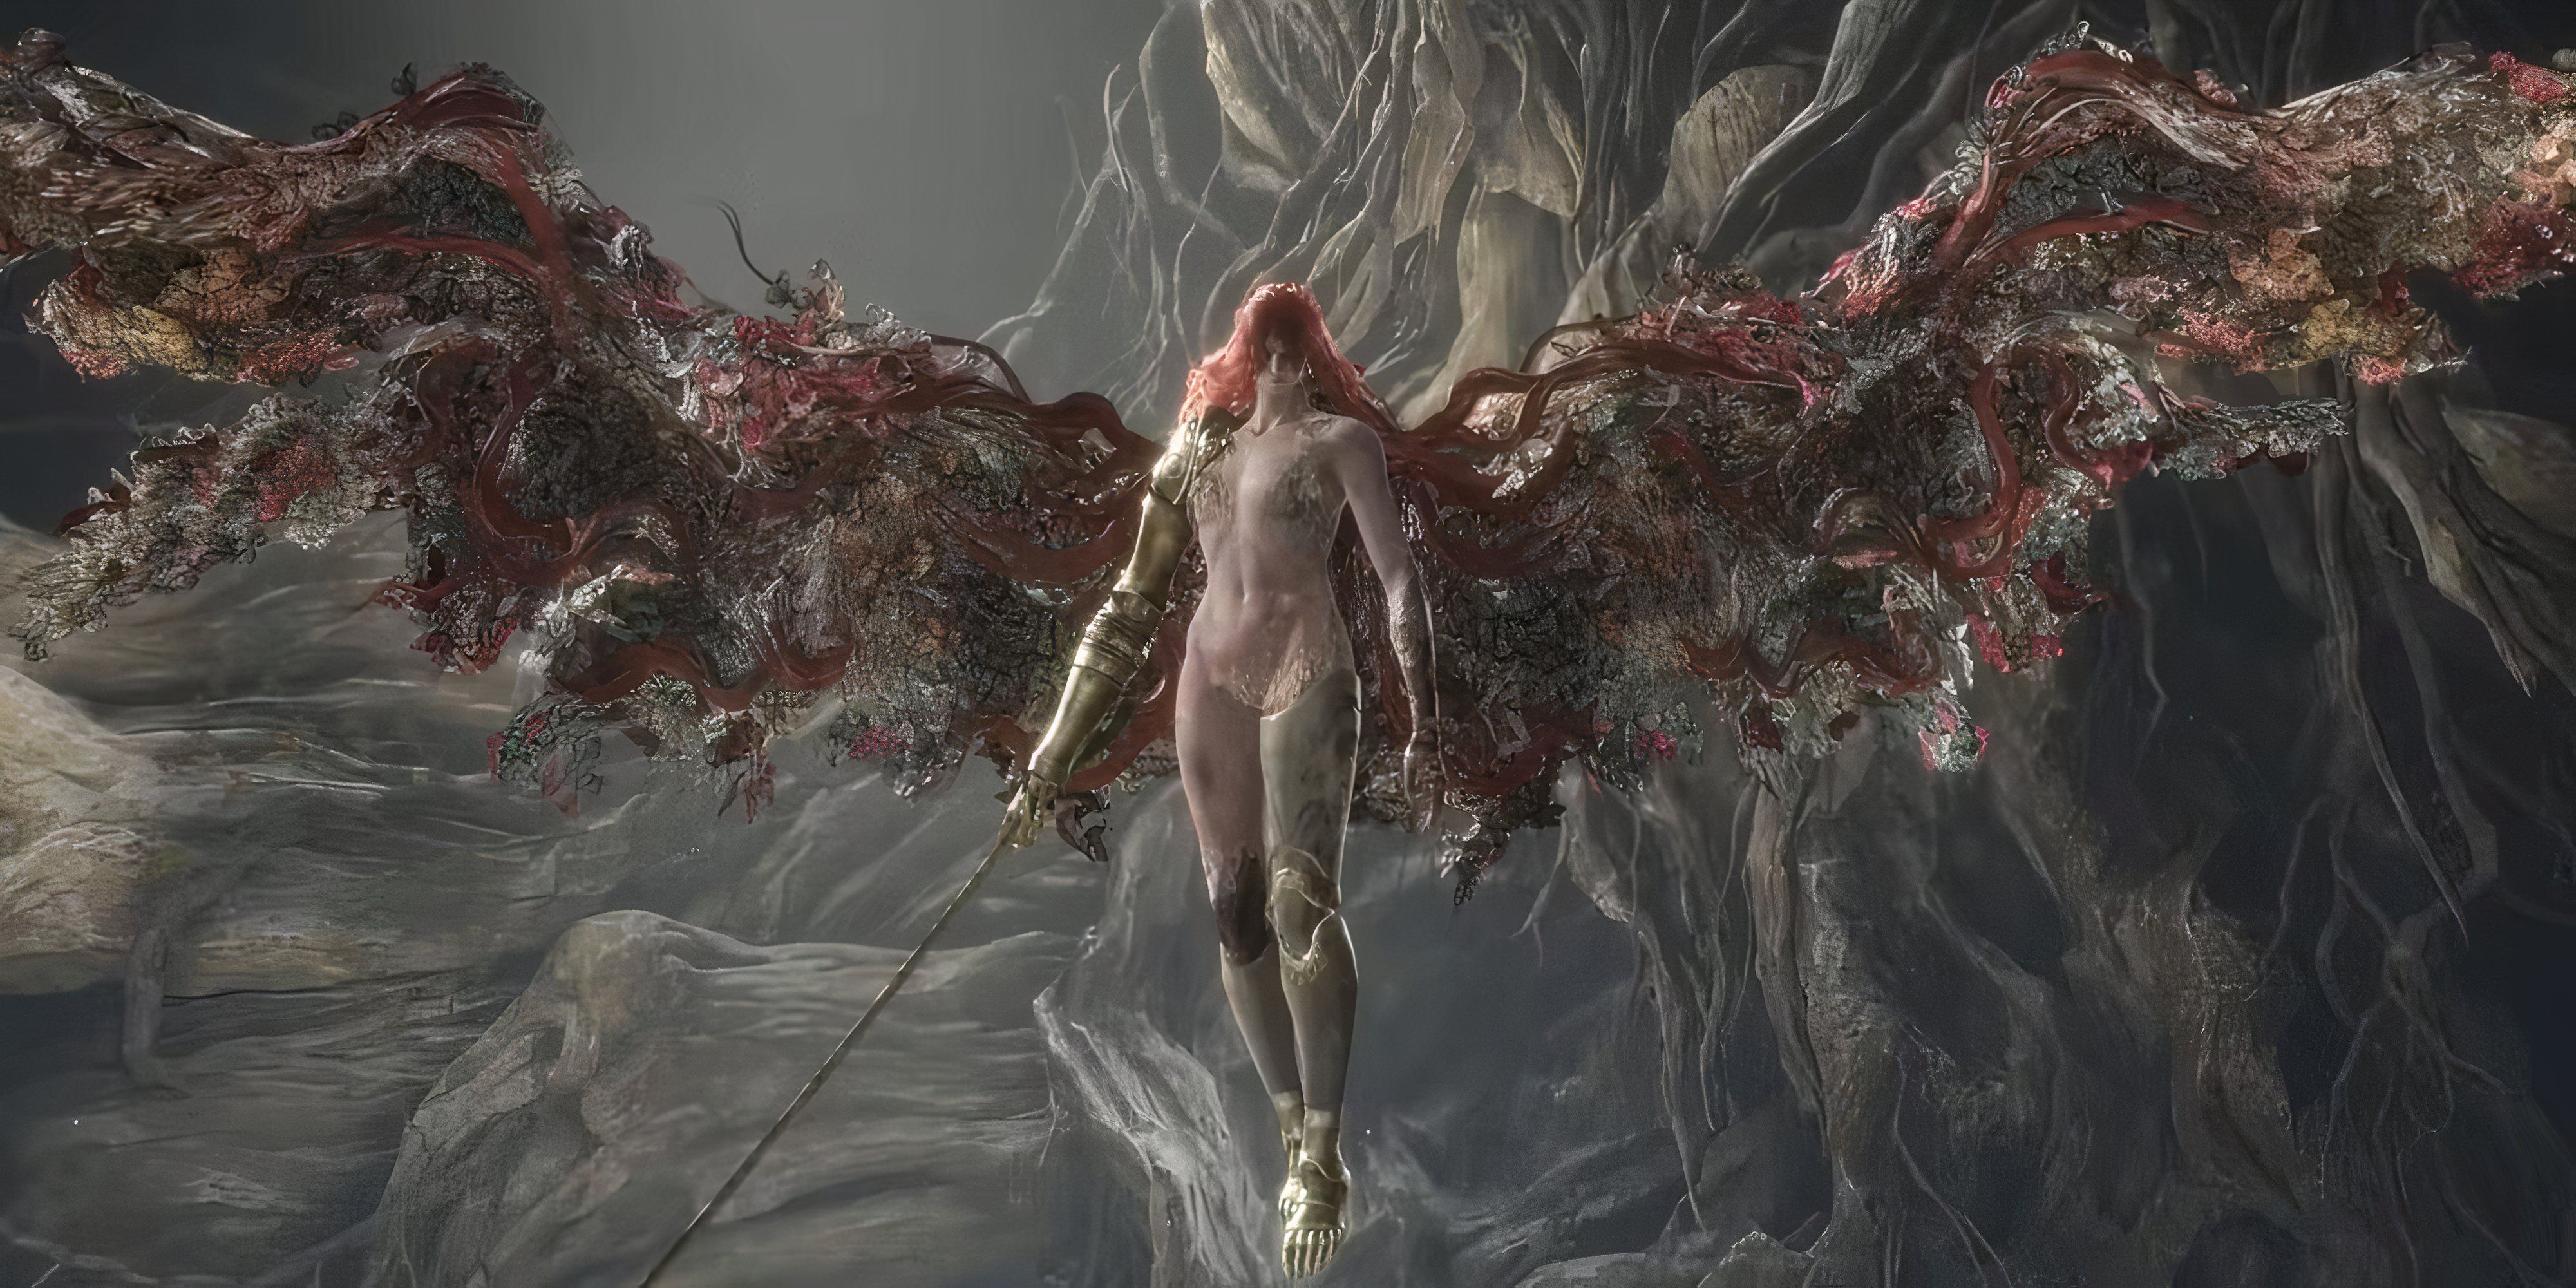
1. Malenia, Blade of Miquella
The Goddess of Rot
- Nearest Site of Grace: Haligtree Roots
Malenia, who shares a bond with Miquella, wields the devastating power of Scarlet Rot that destroyed Caelid and transformed Radahn into a wild beast. At the Haligtree’s Crossroads, she fights equipped with her katana fused to a prosthetic limb, swiftly attacking in rapid succession. She is famous for her Waterfowl Dance move, where she jumps high and repeatedly dives at opponents while rapidly slicing them multiple times.
Her fighting abilities exude both solidity and elegance, becoming even more formidable in phase two as she unfurls her scarlet decayed wings. Soaring through the air, she swiftly descends upon the player with Scarlet Aeonia, a potent and captivating spell that surrounds her in a radiant bloom, inflicting immense damage. Malenia’s tireless combos and Scarlet Rot magic make her one of the most challenging optional bosses in Elden Ring.
Read More
- Grimguard Tactics tier list – Ranking the main classes
- Gold Rate Forecast
- 10 Most Anticipated Anime of 2025
- USD CNY PREDICTION
- Box Office: ‘Jurassic World Rebirth’ Stomping to $127M U.S. Bow, North of $250M Million Globally
- Silver Rate Forecast
- “Golden” Moment: How ‘KPop Demon Hunters’ Created the Year’s Catchiest Soundtrack
- Castle Duels tier list – Best Legendary and Epic cards
- Black Myth: Wukong minimum & recommended system requirements for PC
- Mech Vs Aliens codes – Currently active promos (June 2025)
2025-03-28 05:37