In contrast to the original Elden Ring, Elden Ring Nightreign takes a significantly different approach, striving to make its shorter matches more engaging and impactful. It accomplishes this by adopting various strategies, including rearranging enemy locations, modifying the terrain that emerges during gameplay, and introducing unpredictability in the types of weapons found and the bosses encountered.
Despite their unpredictable nature, these events are still commonplace. For instance, you’re aware that the enemies in a camp won’t always remain consistent each time. However, what’s uncertain is when an adversary such as the Fell Omen might appear unexpectedly to disrupt your progress. In fact, several Nightlords have the ability to intrude during your run, and here’s how to stay ready for these invasions as well.
What Are Raids?

In every instance of Nightreign, you’ll notice variations, but over time, you’ll get accustomed to certain patterns. If Misbegotten have seized an Encampment, there will always be a Leonine Misbegotten at the hilltop’s summit. Similarly, beneath the tunnels of a Castle, you can consistently encounter a mini-boss, regardless of whether the specific enemy shifts between runs. Despite the randomness, some aspects remain consistent.
Raids have an uncanny ability to disrupt things completely. They can occur at any given moment during any run, regardless of the hour. They could commence mere minutes after a run begins, or they might show up alongside other bosses. They could pop up right in the middle of a landmark, or smack dab in the middle of nowhere. Their unpredictability is what makes dealing with them both exhilarating and nerve-wracking.
During an expedition, a Raid might occur just once, but it’s important to note that they can unexpectedly happen at any point during your run. Preparation is crucial as each one has the potential to terminate your journey.
Every Raid And How To Beat It
1. Firstly, familiarize yourself with the characteristics and behavior patterns of each Raid type.
2. Develop strategies tailored to counteract their strengths and exploit their weaknesses.
3. Assemble a team that complements your chosen approach.
4. Practice these strategies in training sessions before engaging in actual combat.
5. Stay adaptable, as the course of battle may require you to adjust your tactics on the fly.
6. Remain vigilant and resilient throughout the encounter, ensuring that your team maintains its composure under pressure.
7. Ultimately, employ these strategies with precision and tenacity to prevail against each Raid.
Fell Omen Raid
In this realm, Morgott, also known as the Fell Omen, can strike without warning. Once he’s upon you, there’s no escaping his relentless pursuit. To put it bluntly, the Fell Omen will chase you until one of two things happens: either you or your party members are defeated. However, if given enough time, he may abandon the chase, especially if he has defeated and marked every member in your group. It’s always wise to stand your ground and fight rather than just running away.
In Nights one and two, you can engage in a battle against The Fell Omen, serving as a final boss. However, it’s important to note that this encounter offers a distinctly unique experience compared to the Fell Omen Raid, as its mechanics and outcomes are not identical.
When facing off against the Fell Omen, it usually zeroes in on a single character, as indicated by a red circle appearing over their avatar. The Fell Omen pursues this character most relentlessly, thus providing other players with a chance to assault the Fell Omen while it’s preoccupied. However, keep in mind that its focus can shift, so remain vigilant in case it decides to lock onto you instead.
With all due respect, an intense and focused attack should suffice to overpower him. He’s vulnerable to being overwhelmed and weakened significantly, and a sustained, powerful onslaught could immobilize him completely. Fear not, he remains merely mortal.
Augur Raid
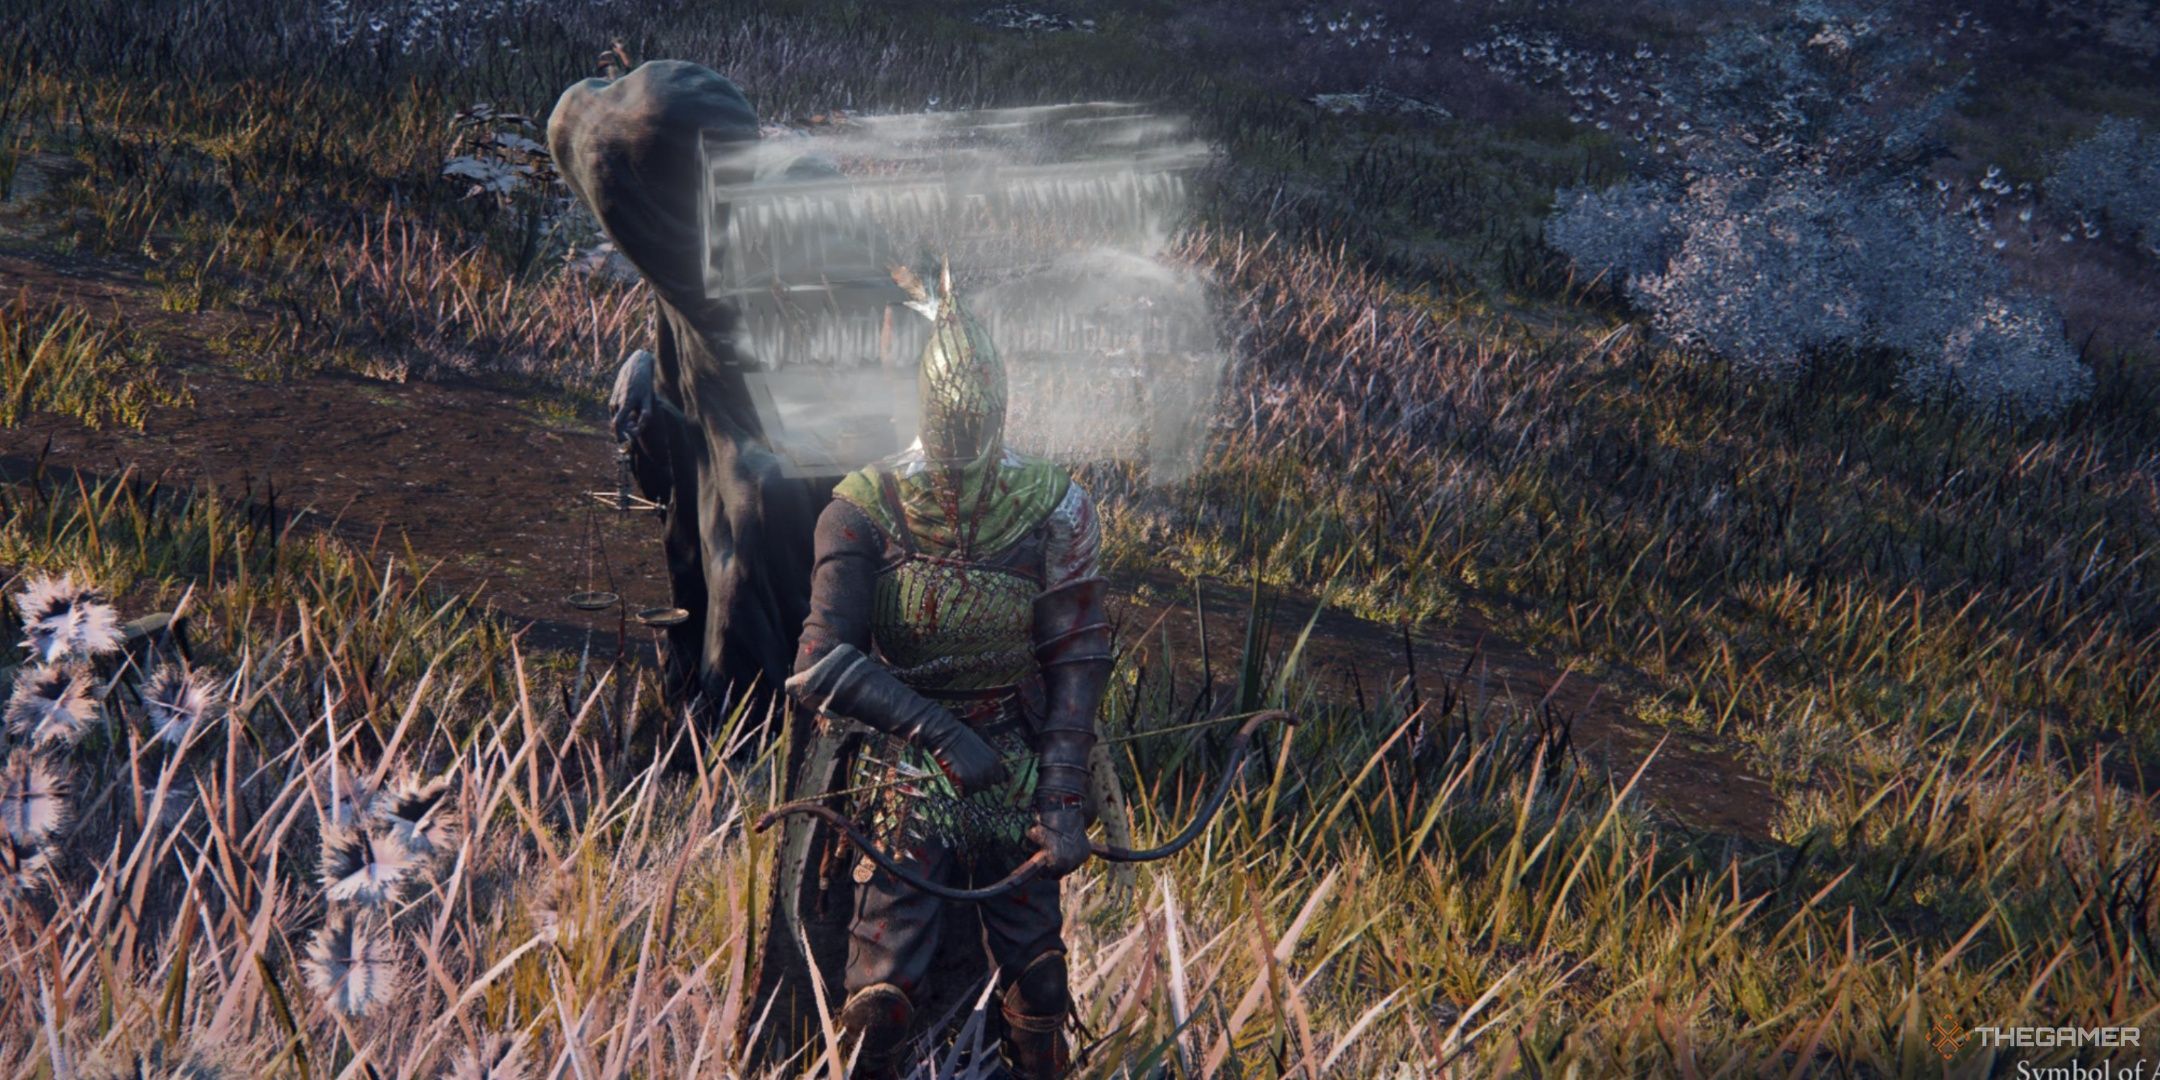
As a fervent admirer, let me tell you that Nightlord, the colossal aquatic entity, roams the battlegrounds much like it’s cruising beneath the ocean depths. But here’s a twist: Nightlord can infiltrate your defenses, not as an all-out assault, but rather as a Raid in a more diminished form. Despite this weaker state, it’s still a threat that demands you stay sharp and alert!
This Raid is indicated by a message about large spheres rising above you. These spheres will be a blend of blue and purple hues, gradually sinking to the ground after they’ve formed, swallowing everything within their reach. This phenomenon can happen anywhere, capturing players, items, and adversaries. If you wish to free them, you’ll need to venture into these spheres to engage with this form of Augur in combat.
Once you enter the battlefield, you cannot leave again, so be prepared once you do enter.
When you enter the bubbles, the screen will briefly turn dark as you’re transported to this fresh arena. Here, the Augurs will predominantly use their Spinning Dash and Wave Splash attacks, making them relatively easy to avoid. Interestingly, they stay closer to the ground than during their Nightlord battle. Nonetheless, it’s highly advantageous to bring a ranged weapon and spells, especially those with the Lightning attribute, along for the journey.
Sentient Pest Raid
As a gamer, I can tell you that tackling the Sentient Pest Raid isn’t just about taking down the boss – it’s about navigating through the challenging environment first. When this raid kicks off, you’ll see a message warning about a plague of locusts invading the land, casting an ominous darkness over everything. These pesky locusts can strip you of your hard-earned levels, swarming together on the ground to create massive explosions.
When I’m hit by these explosions, not only do I drop a level but also the Runes connected with that level. This is different from ordinary death where you just lose one level at a time. These locusts can strip me of multiple levels if they catch me in their blast. But how do I vanquish these locusts?
Instead of relying on map markers like you usually do for Raids and events, you need to track down their master by following a peculiar trail – the swarm of locusts. After an explosion, these insects scatter, but they don’t fly aimlessly. They all return to their master’s location. So, after an explosion, keep an eye on the direction the locusts are flying and make your way towards them to find the master.
As you draw near to your guide, the silhouette of Sentient Pest comes into view. It’s only when you get closer that the full form appears. Fortunately, this is just the moth aspect of Nightlord, not the scorpion part. The moth itself doesn’t attack, but be mindful of its locust explosions. After overcoming it, you will recover all your lost Runes, enabling you to revert back to your starting level.
Equilibrious Beast Raid
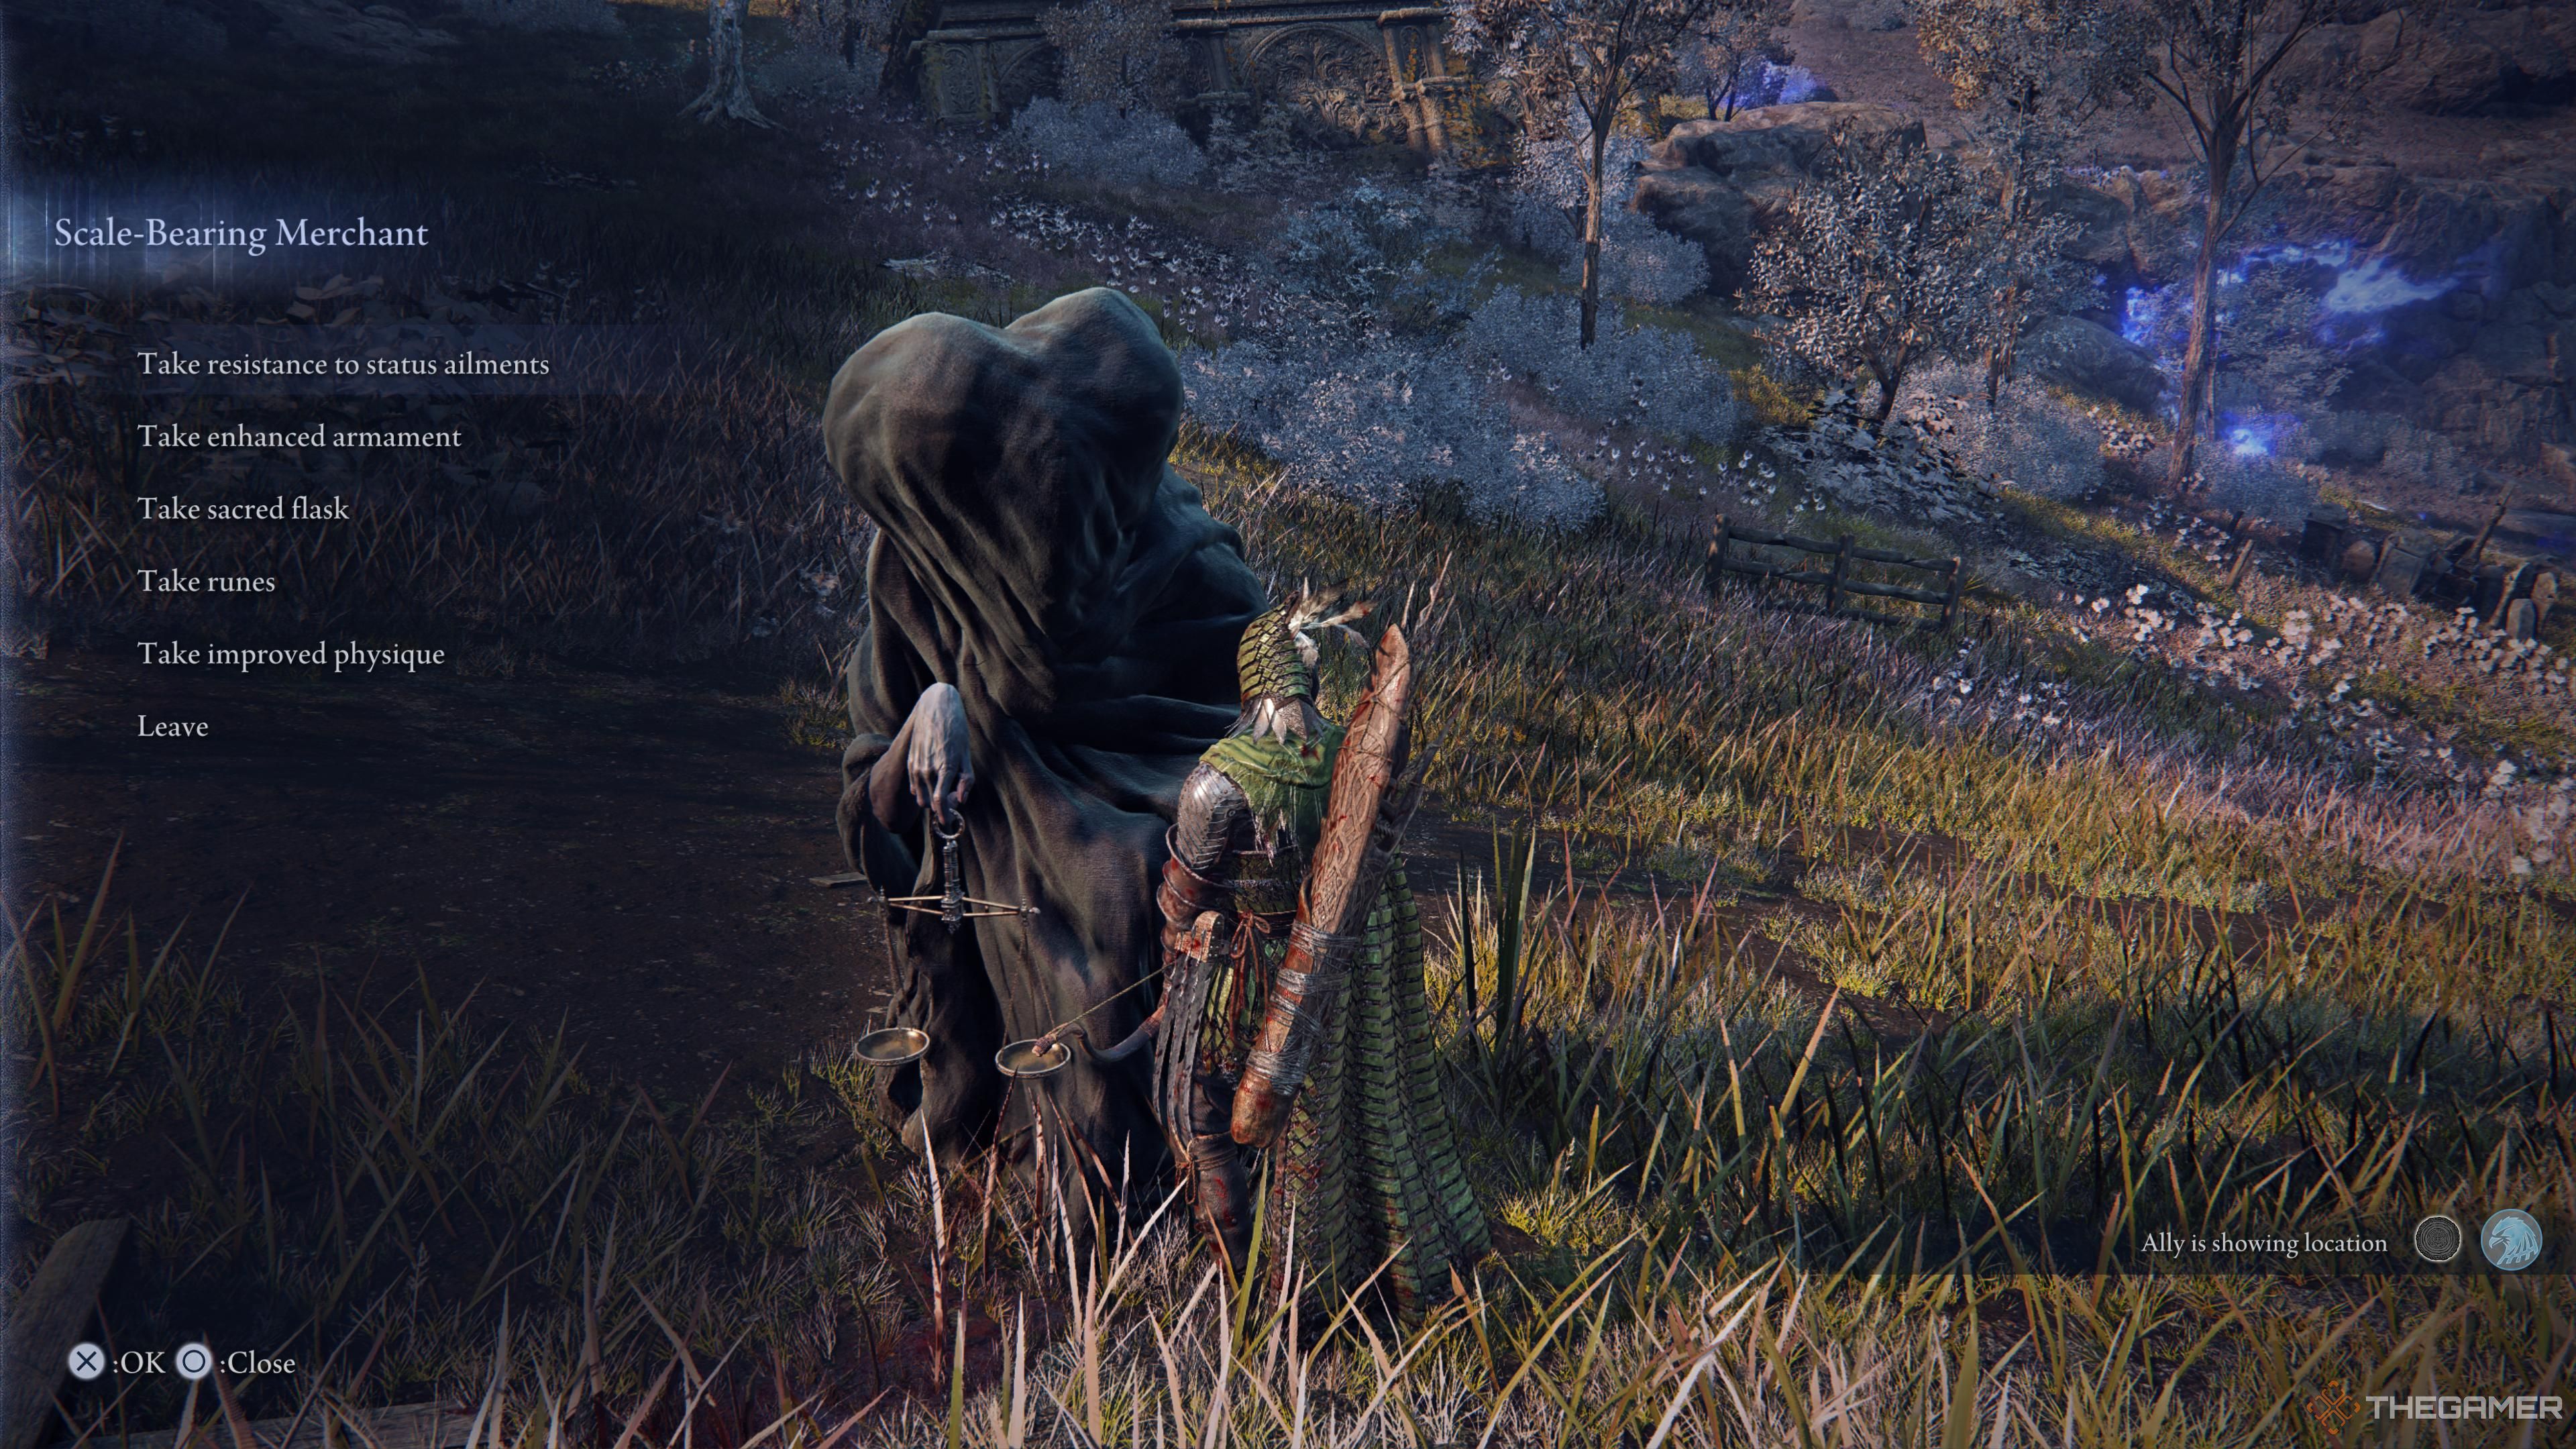
The Equilibrious Beast presents a unique twist on your typical Raid. Unlike the other three, it doesn’t require defeating a boss to win. Instead, it’s more about making deals. You sacrifice one thing to gain another. When they emerge in the world, they cast a curse upon the entire party, significantly reducing their maximum health by roughly 40%. This curse persists until you manage to lift it.
There are two methods to lift the curse: the Equilibrious Beast, identified by a red marker on the map, presents one of these options. However, I strongly advise against choosing this option if you can help it. If you engage and defeat the Equilibrious Beast, Libra will manifest. It seems that their strength is not significantly less than their Nightlord counterpart. Defeating the Equilibrious Beast does indeed break the curse, but given their reduced HP, overcoming them proves to be an extremely challenging task.
A more suitable approach would be to negotiate a deal. In this scenario, Libra will request Runes to lift the curse. The required number of Runes can vary significantly, ranging from as little as 15,000 Runes to as much as 35,000. Therefore, once you are under the curse, it’s crucial not to use any of your Runes and ensure you have enough when you meet Libra to lift it.
After you settle the curse by paying the required amount, your Health Points (HP) will be restored. Additionally, feel free to converse with Libra once more for fresh opportunities, as the initial deal had a bit of an unfair tilt. Libra will extend these new offers gratis.
The Reward From Every Raid
After you beat each Raid, you also get a unique reward from them. Here it is for each of them:
- Fell Omen – There are two here, one for if you fail, and one if you succeed. If you die while fighting the Fell Omen, on top of losing a level, you also get the Unhealed Wounded Carved By The Night, which increases all damage you receive. If you defeat the Fell Omen, you instead get Traces Of Grace-Given Lord, which increases your attack power for every new Site of Grace you find.
- Augur – Defeating Augur grants you the Unifying Fate perk, which makes it so that your flasks restore FP on top of the existing HP restoration.
- Sentient Pest – Defeating Sentient Pest gives you Integration of Intelligence, which will randomly grant you a massive number of runes when attacking enemies sometimes. You will also regain the Runes from any level you lost.
- Equilibrious Beast – They are a bit more unique. After paying to remove the Curse, you are given Demon’s Plating, which increases your attack by the number of Runes you have. You can also speak with them again for a free upgrade, such as the Symbol of Avarice for even more bonuses without the drawbacks.
Currently, there are only these four Raids available within the game, but it’s quite feasible that additional ones might be introduced later on. For now, having familiarized yourself with the existing Raids, you should feel a little better equipped to tackle them.
Read More
- Silver Rate Forecast
- Black Myth: Wukong minimum & recommended system requirements for PC
- Gold Rate Forecast
- USD CNY PREDICTION
- Former SNL Star Reveals Surprising Comeback After 24 Years
- Grimguard Tactics tier list – Ranking the main classes
- Arknights celebrates fifth anniversary in style with new limited-time event
- Gods & Demons codes (January 2025)
- PUBG Mobile heads back to Riyadh for EWC 2025
- Maiden Academy tier list
2025-06-02 16:05