As a devoted fan, I can’t help but rave about The First Berserker: Khazan! This game is brimming with activities for me to engage in, primarily in the form of missions and additional mission opportunities. Completing these tasks will generously reward me with valuable items. While progressing through the main story, I’ll naturally unlock new systems. However, certain features are hidden and can only be accessed by successfully completing bonus missions.
Kaleido serves as an excellent demonstration, for it is a brief extra task that grants you the skill of Gear Augmentation. With this feature, you can modify the random attributes of your gear and elevate its level. It’s a vital system, but you can only acquire it by completing this bonus mission!
How To Complete Kaleido
As soon as the bonus mission begins, the Blade Nexus will be right in front of you. Go ahead and activate it for a checkpoint and use your Lacrima if you’ve got enough to boost your stats. Once that’s done, make your way down the stairs to encounter a line of Flame Traps and Specters in the distance.
Wait for the Flame Trap to spin so that one of its fire streams moves towards you. Once this stream of fire passes by, start running behind it and keep pace with it until you reach the open section ahead of the next trap. When there, the Specters will become aware of your presence. Use your Javelin to eliminate them before proceeding further.
The item is located to the extreme left of the upcoming trap cluster. To grab it, perform the same action on both traps, which will enable you to collect two Fire Cleanse Potions. These potions will prove indispensable for navigating through the level effectively later on!
Continue Ahead
Heading back to the heart of the arena now, I’ll be navigating the upcoming traps towards the staircase. Two Specter Archers are stationed here, but with the Flame Traps in my path, there’s no time to engage them. Instead, I’ll be timing my steps to keep pace with the first Flame Trap, just like before. When the second one appears, I’ll use my evade ability to swiftly dash through it.
If you execute the task accurately, you’ll stay safe from the fire and be positioned directly in front of the Archers. Swiftly eliminate them, then ascend the staircase. At the top of the stairs, turn right to discover a corpse on the floor. Absorb it for some Lacrima and Soul Tear Dust!
Perform the task correctly, and you’ll be safe from the fire and face-to-face with the Archers. Eliminate them quickly, then climb up the stairs. Once at the top, turn right to find a dead body on the ground. Take some Lacrima and Soul Tear Dust from it!
Navigating The Silent Temple
Rotate and move to the side of the staircase where you’ll spot another Ghostly figure in the distance. Use your Javelin to swiftly eliminate them, then carry on. To your left, you’ll find a purple item. Approach it cautiously as this may trigger a pair of Ghosts hiding behind obstacles for an ambush.
Overcome the Specters and seize the item for a Water Enhancer, then stick to the primary route until it divides. To your left, you’ll find an open room, whereas going right will lead to a staircase. At this juncture, it’s best to proceed leftward!
Left Pathway
Heading towards the left takes you to a spacious room teeming with Specter Zombies. Remember from past missions that some may rise up from the ground once you start attacking others, so stay alert. Also, keep an eye on your stamina as they don’t have much health.
Complete the task with the Specters and unveil the Chest to find a Butcher’s Pauldrons, Butcher’s Leggings, Butcher’s Shoes, and three Transmutation Mists. After that, make your way back to the staircase and start ascending them step by step!
Up The Staircase
Climb the staircase leading you to the upper level of the Silent Temple where a group of Specter Soldiers await. Dispatch some with your Javelin, then effortlessly eliminate the rest. From there, proceed to the end of the floor. On your left, you’ll spot a ladder; descend it to reach the platform below.
Pick up the item found on the ground floor to acquire the Fallen Lord’s Scroll and an Augment of Wisdom. You’ll notice another ladder on this platform; push it down to create a convenient shortcut for yourself if you might require it later on.
Make my way upstairs to the second level, then stride towards the central staircase ahead. To your right lies a deceased individual; approaching them will reward you generously with Lacrima and Soul Tear Dust!
Or:
I ascend to the upper floor and walk straight towards the stairway in front of me. To my right, I’ll find a body that yields a substantial amount of Lacrima and Soul Tear Dust upon examination!
The Final Stretch
As a gamer, I’d navigate my way down a substantial set of stairs, leading me into a spacious chamber where a formidable Specter Knight is on patrol. With an oversized shield and spear in tow, he’s no pushover. But if I cleverly lure him towards me and guide him close to the staircase, I can ensure that there are no other enemies within the room to complicate matters, making it easier for me to swiftly defeat him.
As the Specter Knight’s assaults deplete its energy meter, you can retaliate with your powerful abilities for heavy damage, paving the way for victory. Once you’ve vanquished the Specter Knight, go to the left of the stairs you descended from, then make another sharp turn to the left. There, in the corner at the back right, you’ll find an item. Collect it to receive 2 Lightning Resistance Elixirs and 3 Stones.
Advance a few steps past the item until you come across a substantial stone pillar. Glance to your right to spot a Specter Archer. Take out your Javelin and use it to dispose of it. Afterward, look to the left of the pillar to find another one on the stairs, and use your Javelin again to eliminate that one too!
More Flame Traps And Treasure!
After subduing all foes in the chamber, you’ll find it secure to ascend the solitary ladder within, leading you to the balcony above. Upon reaching this point, you’ll encounter a sequence of spinning Fire Pits. Given the minimal space to maneuver, these can be quite challenging to avoid, despite their mechanics being similar to your previous encounters.
As a fan, I’d advise you to sync your speed with the flames when navigating through the catwalk, rather than relying on evasion due to the close proximity of the Flame Traps. The key is to move from one trap to another at the right moment, switching off to the next one as soon as possible, then carefully follow that one out. Essentially, you need to time your moves, maintain a steady pace, and repeat this process until you’ve safely passed all the traps.
At your destination, you’ll find two chests. Let’s start with the one on the right first to get the Imperial Soldier’s Dual Wield, Wanderer’s Leggings, Necklace of Resilience, and Earth Enhancer. Be cautious, though, because the one on the left is booby-trapped! Open it carefully, then quickly move away as it will explode. After the explosion, you can gather the Necklace of Protection and 25 treated gems from the debris.
Almost Done
If you’re feeling well, step off the runway, then climb the stairs where the Ghost Archers previously stood. At the top, you’ll find a Blade Nexus. Whew, we made it! Take a moment to rest here and restore your health and Lacrima. Then, continue towards the foggy wall to complete this bonus mission!
Defeat The Specter Soldiers
Across the misty barrier stand…two apparitions. One is a mage-like figure, while the other resembles a knight. This isn’t a major battle as we had envisioned, not even close. But hey, who are we to complain? Start with the mage first, given he’s the most fragile and his ranged attacks can be quite a hassle.
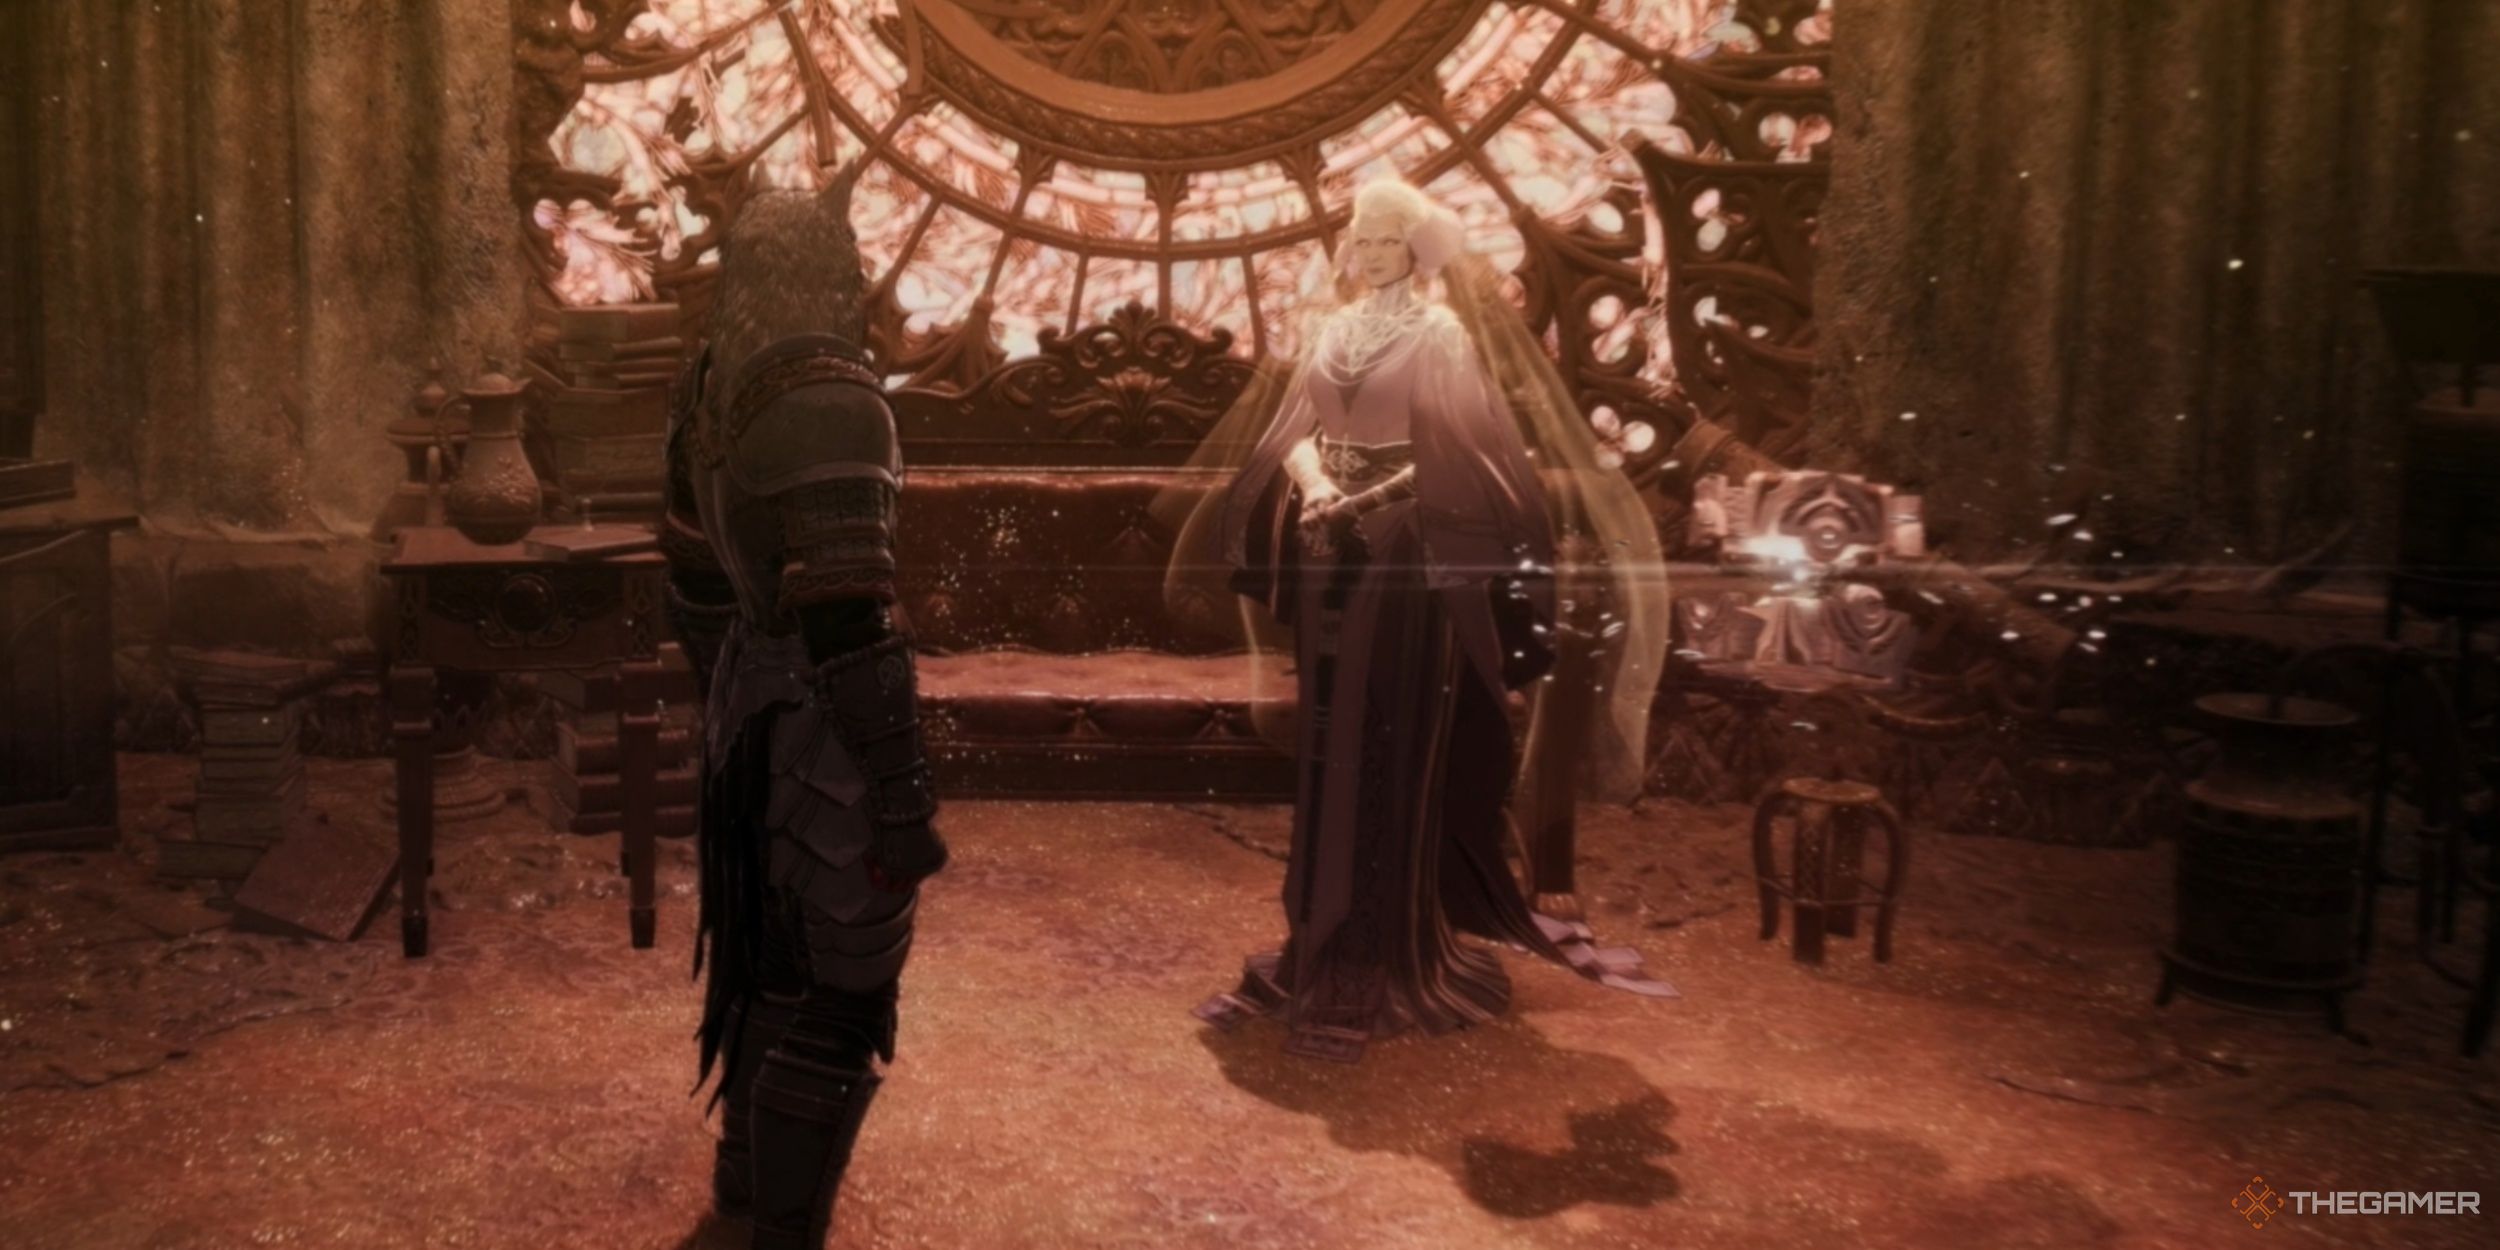
By getting rid of the Caster, you’ll be able to give your full concentration to the Knight instead. This Knight will be managed in the same way as the one encountered earlier. Once you manage to defeat the Specter Knight, Oksana will emerge near the room’s backside. After speaking with her and heading back to The Crevice, you can finish the bonus mission!
Augmentation Unlocked
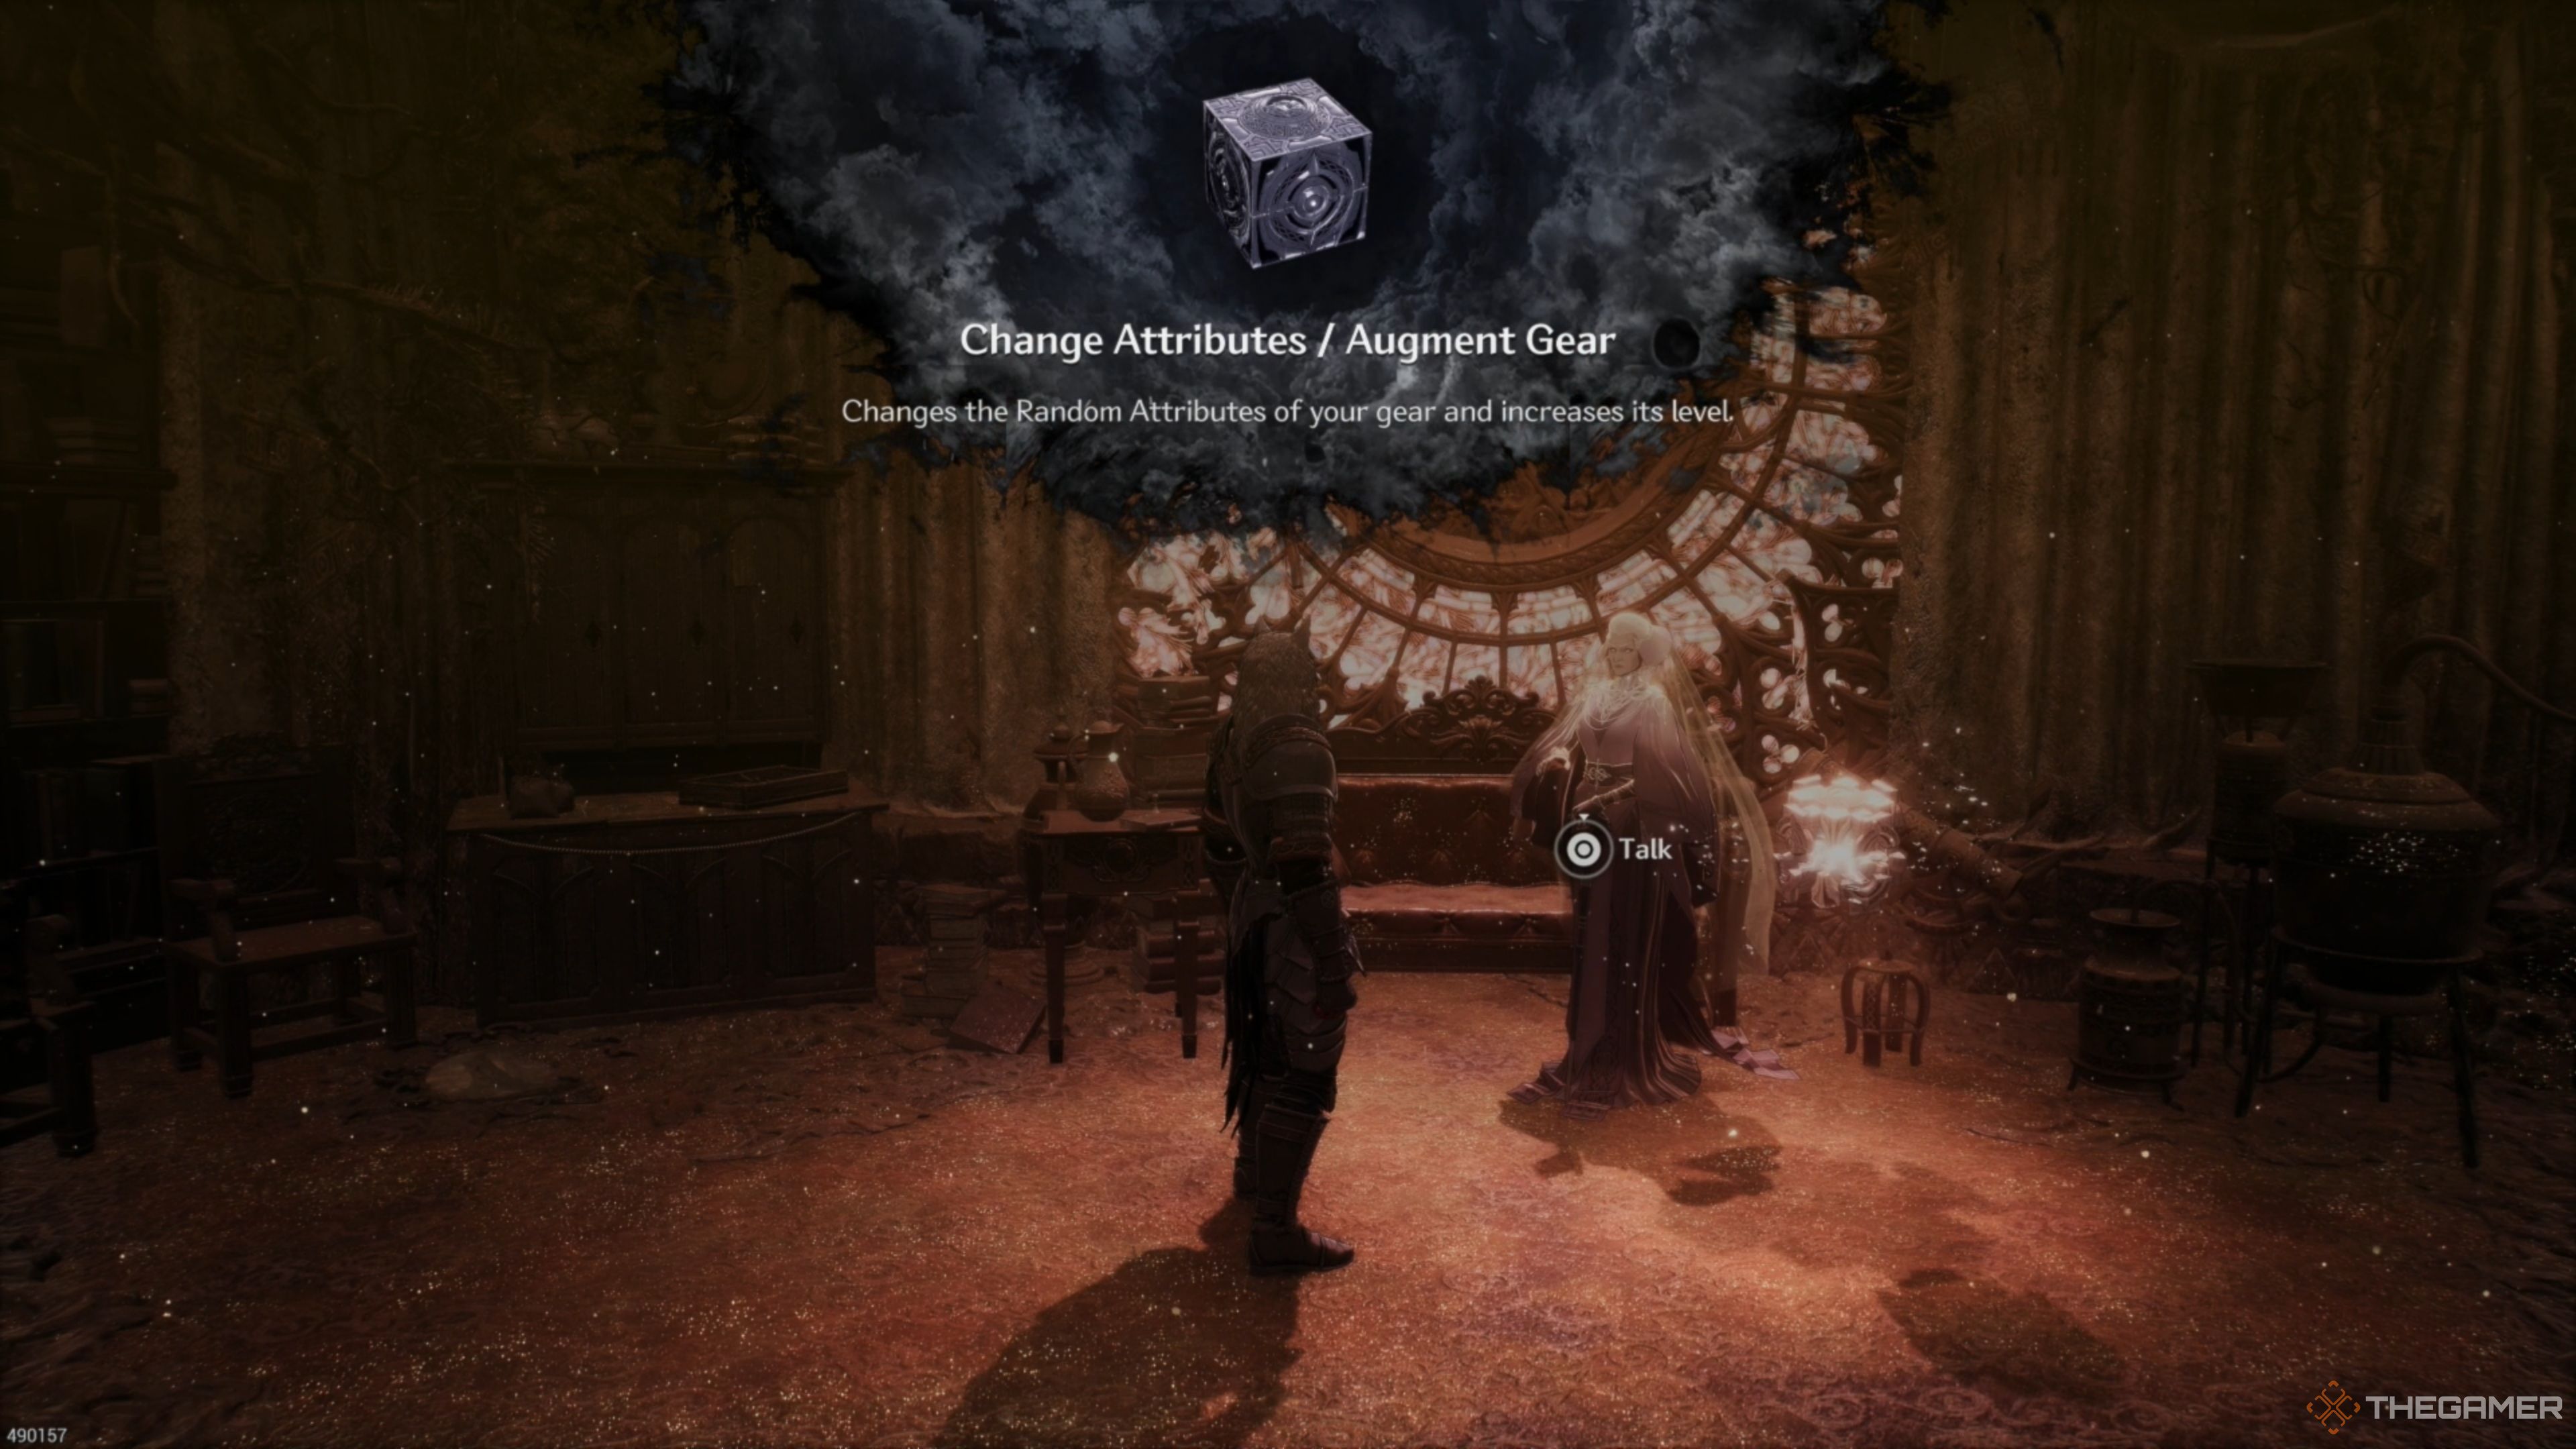
At long last, you find yourself back at The Crevice, and now, with the newly acquired skill of Equipment Enhancement at your disposal. This feature lets you modify your gear’s random attributes by utilizing resources or combine equipment to boost the level of your gear. This will prove invaluable as you progress deeper into the game, so it’s advisable to activate this enhancement right away!
Read More
- Gold Rate Forecast
- Silver Rate Forecast
- Honor of Kings returns for the 2025 Esports World Cup with a whopping $3 million prize pool
- PUBG Mobile heads back to Riyadh for EWC 2025
- Kanye “Ye” West Struggles Through Chaotic, Rain-Soaked Shanghai Concert
- Arknights celebrates fifth anniversary in style with new limited-time event
- Mech Vs Aliens codes – Currently active promos (June 2025)
- USD CNY PREDICTION
- Every Upcoming Zac Efron Movie And TV Show
- Superman: DCU Movie Has Already Broken 3 Box Office Records
2025-03-24 22:06