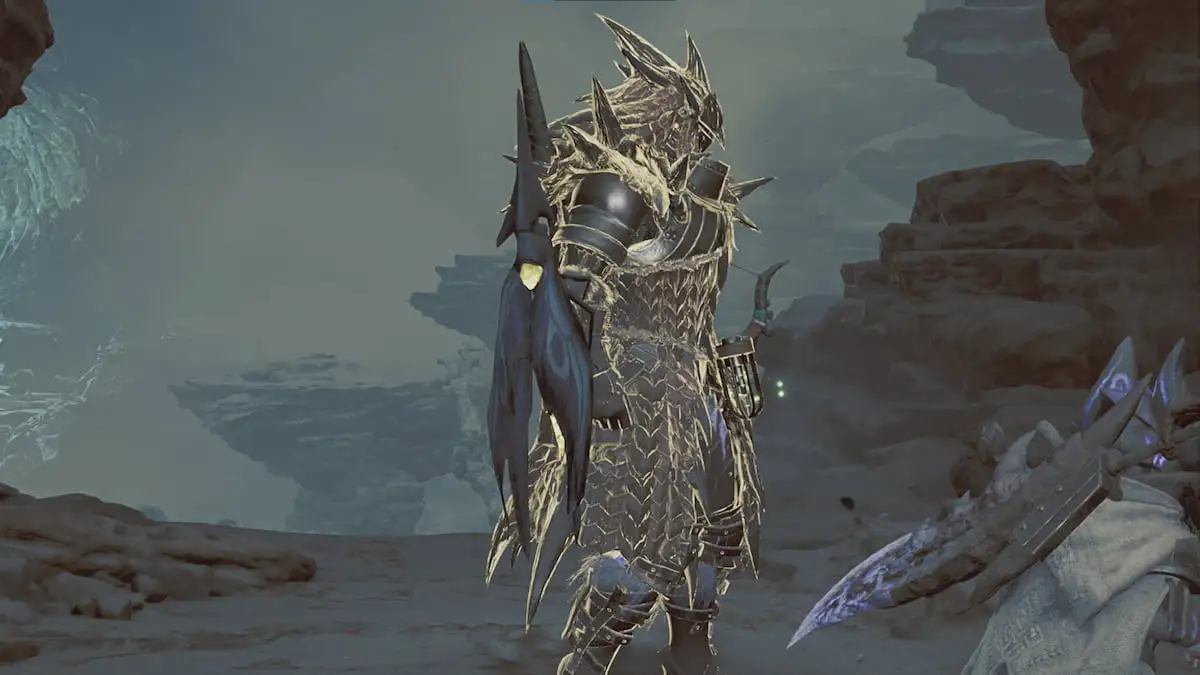
In Monster Hunter Wilds, you’re given the option to carry two types of weapons during your hunting expeditions, enhancing both your attacking options and agility. However, not all weapon pairings are effective; yet, by mastering the right combinations, you can take down any beast that stands in your way.
In Monster Hunter Wilds, combining two weapons can drastically alter your hunting approach. For instance, employing one weapon to dismantle specific body parts and then switching to another for the final kill is a common strategy. The choice of weapons depends largely on your playstyle, while your armor selection also plays an essential role. Some weapon pairings prove more effective than others as you might end up using the same armor set regardless of the individual weapons you choose. Here are some top weapon combinations to try in Monster Hunter Wilds.
Table of contents
- The best weapon combinations in Monster Hunter Wilds
- Dual Blades and Hammer
- Great Sword and Bow
- Lance and Switch Axe
- Insect Glaive and Gunlance
- Charge Axe and Light Bowgun
The best weapon combinations in Monster Hunter Wilds

In Monster Hunter Wilds, having two weapons at hand requires you to summon your Seikret as an intermediary. You can ride or stay beside your Seikret, swapping between the two weapons you carry. This instant change in your moveset and available attacks doesn’t alter your armor though. The key aspect to consider when gearing up for a hunt is choosing weapons that work well with the armor you’re wearing, as this is crucial to your overall strategy.
These are some of our favorite weapon combinations you can bring with you.
Dual Blades and Hammer

The Dual Blades stand out as an exceptional weapon due to their unsurpassed speed. They’re designed to strike a target multiple times, piercing through armor. However, while the swiftness and consecutive strikes of the Dual Blades are second to none, other weapons such as the Hammer inflict significantly more damage in a single strike.
To initiate combat effectively, start by using the Hammer to smash through the tough armor of the beast, setting it up for the rapid-striking Dual Blades. The Dual Blades are superb at inflicting consecutive damage, but it might take some time to reach that level. However, the Hammer can help speed things up. Once you’ve breached enough armor, transition to the Dual Blades and unleash a barrage of heavy attacks. Moreover, the Dual Blades are particularly proficient in causing status effects, making it easier to quickly defeat any monster with weakened armor.
Great Sword and Bow

In this mobile game setup, you initiate combat equipped with the Greatsword, followed by a switch to the Bow towards the end of the fight. The Greatsword serves to shatter and inflict heavy damage on the monster initially. Later, you utilize the Bow’s medium-range arrows to apply various status effects.
As a gamer, I find the Great Sword to be an intriguing and versatile weapon of choice. Unlike the quick and nimble Bow, this hulking blade is all about power and precision. Instead of relying on rapid-fire attacks, it’s designed for heavy strikes that can potentially shatter a monster’s armor.
What I love about the Great Sword is its unique set of moves that add depth to my gameplay. Depending on who I’m teaming up with, I might even start off a battle with this massive weapon and then switch to my Bow for those long-range shots at the end. It’s all about strategy and knowing when to use each tool in my arsenal effectively.
Lance and Switch Axe

If you’re looking to play the defensive role, the Lance offers an impressive barrier that stands strong against most attacks monsters throw at you. Once you’ve completed your defense duties, feel free to switch to your Switch Axe for some serious offense.
In the early stages of an encounter with a freshly energized monster, the Lance offers a sturdy defense that allows you to wear it down with persistent counterattacks, blocking numerous attacks in its path. When you’re prepared to commence your offensive, the Switch Axe can inflict a status effect during the battle, boosting the damage you inflict upon it. You have the option to alter your strategy, initiating fights by inflicting status effects with the Switch Axe followed by maintaining defense with your Lance. It may be wiser to save the Lance for the final stages of a fight to prevent your party members from fainting, potentially resulting in an unsuccessful hunt.
Insect Glaive and Gunlance

For individuals preferring aerial combat over ground battles, the Insect Glaive is an ideal weapon for getting the upper hand against any monster. It’s simple to leap onto their backs, inflicting wounds, and then transition to your Gunlance for tactical strikes using your ammo.
With minimal setup needed, mastering the art of accurately deploying the Kinsect is crucial when wielding the Insect Glaive. Once you’ve accumulated enough charges on your Insect Glaive, it grants access to a variety of attack sequences, enabling extended air time. The Insect Glaive excels at slicing through armor and inflicting wounds, which can be leveraged by strategically striking certain parts of the monster’s body using the Gunlance. These two weapons complement each other effectively, but remember to carry extra ammunition for your Gunlace to unleash its most powerful attacks.
Charge Axe and Light Bowgun

This strategy resembles the Great Sword and Bow combo, but prioritizes the strong attacks of the Charge Axe and swift cuts from the Light Bowgun’s rapid-fire ammunition. The Light Bowgun may not reach as far as a bow, but it makes up for that with its agility, allowing you to seamlessly transition to your Charge Axe when necessary.
In the beginning, you engage the creature you’re pursuing with your Light Bowgun, delivering a substantial volume of fire. This initial phase allows you to inflict heavy status effects on the monster, softening it up for your Charge Axe. Once you manage to crack some of its armor, switch to the Charge Axe and swiftly finish off the creature. The Charge Axe is effective in breaking any remaining armor fragments, dealing significant damage to exposed wounds, and wrapping up the hunt. With a less formidable target, it’s also simpler to leverage the Charge Axe’s phials and charge them more easily.
Read More
- 10 Most Anticipated Anime of 2025
- Gold Rate Forecast
- Pi Network (PI) Price Prediction for 2025
- USD MXN PREDICTION
- USD CNY PREDICTION
- Silver Rate Forecast
- USD JPY PREDICTION
- EUR CNY PREDICTION
- Brent Oil Forecast
- Castle Duels tier list – Best Legendary and Epic cards
2025-03-01 00:54