As a seasoned gamer immersed in Monster Hunter Wilds, I’ve found that the Bow stands tall among the game’s arsenal of ranged weapons. It’s not just powerful, it’s a force to be reckoned with, dishing out consistent damage that turns hunts into a breeze. And let me tell you, when timed right, it lets you dance around monstrous foes like they’re not even there. Mastering this weapon takes patience and practice, but once you do, you’ll find yourself embarking on some of the smoothest, most exhilarating hunts you’ve ever experienced.
Without question, the Bow is a sophisticated weapon, mastering its usage might prove challenging for beginners. But, if you have a fondness for the Bow and wish to employ it as your primary hunting tool, this comprehensive guide offers step-by-step instructions to prepare you for the game’s endgame stages.
Bow Build Overview
In this game, mastering stamina control is crucial since it enables you to dash, power up your weapon, and unleash massive attacks on enemies. Although precise dodging restores your stamina, you won’t always have that opportunity. Consequently, selecting the right Decorations becomes essential as they help accelerate your stamina recovery, ensuring you can execute your combos effectively.
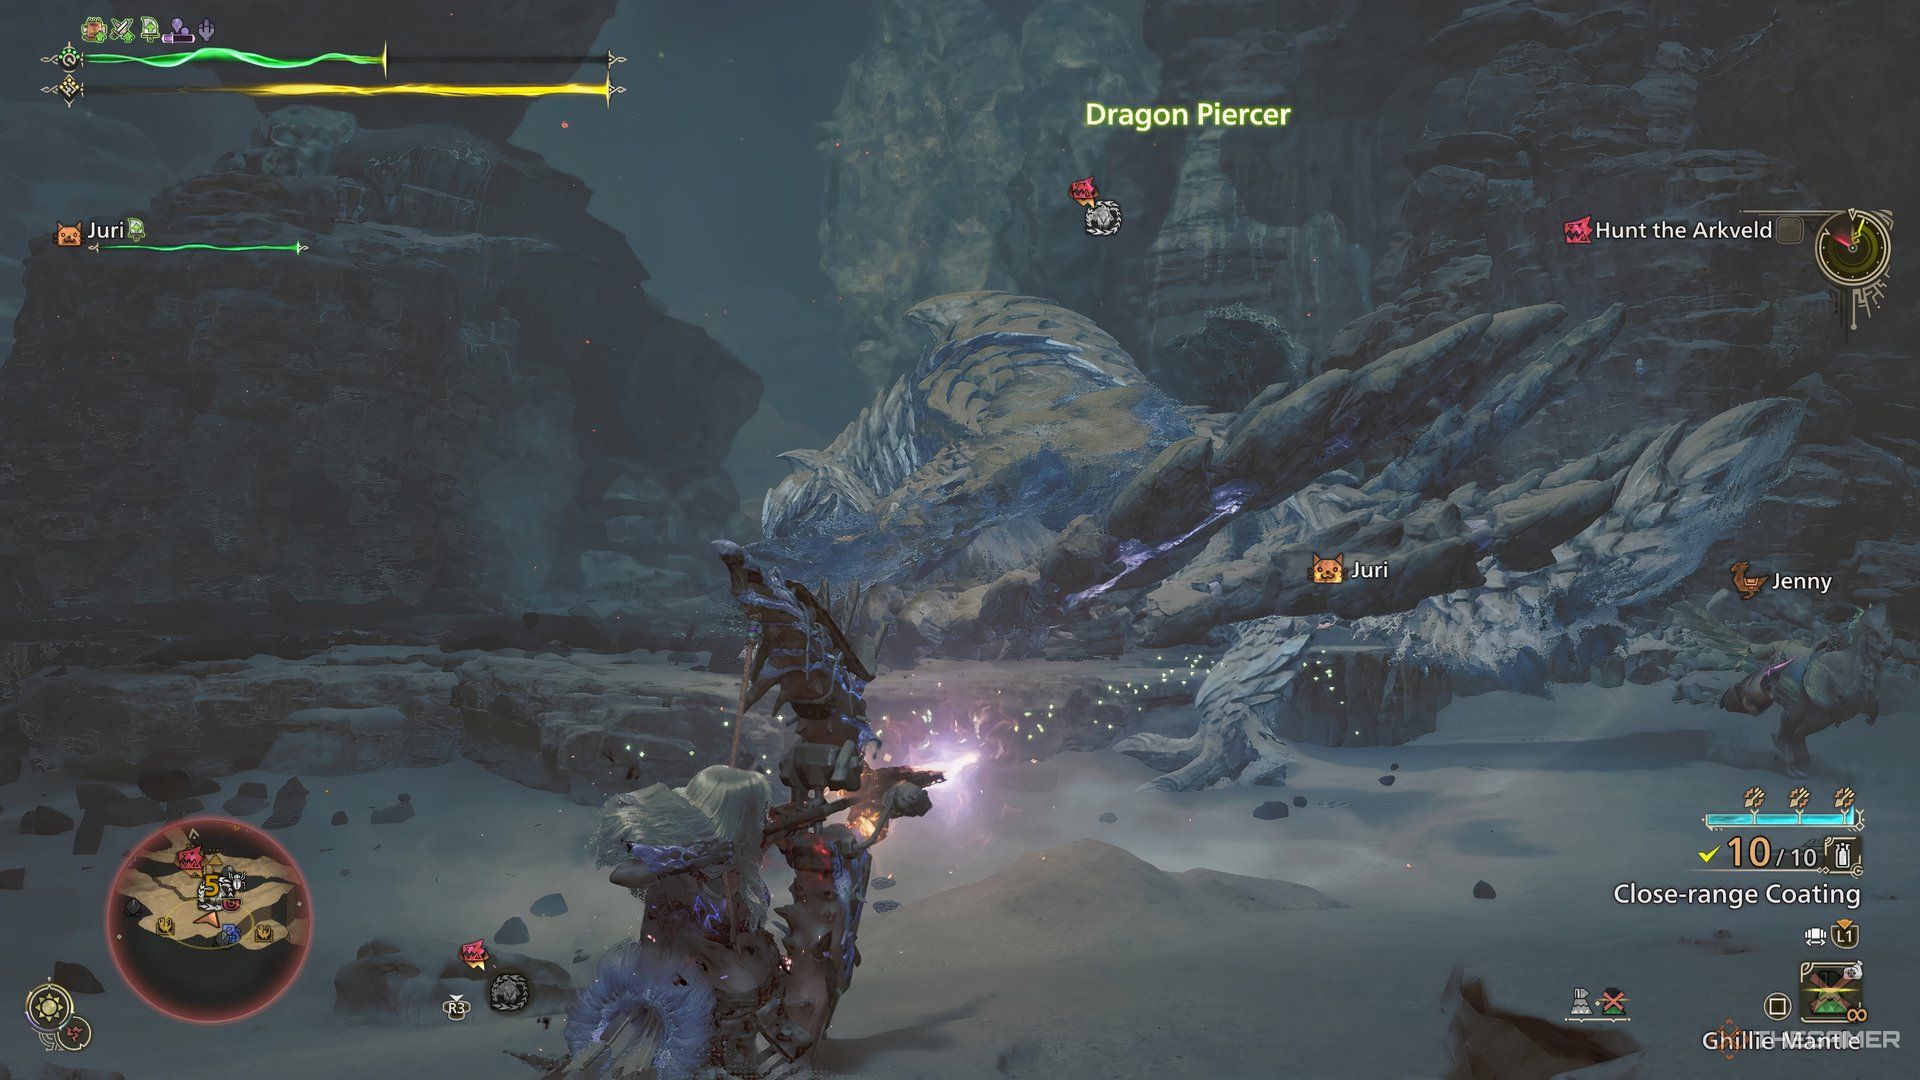
In addition to managing stamina, the effectiveness of a Bow character greatly depends on mastering positioning, timing your dodges perfectly, and recognizing enemy patterns. It’s crucial to anticipate when to charge your Dragon Piercer to avoid getting cut off during an attack.
It’s important to note that the decorations in this game are not freely interchangeable. Instead, they have specific requirements for placement. Regarding weapons and armor, these decorations should be considered independently. To fully prepare your Bow setup, you’ll need to continue farming the challenging Tempered monsters at the endgame level until you gather all the essential materials needed.
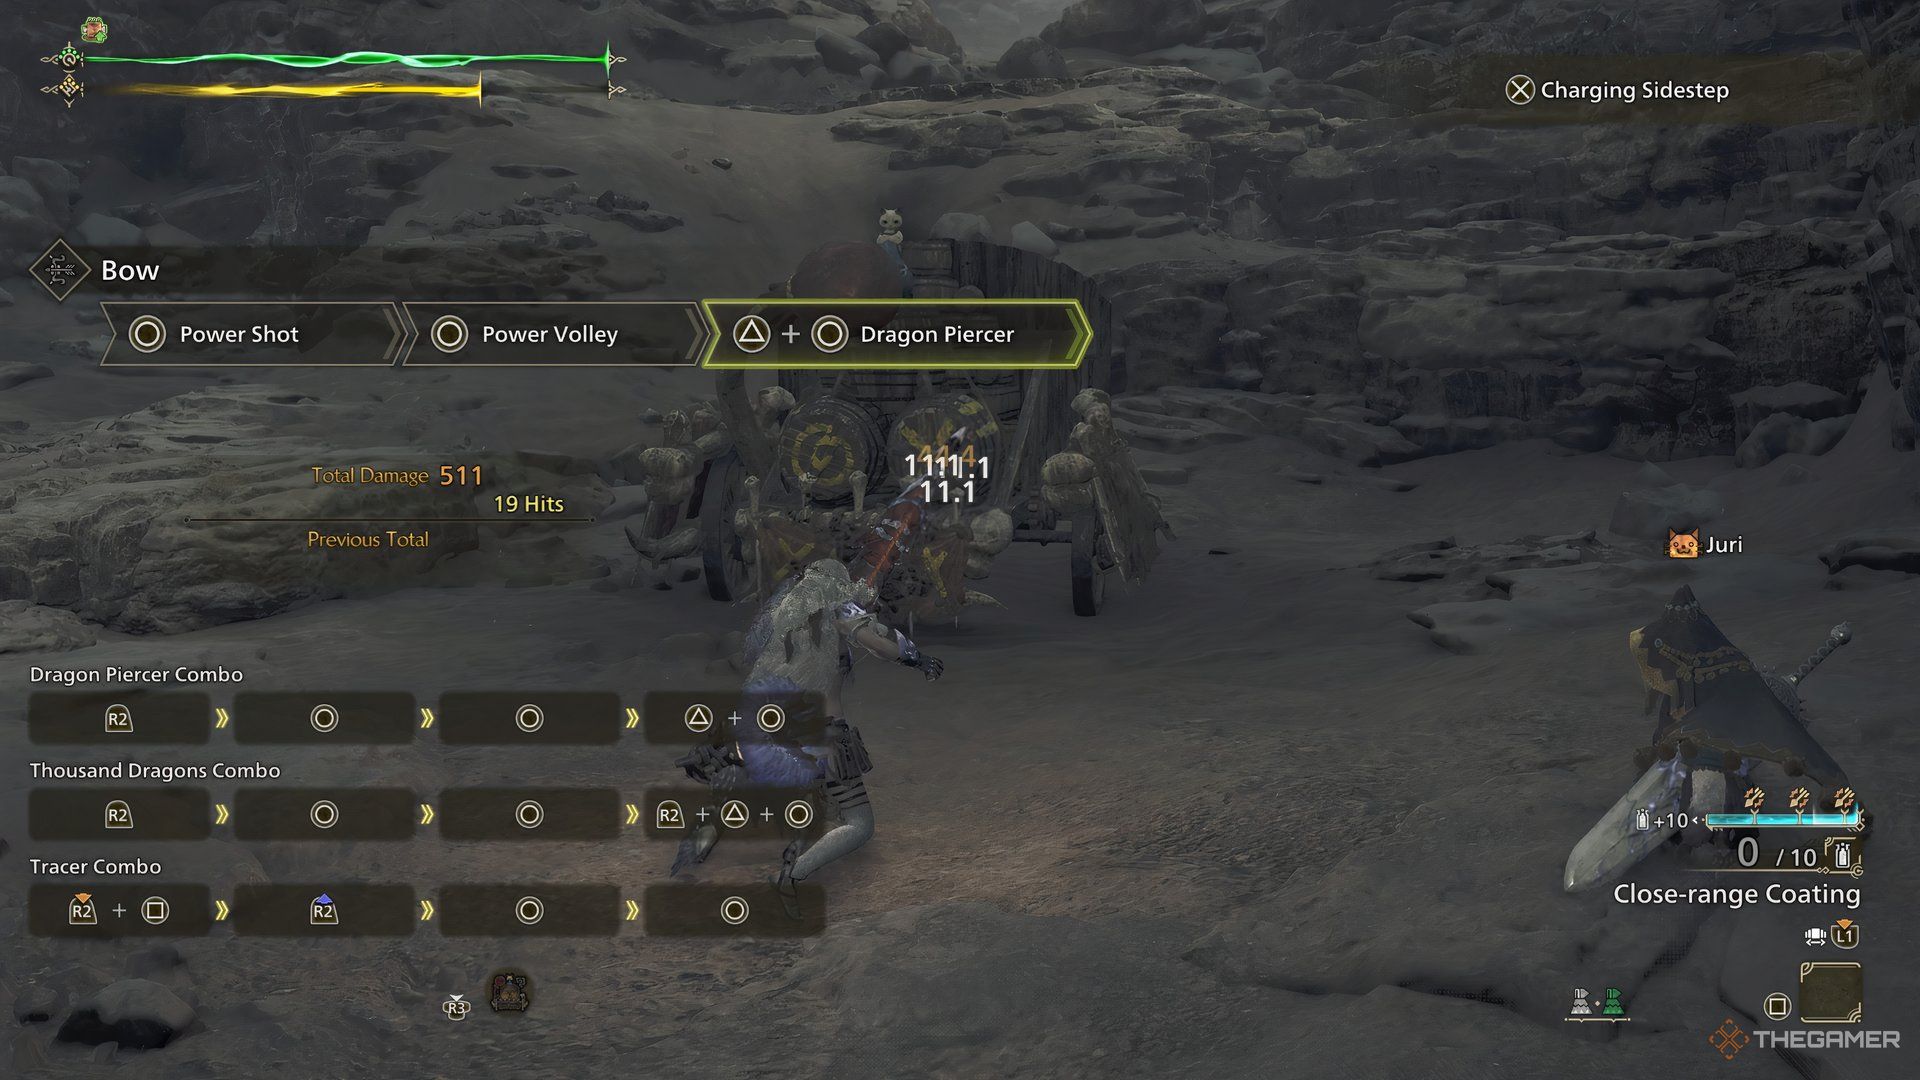
The central aspect of this bow construction is the Dragon Piercer, which at present offers the most effortless and effective method for vanquishing monsters. Nonetheless, if you find the gameplay monotonous, feel free to switch out the Piercing Shot on your bow with a Spreading Shot instead, making it suitable for your playstyle.
Bow Build Guide
Here’s a rundown of the endgame Bow Build that you should be using:
| Gear Slot | Gear Name | Decorations |
|---|---|---|
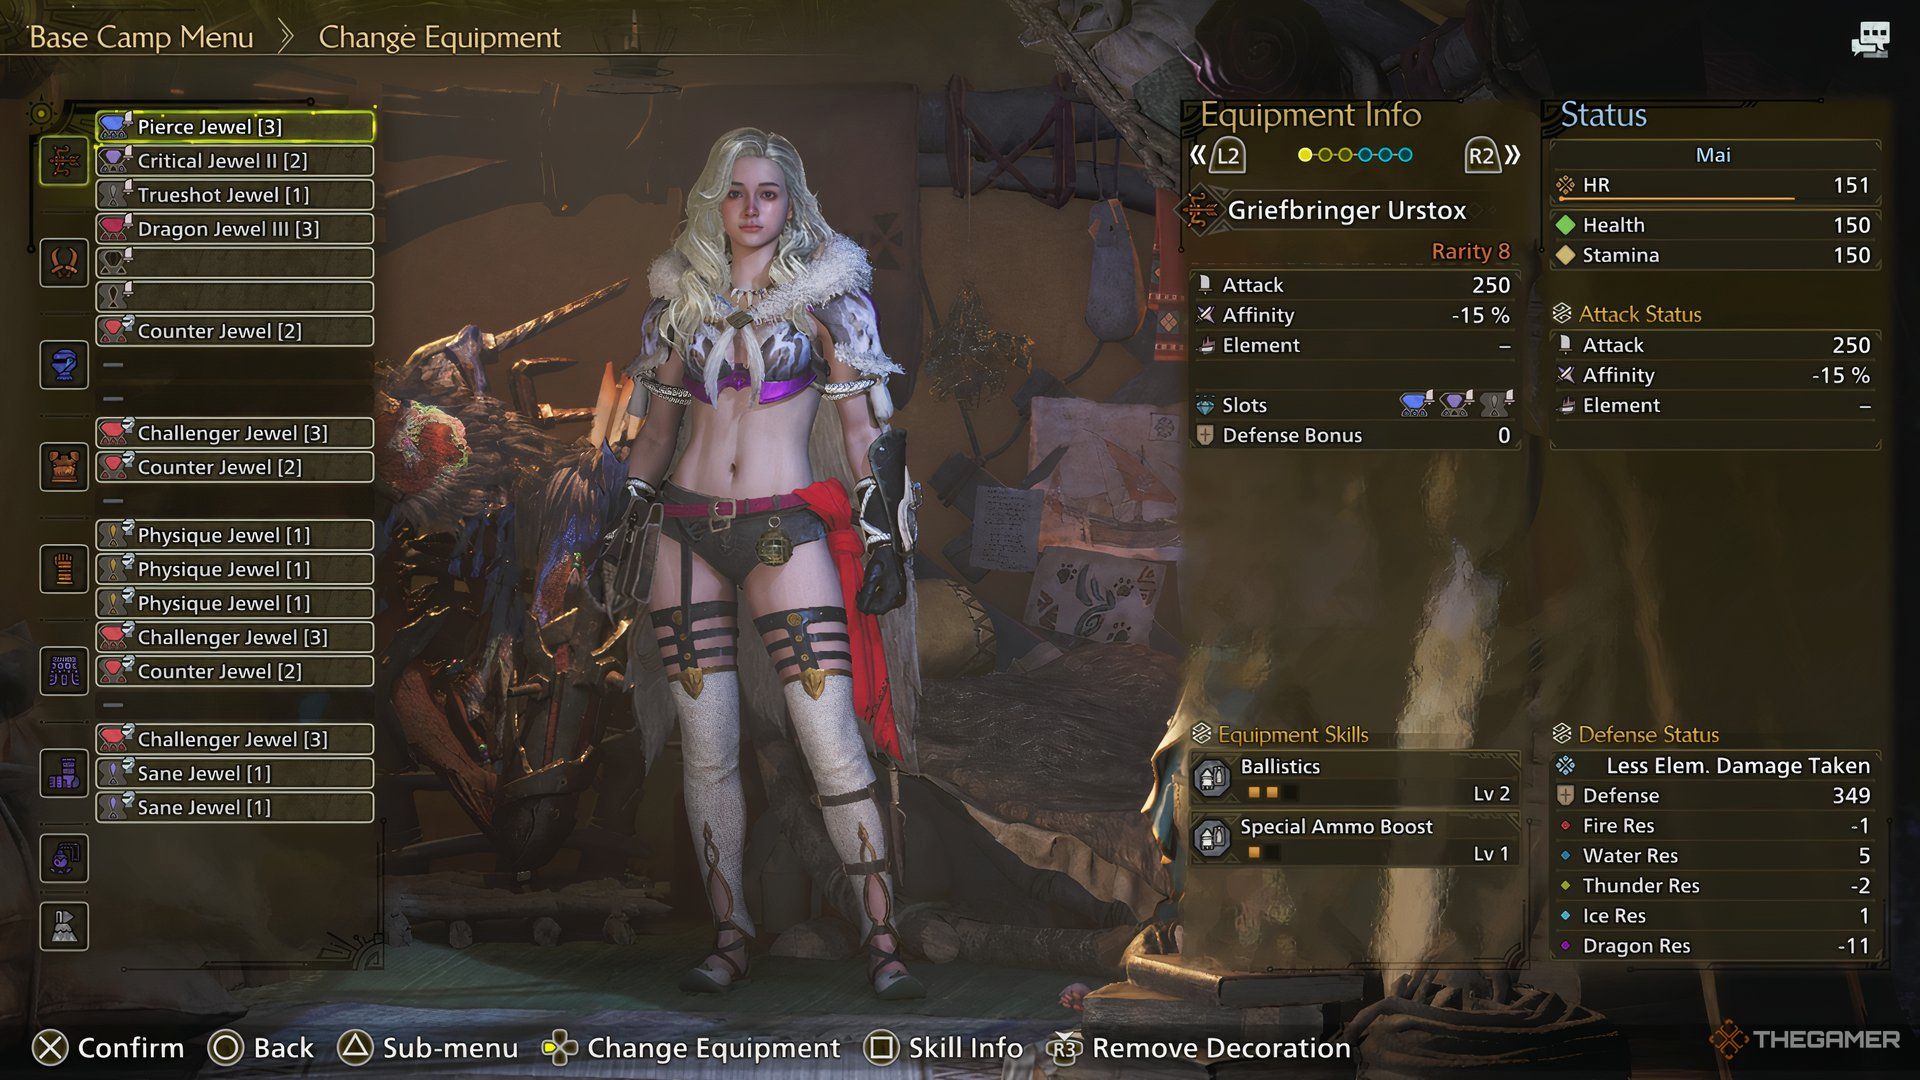
| Weapon | Griefbringer Urstox | Pierce Jewel (3), Critical Jewel (3), Trueshot Jewel (1) |
| Head | G. Fulgar Helm Beta (Fulgar Anjanath Gear) | Counter Jewel (2) |
| Chest | Arkvulcan Mail Beta (Arkveld Gear) | Challenger Jewel (3), Counter Jewel (2) |
| Arms | G. Arkveld Vambracers Beta (Guardian Arkveld Gear) | Physique Jewel (1) x3 |
| Waist | Gore Coil Beta (Gore Magala Gear) | Challenger Jewel (3), Counter Jewel (2) |
| Legs | Gore Greaves Beta (Gore Magala Gear) | Challenger Jewel (3), Sane Jewel (1) x2 |
| Charm | Exploiter Charm 2 | – |
As a gamer, my go-to weapon in this scenario is the Guardian Doshaguma Bow. Despite its unfavorable Affinity, its raw damage packs quite a punch and it’s an ideal fit for Dragon Piercer builds. To maximize its potential, you’ll want to slot in Pierce Jewel Three for the Piercing Shots buff, Critical Jewel Three for that much-needed Critical boost, and Trueshot Jewel One for enhanced Special Ammo. If you prefer another option, Artian Bows are also solid, but the base damage on the Guardian Doshaguma Bow is simply too hard to beat.
In the “head gear” slot, opt for the Guardian Fulgur Helm Beta, which features a “Level Two Jewel slot.” For the best results, choose the Counter Jewel Level Two in this slot for the “Counterstrike boost,” which enhances your attacks when monsters strike you. Alternatively, you can swap it with the Destroyer Jewel Level 2 if you prefer, as it makes breaking monster parts a breeze.
If you prefer less Agitation, swap out the Challenger Jewel Level Three from your chest slot and put in Counterattack Jewel Level Three instead. This will provide you with the Adrenaline Rush boost, which amplifies your attacks after a successful dodge. Since you’ll be dodging monster attacks skillfully with the bow, activating the Adrenaline Rush buff should be effortless.
In the designated slot referred to as the “chest slot,” opt for the Arkvulcan Mail Beta. This item features not only one Level Three Jewel Slot but also a Level Two Jewel Slot. For the Level Three Jewel Slot, aim for a Challenger Jewel with Agitator, which enhances your Attack and Affinity when monsters become enraged, thereby boosting your overall damage. Additionally, for the Level Two Jewel Slot, choose a Counter Jewel to benefit from the Counterstrike buff. This combination will help increase your effectiveness in combat against aggressive creatures.
In your hand, select the Guardian Arkveld Vambracers Beta, which features three Level One Jewel Slots. This armor offers Weakness Exploit Level Two. For the Jewel slots, consider either a Physique Jewel or a Brace Jewel. The Physique Jewel enhances your Constitution level, boosting your stamina recovery, while the Brace Jewel grants Flinch Free, protecting you from interruptions.
In this construction, both Constitution and Flinch Free offer unique benefits. Specifically, having Constitution means you’ll never find yourself in a situation where your stamina depletes, thus enabling you to execute Charged Sidesteps more often. Conversely, opting for Flinch Free will make sure that standard monster assaults won’t interrupt the process of charging the Dragon Piercer.
In the area designed for your belt, opt for the Gore Coil Beta accessory. You’ll want to connect the Challenger Jewel Three and a Counter Jewel Level Two to it. This setup mirrors the function of the chest slot, granting you the buffs from Agitator and Counterstrike. Alternatively, you can swap out Counterstrike for a Destroyer Jewel Level 2 if you prefer Partbreaker.
In the final stage, opt for Gore Greaves Beta in the leg section. You should add a Challenger Jewel Level Three to this, along with two Level One Sane Jewels in the remaining slots. The Sane Jewels offer an Antivirus boost, which increases your affinity for curing Frenzy. The Frenzy debuff is inflicted by the waist and leg pieces of Gore Magala gear.
In the “Charm slot,” opt for the Exploiter Charm at level 2. This charm provides Weakness Exploit Level Two, aiding you in fully maximizing your stats.
Skills Overview
Here’s how the skills should show up once the build is completed:
- Critical Boost Level 2
- Ballistics Level 2
- Special Ammo Boost Level 2
- Piercing Shots Level 1
- Weakness Exploit Level 5
- Constitution Level 5
- Agitator Level 5
- Counterstrike Level 3
- Antivirus Level 3
Tips To Play This Bow Build
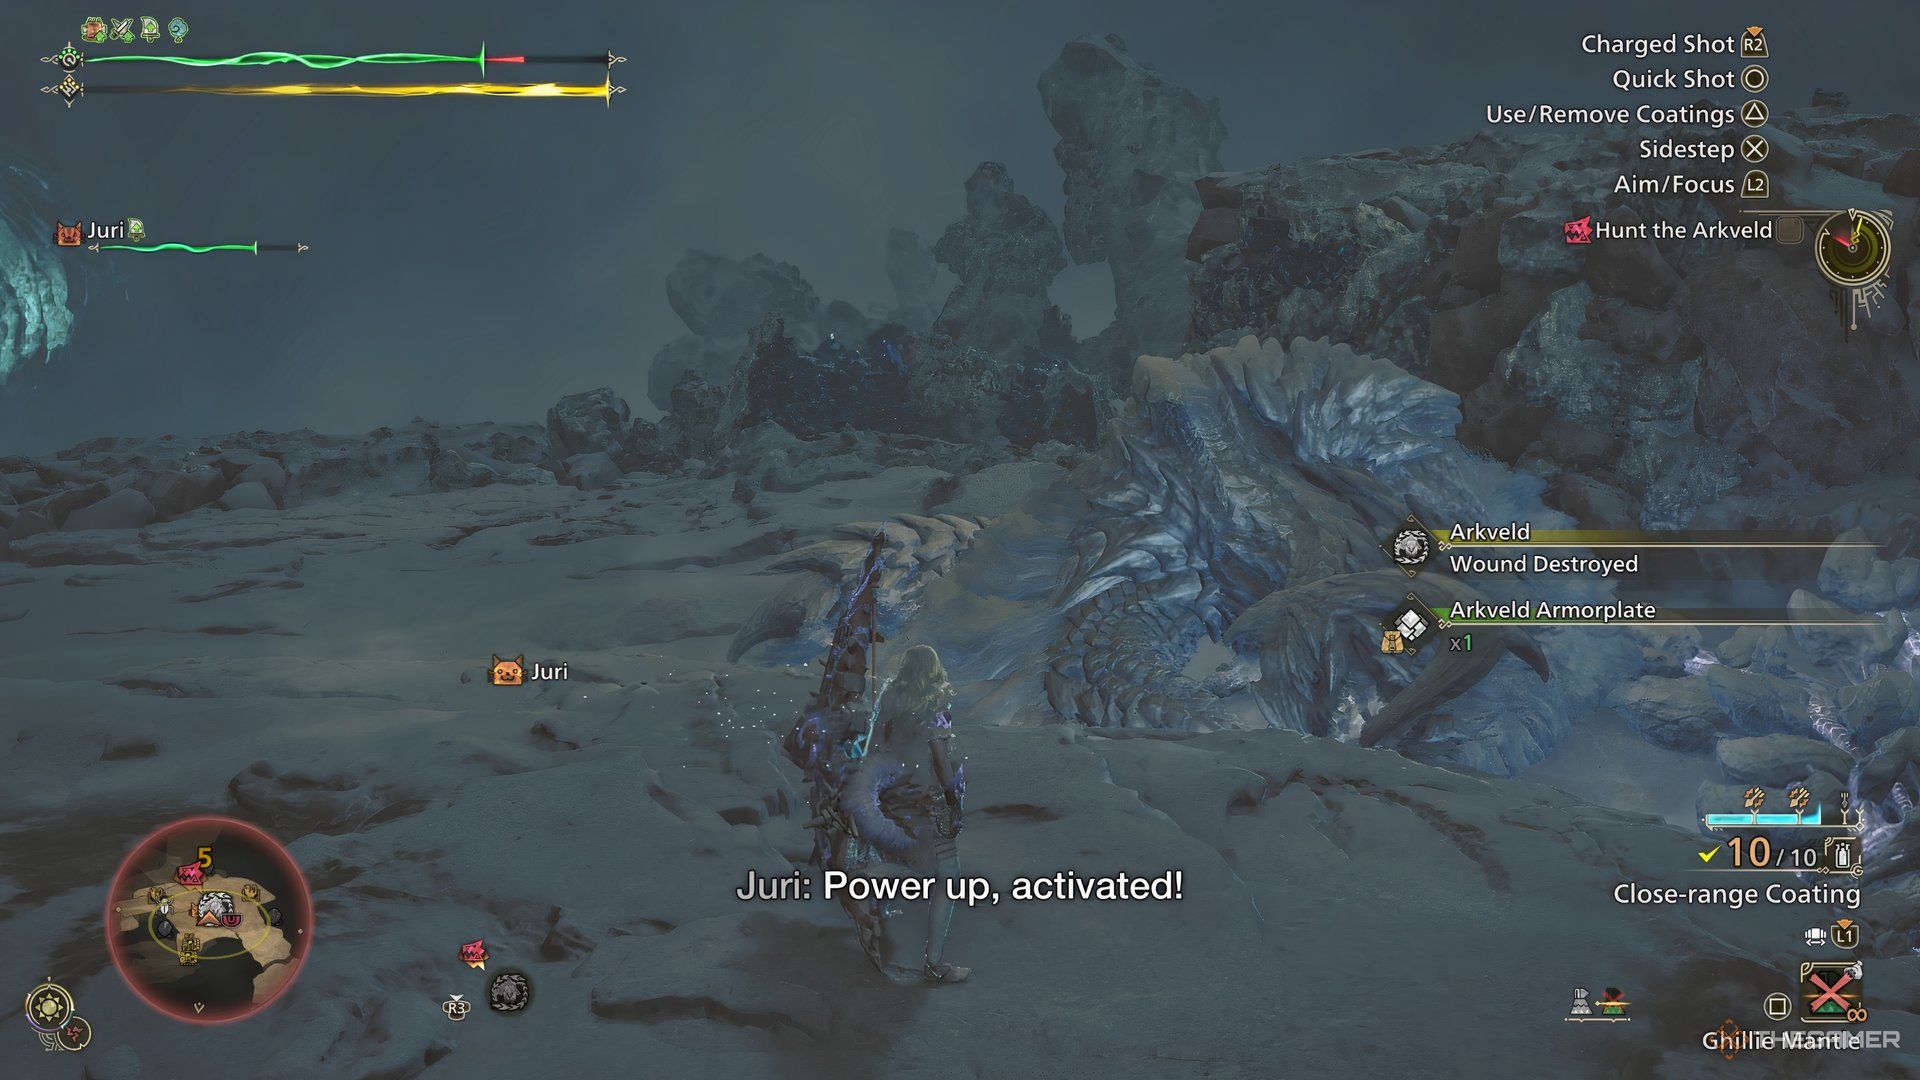
For a novice player, mastering the Bow Build may prove challenging due to the need for frequent precision evasions. Monsters such as Arkveld and Gore Magala are highly aggressive, requiring quick succession of well-timed dodges to avoid being knocked out.
It’s important to note that when fighting bosses in Monster Hunter, those who use bows and other ranged weapons take greater damage than melee weapon users. Consequently, executing flawless evasive maneuvers becomes crucial as not doing so might cause you to fail your quests more often.
Once you grasp the monster’s behavioral patterns, your job becomes quite straightforward – you’ll be able to initiate an attack and repeatedly use the Dragon Piercer move against the monster. Keep at it a few times, and you’ll notice injuries appearing on the monster, which can then be exploited for additional Dragon Piercer strikes.
In due course, the beast will fall, offering an unobstructed chance for you to repeatedly use Dragon Piercer until the creature stirs again. At this point, you must skillfully dodge several times. If done consistently, the monster should perish swiftly, as long as you avoid wasting time by running around and healing excessively.
Read More
- 10 Most Anticipated Anime of 2025
- Gold Rate Forecast
- Pi Network (PI) Price Prediction for 2025
- USD MXN PREDICTION
- USD CNY PREDICTION
- Silver Rate Forecast
- USD JPY PREDICTION
- EUR CNY PREDICTION
- Brent Oil Forecast
- Castle Duels tier list – Best Legendary and Epic cards
2025-03-11 18:35