
As a seasoned Space Marine veteran with more than a few scars to show for it, I can confidently say that taking down the Hive Tyrant in Warhammer 40K Space Marine 2 is no walk in the Imperial Garden. This towering terror is not just a pretty face; he’s got the moves and the muscle to back up his menacing appearance.
Are you curious about strategies for taking down the Hive Tyrant in Warhammer 40K Space Marine 2? If so, you’ve landed on the perfect spot! The Hive Tyrant is a formidable foe, boasting powerful abilities and an intimidating look. Don’t let its strength deceive you.
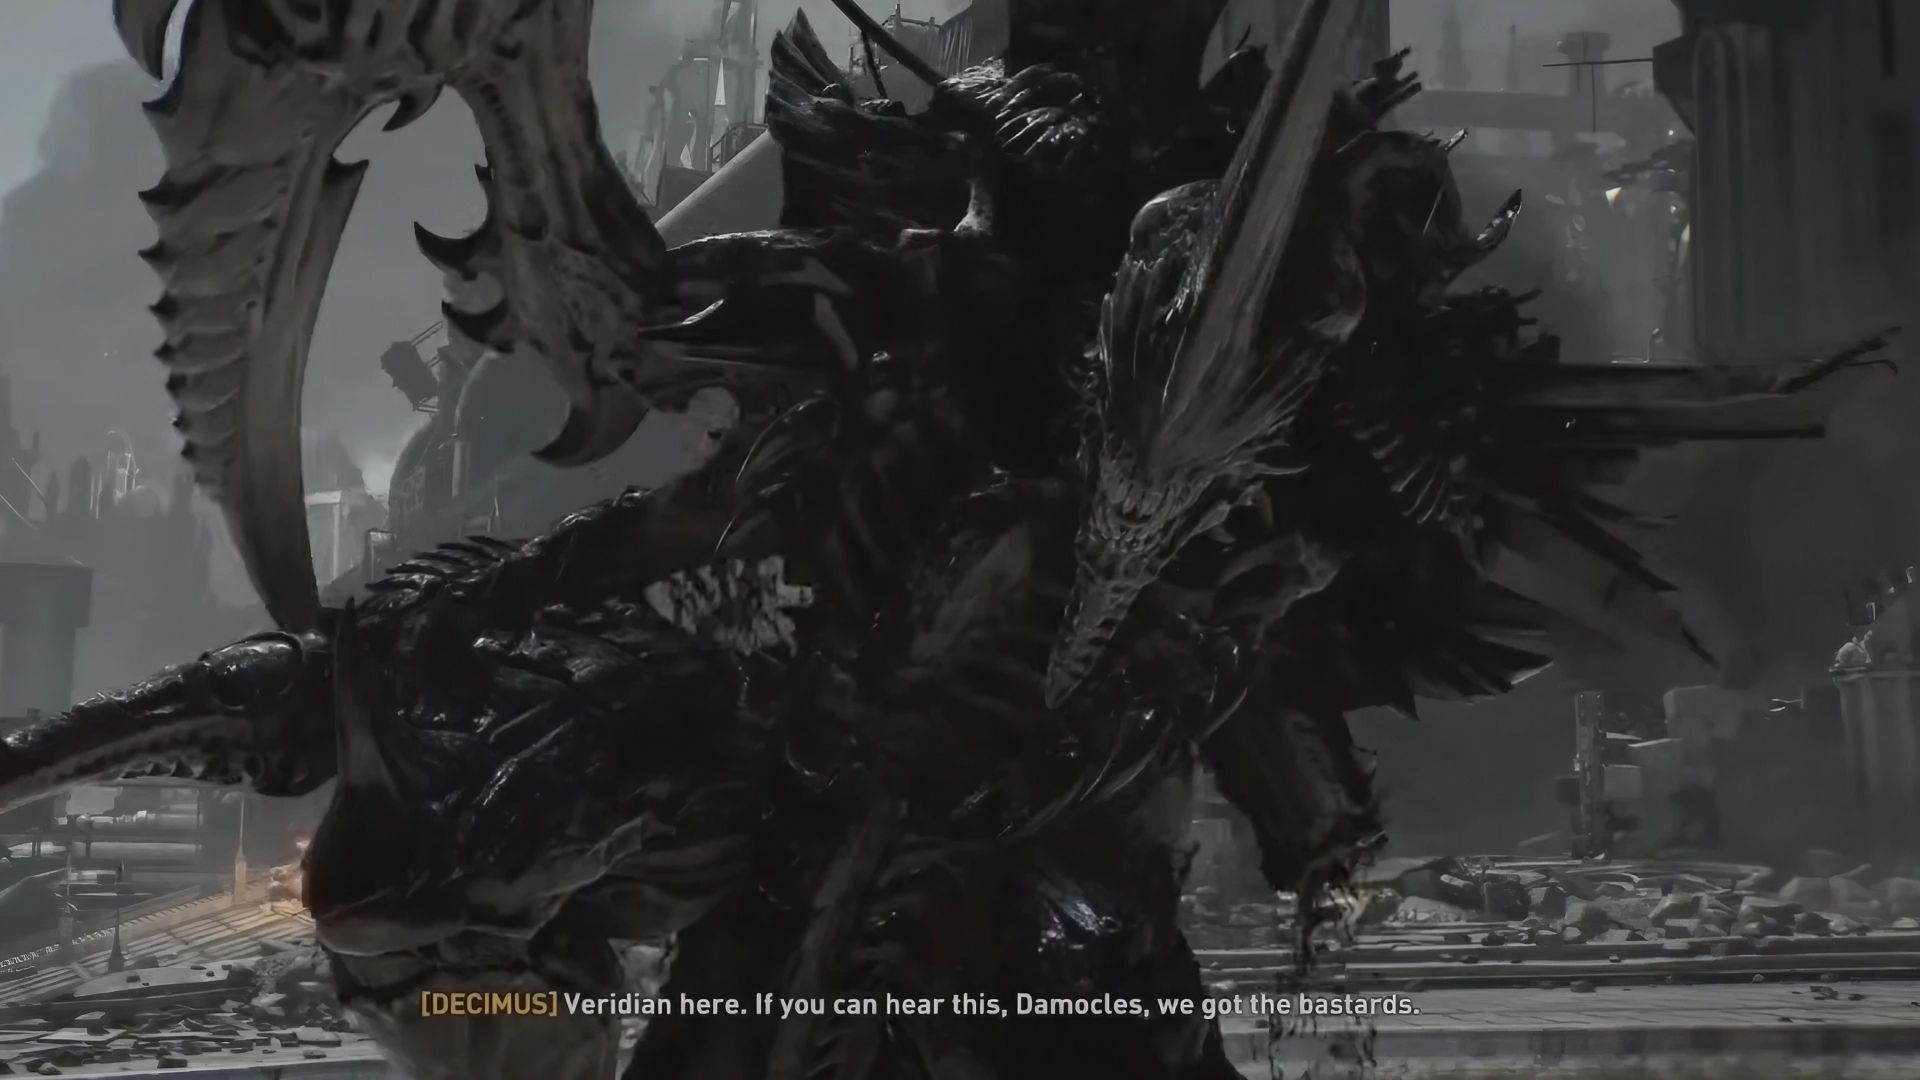
As a gamer, I found myself squaring off against the formidable Hive Tyrant during the Decapitation Operation mission. This big boss of the Tyranid horde is no walk in the park – he’s tough! But fret not, as our guide offers valuable insights to help you claim victory over this beastly leader.
How To Beat the Hive Tyrant
The Hive Tyrant is a formidable, swift, and robust leader in battles. Equipped with numerous attack abilities, he poses a challenging adversary to overcome. It’s wise to break your confrontation with him into two stages: after you successfully defeat him, his health bar will recharge, making him even more powerful.
In the first phase of your fight with him, he’ll attack you using the following skills;
- Lunge: He jumps and crashes his sword into the ground. You shouldn’t be around when he does this.
- Whip Sweep: He swings his whip in a broad arc from his right to his left, targeting you and potential escape routes. Never let him corner you in situations like this.
- Sword Slam: He slams his sword forcefully onto the ground area in front, damaging enemies within the impact zone. That’s why you need to keep your distance from him.
- Tornado Slash: He spins twice in full circle, creating a wide-reaching attack with decent range. You can try to escape backward by jumping when he starts doing this.
- Talon Slam: He swiftly drives his talon into the ground, hitting a small area with considerable force.
- Back Swipe: He swings his talon backward, usually striking enemies positioned behind him.
After you’ve defeated him, he restores his health anew. In the second round of combat, he employs these following attack techniques:
- Swarm Call: Summons Tyranid reinforcements with a powerful roar.
- Venom Wave: Emits waves of bio-energy while striking with its sword, causing harm to those in its path.
In the next round of battle, things will get tougher. Unlike before, this time he’ll strike you with pulsating waves of green energy, which cause harm wherever they go – and that includes you. To lessen the impact, try to dodge or move out of their way.
Throughout the entire battle, it’s advisable to keep moving and evading, given that many of his attacks are unblockable and could lead to damage over time. On the other hand, try to strike from behind as he typically approaches from the front, with the exception of his Back Swipe attack.
Read More
- 10 Most Anticipated Anime of 2025
- Gold Rate Forecast
- Pi Network (PI) Price Prediction for 2025
- USD MXN PREDICTION
- USD CNY PREDICTION
- Silver Rate Forecast
- USD JPY PREDICTION
- EUR CNY PREDICTION
- Brent Oil Forecast
- Castle Duels tier list – Best Legendary and Epic cards
2024-09-20 16:43